potato stamped wrapping paper


I bought a couple rolls of Kraft paper last week because I planned on hand stamping it and using it as wrapping paper.  I wasn't sure how I wanted to stamp, at the time, but I figured I'd figure it out later.  I'd stamped paper with a pencil eraser in the past to create mini polka dots, but that was more time consuming than I wanted, since I'd be needing to wrap multiple gifts.  I remembered making potato stamps back in the day, and thought I'd see if that worked, and it did!  I haven't done potato stamping since elementary school, but I love it!  it worked perfectly for my wrapping paper. 

I just used a little potato and cut a triangle into it.  I think that simple shapes would probably work best for potato printing, but if you want to go crazy with it, I'm not going to stop you.  Little simple Christmas trees would be super easy to cut into a potato as a stamp.  I used a stamp ink pad to do my stamping, but acrylic paint would probably also do the job, though it might cause the paper to wrinkle, since paint is wet and may cause the paper to warp when it dries.

Since the paper is simple, I kept the bow simple and just used baker's twine and tied on a sprig of evergreen for color!


Pin It!

homemade egg nog


Egg Nog is one of those holiday staples, but usually I find it too rich and syrupy for my taste.  I'll usually cut it with some milk to keep it from being too thick.  When Dan decided to make homemade egg nog the other day and I was intrigued to see how it compared to the store bought versions.  Not surprising to find that it's so much better.  While it's still a rich beverage, the frothiness of the beaten eggs keeps it from having the syrup-like texture of the stuff I find in stores.  

When I was a kid, even though I had stopped believing in Santa Claus, I used to always make a plate of cookies and a glass of egg nog to set by the fireplace for Santa, just to make my younger brothers still believe he existed.  After they went to bed, I'd go up and drink some of the egg nog and take a bite out of some cookies to make it look like Santa had been there.  I don't know how long it actually worked, but I always enjoyed my sneaky little tradition.


(Recipe via Alton Brown)

Ingredients
4 egg yolks
1/3 cup sugar, plus 1 tablespoon
1 pint whole milk
1 cup heavy cream
4 ounces bourbon
1 teaspoon freshly grated nutmeg
4 egg whites
dash of cinnamon or nutmeg for garnish

1. In the bowl of a stand mixer, beat the egg yolks until they lighten in color. Gradually add the 1/3 cup sugar and continue to beat until it is completely dissolved. Add the milk, cream, bourbon and nutmeg and stir to combine.

2. Place the egg whites in the bowl of a stand mixer and beat to soft peaks. With the mixer still running gradually add the 1 tablespoon of sugar and beat until stiff peaks form.

3. Whisk the egg whites into the mixture. Chill and serve.


Pin It!

OUR HOME // living room


Our living room is one of my favorite rooms in the house.  It took a while to finish because we needed some different furniture than what was in our old home's teeny tiny living room.  Living room furniture can be big and expensive, so we took a while finding some deals and slowly put things together.  We found our couch on Craigslist, and it was a like-new Ikea couch that was used as a staging couch, so it had basically never been used!  The other chairs in the room are all thrifted and the coffee table is a DIY, which I shared here.

I put up the bunting for our housewarming party almost a year ago and I've never taken it down, though I've been thinking about painting the ceiling a fun color, so it may come down.  I'm so used to it now, I don't even notice it!  And I've already basically killed my houseplant, so it might be a better idea to get a faux plant for that corner.  Dan is trying to nurse it back to health in his study for the time being.  I'm not sure why I thought I could keep a houseplant alive.  Ain't nobody got time for that.  It's my fault for putting it in a hard-to-water corner.  Don't let these photos fool you.  These days almost all but two or three fronds are completely crunchy, brown, and dead.


A few more globes from my collection live in the living room and the stacks of vintage books are from my mom.  She works in a school library and whenever they give away old versions of books, she picks the ones with cool vintage patterns on the cover and sends them to me.  

I knew that if I had a big wall available, I wanted to do a gallery wall.  It's not too big yet, and half of the prints are my own, but eventually I'd love to have a bigger and better gallery wall!  I've been wanting to put a huge shelving unit on that wall, so I may even move the gallery wall into the corner and include the Back to the Future print!  
I haven't been able to spend a lot of time in this room since we got Dusty because she didn't quite grasp that the rug was not an acceptable place for her to pee.  I think she's finally figured it out (crossing fingers) and recently I've been enjoying reading on the couch with her curled up next to me.


couch/ikea (via craigslist) :: pillows + rug + side tables + sheepskin + curtains/ikea 
lamps + woven tray/target :: chairs + globes+ chevron throw/thrifted
glass diamond/moorea seal :: coffee table + bunting/diy

Pin It!

make your day diy

My friend and PNW buddy, Chelsey, has an exciting thing happening tomorrow!  She partnered up with Chelsea Costa from Lovely Indeed to create a fun DIY e-book and it's launching on Monday! Make Your Day is full of tons of super quick and easy DIY projects that you can create at any time of day.  Head to either one of their blogs (here or here) to enter to win a copy of Make Your Day before their giveaways close at 5pm PST today, or you can wait till tomorrow to purchase your own copy, and get 20% off by using the code MYDAYISMADE20.  The best part of Make Your Day is that it not only has instructions on the DIY projects, but they have tons of printables and resources for you to make it as easy as possible to do the projects.
Today I'm sharing a really fast DIY project based on one of the projects in the book (Face Planters, seen below).  I made a zig zag pattern around the top instead!


What You'll Need:
Small terra cotta pot 
White acrylic craft paint
Martha Stewart Opaque Glass Paint 
Pen or pencil

1. Paint your pot white and let dry.

2. Use your pen or pencil to sketch out the zig zag pattern around the top edge of the pot.

3. Let air dry for 30 minutes.  If you'd like to make the paint waterproof and permanent, you'll need to bake it.  Place the pot in a cool oven and heat to 350ºF, then bake for 30 minutes.  

4. Let the pot cool in the oven before removing it.  Let it sit for 72 hours before using, to be safe.  Now you're ready to plant little pretty things in it!


Pin It!

diy instagram magnets


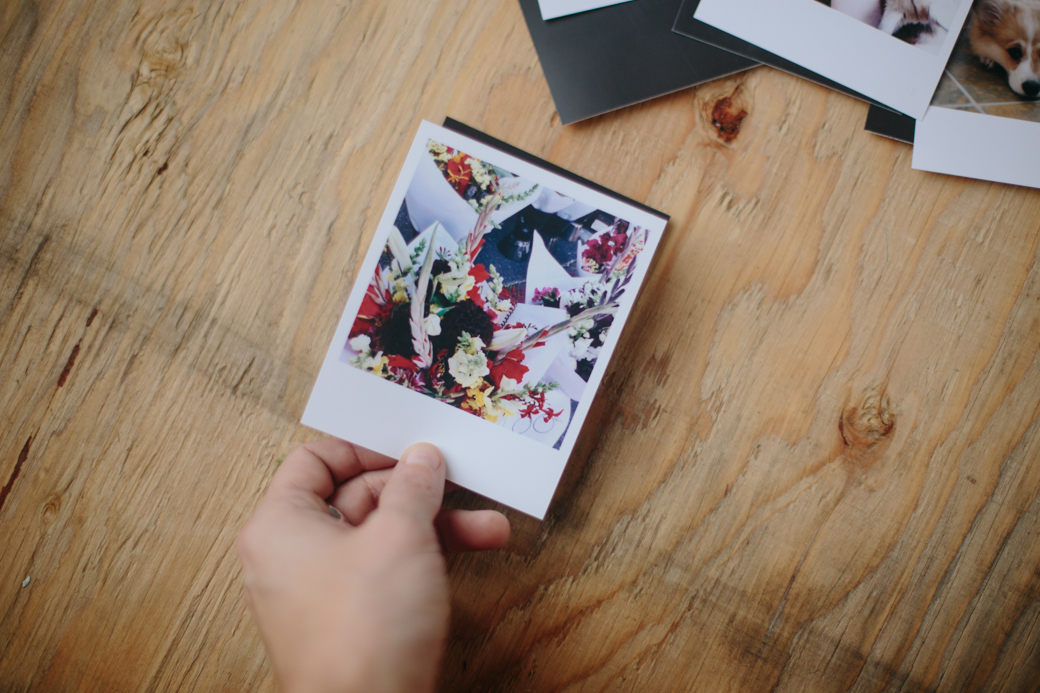
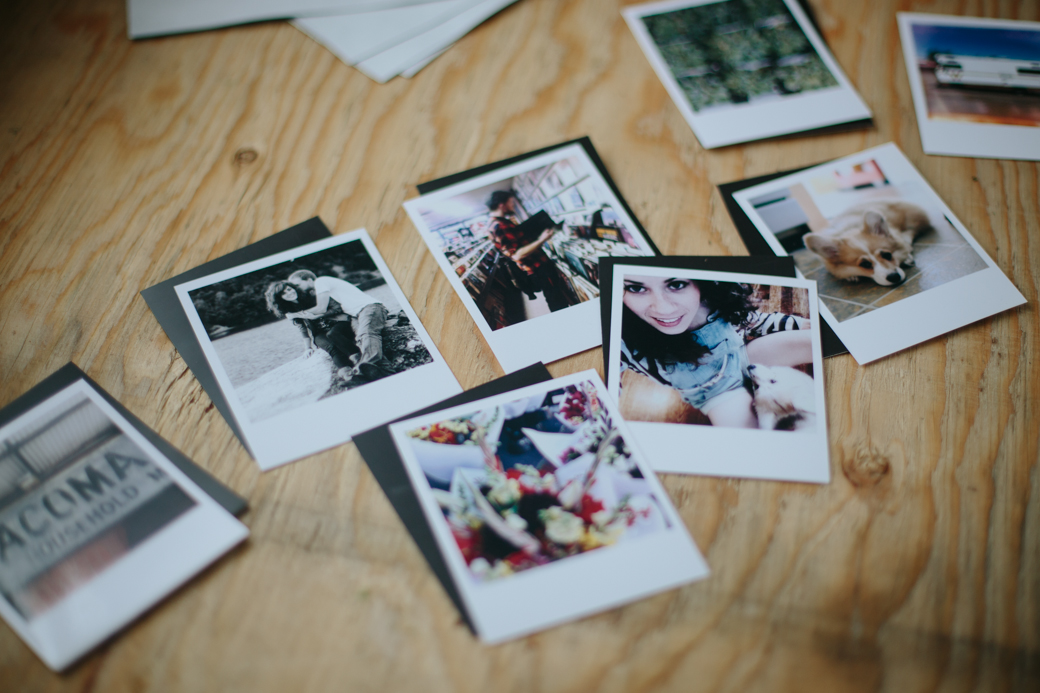
Happy hump day, y'all!  Here is a super easy DIY that only takes about 10 minutes to complete, and leaves you with some really fun, personalized magnets to use on your fridge, or wherever else you may need magnets.  I made my magnets out of some of my favorite instagram photos, printed out using the Printic App.  You can send them to print straight from your phone and then they come in the mail a few days later, printed on photo paper with a fun polaroid frame.  You could use almost anything for your magnets, though, as long as the adhesive on the magnet sheets can stick on!


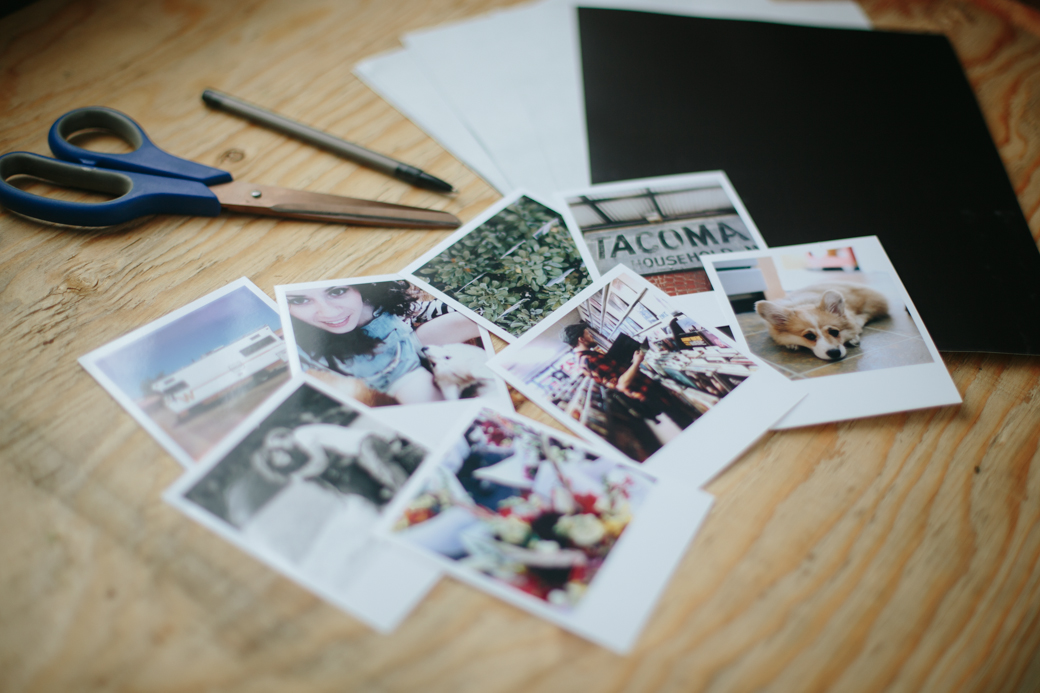
For this project you'll need:

Photos, or whatever you want to make into a magnet
Scissors
A pen
Magnet adhesive paper (I found mine on Amazon)


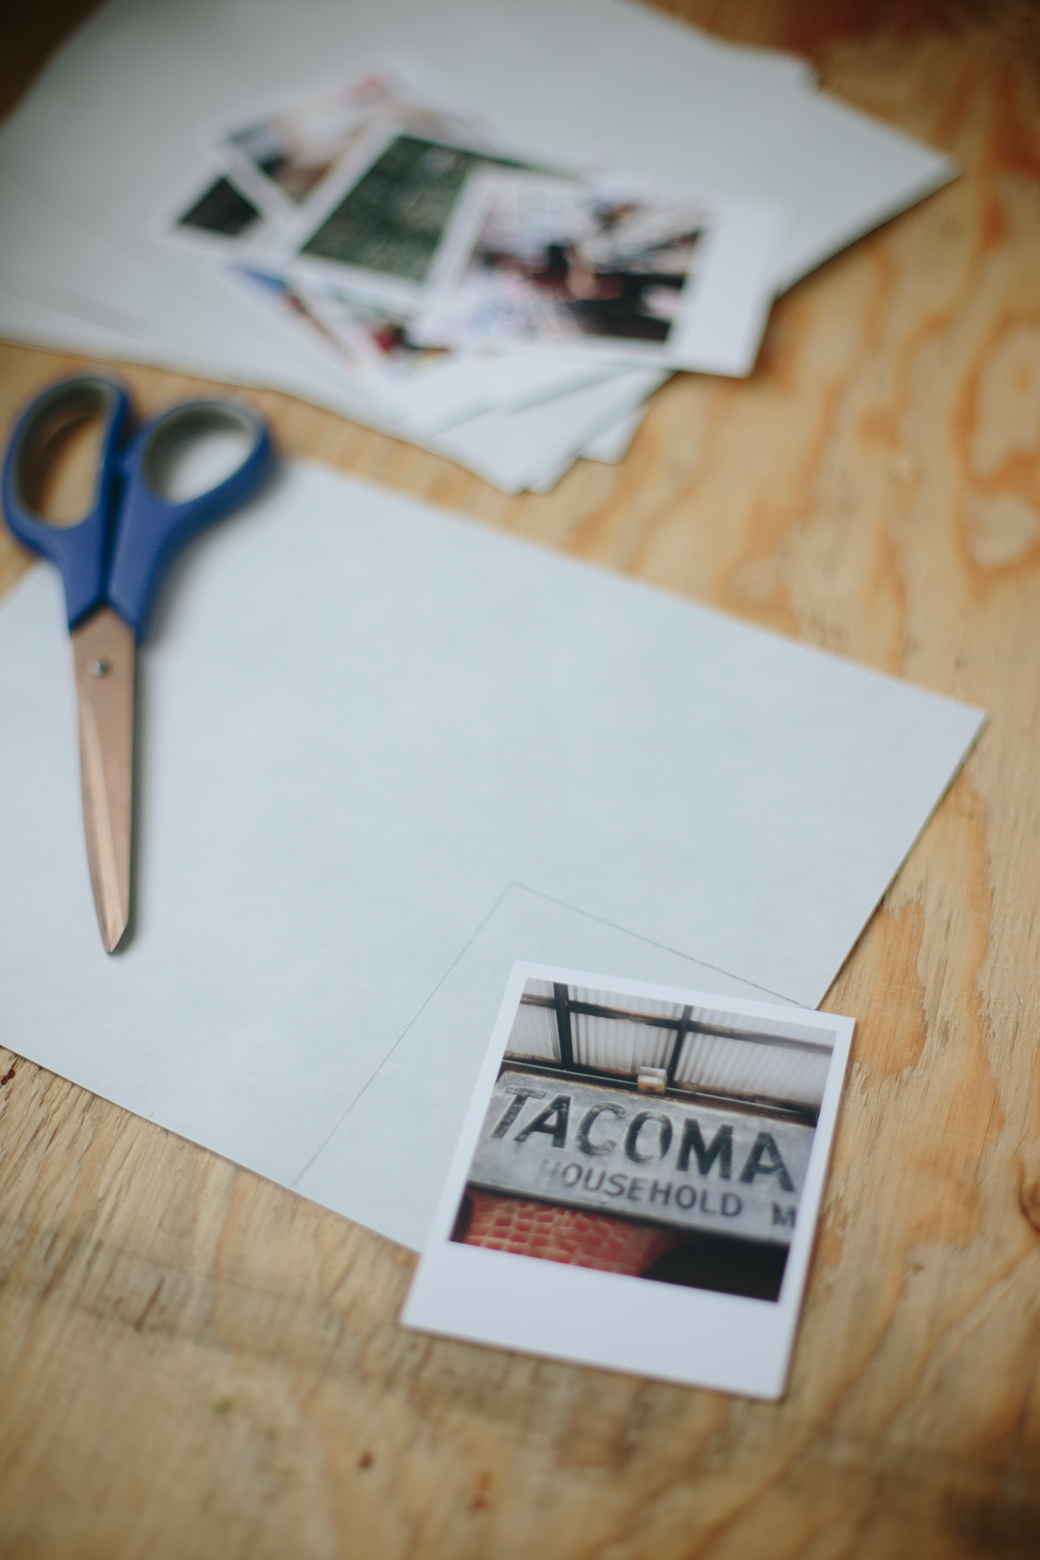
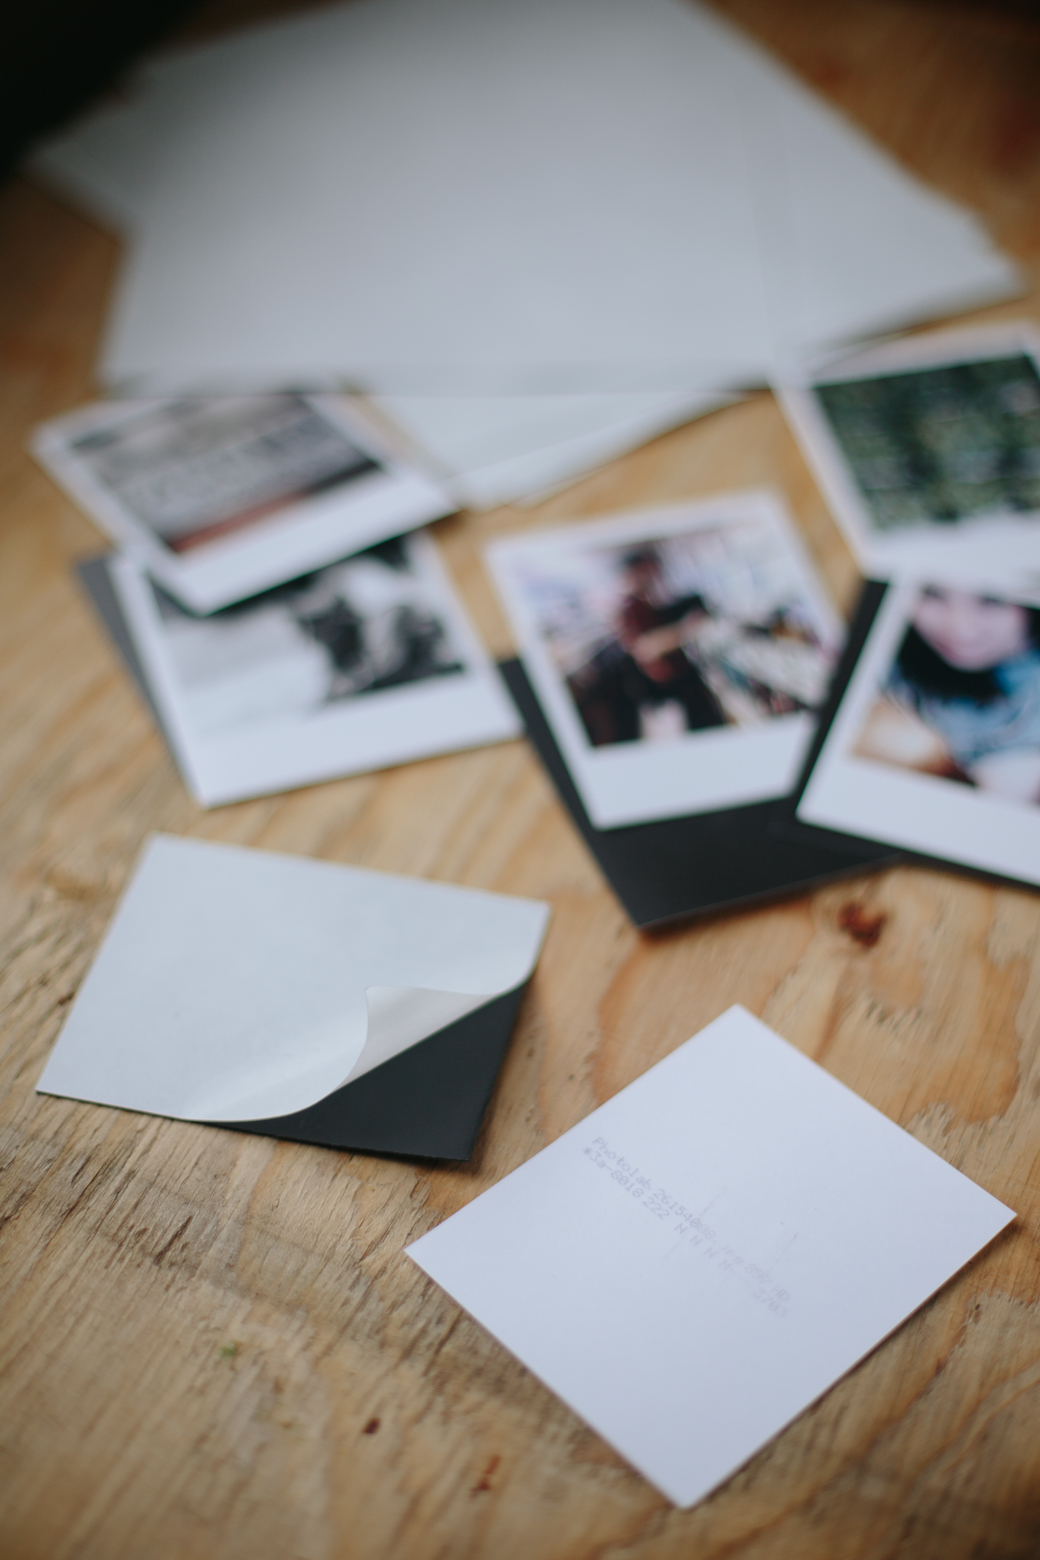
1. Take one of your photos and lay it on the magnet adhesive paper. Hold it still and trace around the edges so that you know how big to cut your piece of magnet.  

2. Cut along the line you drew and then lay the photo over the piece you just cut to make sure the piece isn't larger than the photo.  You don't want to see the magnet, so you'll want to cut it slightly smaller than the photo.  If you can see the magnet, go in and trim the edges of the magnet a bit until you can't see it when you lay the photo on top.

3. Remove the backing on the magnet to reveal the adhesive surface.  Carefully line up your photo over the adhesive and then stick it down.  You only have one shot to get this right because the adhesive is pretty sticky and it'd be difficult to pull it off and try again.  If you didn't get it quite right, you can take your scissors and trim any excess magnet that is showing.

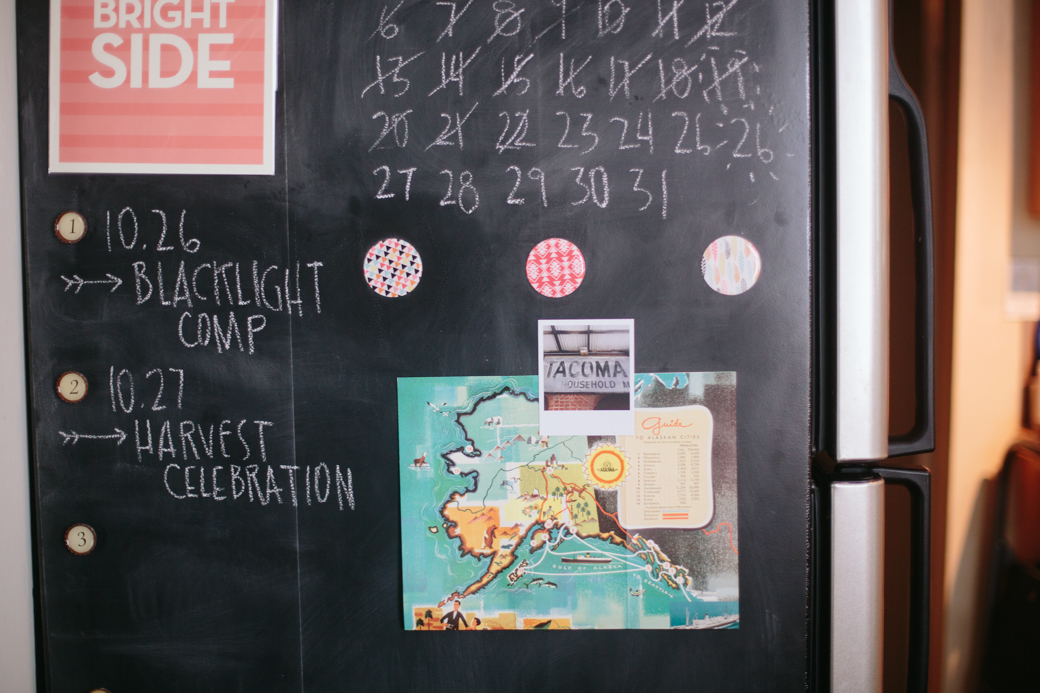
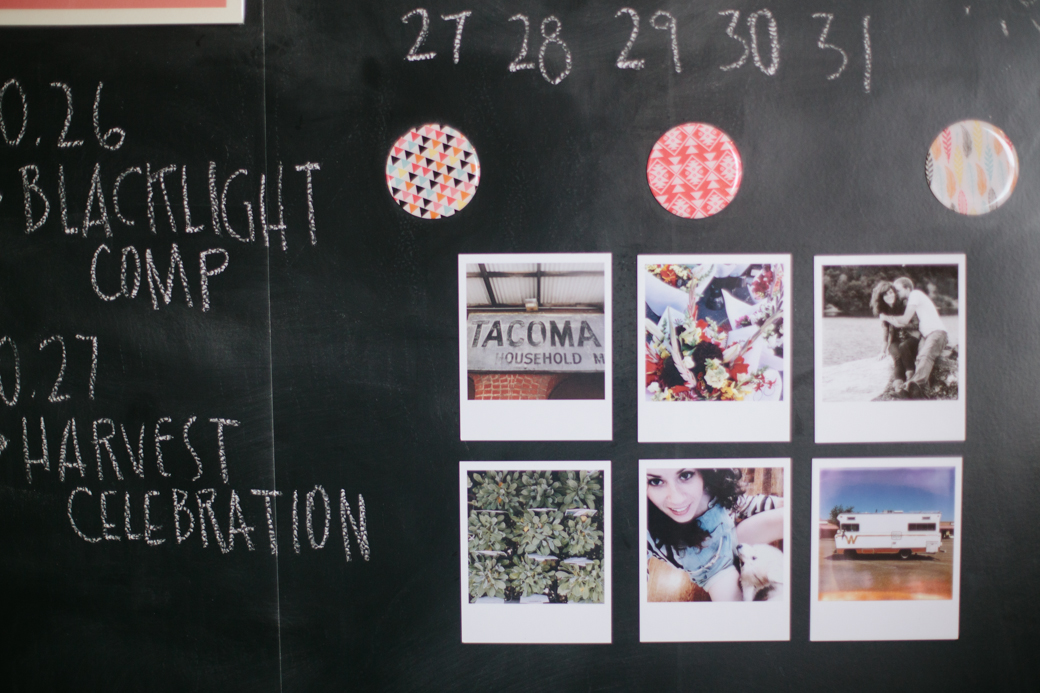
Done!  The magnet is pretty decent, so you can even use the little magnets you made to hold up papers and such.  I think it'd be fun to have a whole fridge covered in photos of friends and family and pretty little details.  In a digital age where most of our photos are online or on our phones, it's nice to have tangible, physical photographs.  One of my favorite things to do when I'm at other people's houses is look at the photos they have on their fridge.

I have a bunch of magnet paper left over so I'm brainstorming more fun magnet projects now!


Pin It!

OUR HOME // bathroom before + after


I'm pretty excited to share this with you guys because it's taken about ten months to finish this room, and the only reason it took that long was my crazy paint undertaking.  If I'd gone at it in one go, it probably would've only taken a week, but I started it right before my family got here to re-side the exterior.  Once we started that giant project the herringbone paint job was put on the backburner and I didn't return to it for months.  It was half done for most of this year.  I can't tell you how good it felt to put that last line up.

This before picture is a shot from the listing before we bought it.  The sad, lonely toilet plant was not my doing. I hated the blinds, mostly because they're impractical.  I never want them closed because the bathroom is so tiny that I need as much natural light as possible coming in.  But obviously I want them closed while showering so no peeping toms get a show.  I solved that problem by taking the blinds down and putting up an etched glass contact-paper-esque window covering that made it so I could have all the natural light and none of the peeping toms.


We didn't really have a place to hang towels, and there was an awkward tiny wall behind the door next to the shower which was begging for some hooks to be installed.  I didn't want to just throw up some boring old hooks so I covered the wall with reclaimed wood from pallets and then put up some natural wood hooks from Ikea.

Also from Ikea is the little cart next to our toilet and sink.  The bathroom is rather tiny and it's the only one in the house so we really needed more storage for our daily items than the little medicine cabinet behind the mirror.  It fits perfectly between the toilet and wall and it holds everything from hair products, to spare toilet paper, to our toothbrushes, q-tips, and cotton balls.


The little vessels on top the toilet are from Moorea Seal!  When did her product shoot at my home back in July, my wish list grew exponentially.  I basically coveted every little thing she brought to the house to shoot.  Of course, I'd go broke if I'd actually bought everything.  I settled for just a few items and this gold and black vase and feather vessel were two of the pieces I picked out.  

The photo on wood was a Christmas present from my little brother the year Dan & I got married.  He made it himself after googling tutorials and a ton of trial and error.  It's definitely one of my most treasured items.  The photos next to the window are photos I took at my grandparents' house in Juneau many years ago on my mom's old Olympus OM-1.  They've always been some of my favorite photographs, so I'm glad I finally got to display them!


I know that you guys probably don't have any desire to spend hours and hours with a tiny paintbrush replicating my herringbone wall, and the good news is... you don't have to!  I partnered with WallsNeedLove.com to create a vinyl removable wallpaper version based on my hand painted design!

Bathroom Before + After

Sweet, right?  All of the herringbone, none of the cramped hand and hours crammed against the wall meticulously painting hundreds of tiny lines!  Although if you're looking for a way to watch all of the seasons of Grey's Anatomy, I highly suggest going the painting route.  Because it took multiple seasons of Grey's to finish that project.  So, it's your choice.  Binging on Grey's and cramped, painty hands or ... binging on Grey's while... drinking wine or something.

mini feather vessel / moorea seal :: black + gold vessel / moorea seal :: turquoise cart / ikea
towel hooks / ikea :: wall design / handpainted (but buy the wallpaper version here!)
turquoise + polka dot towels / target :: gold towels / anthropologie

Pin It!