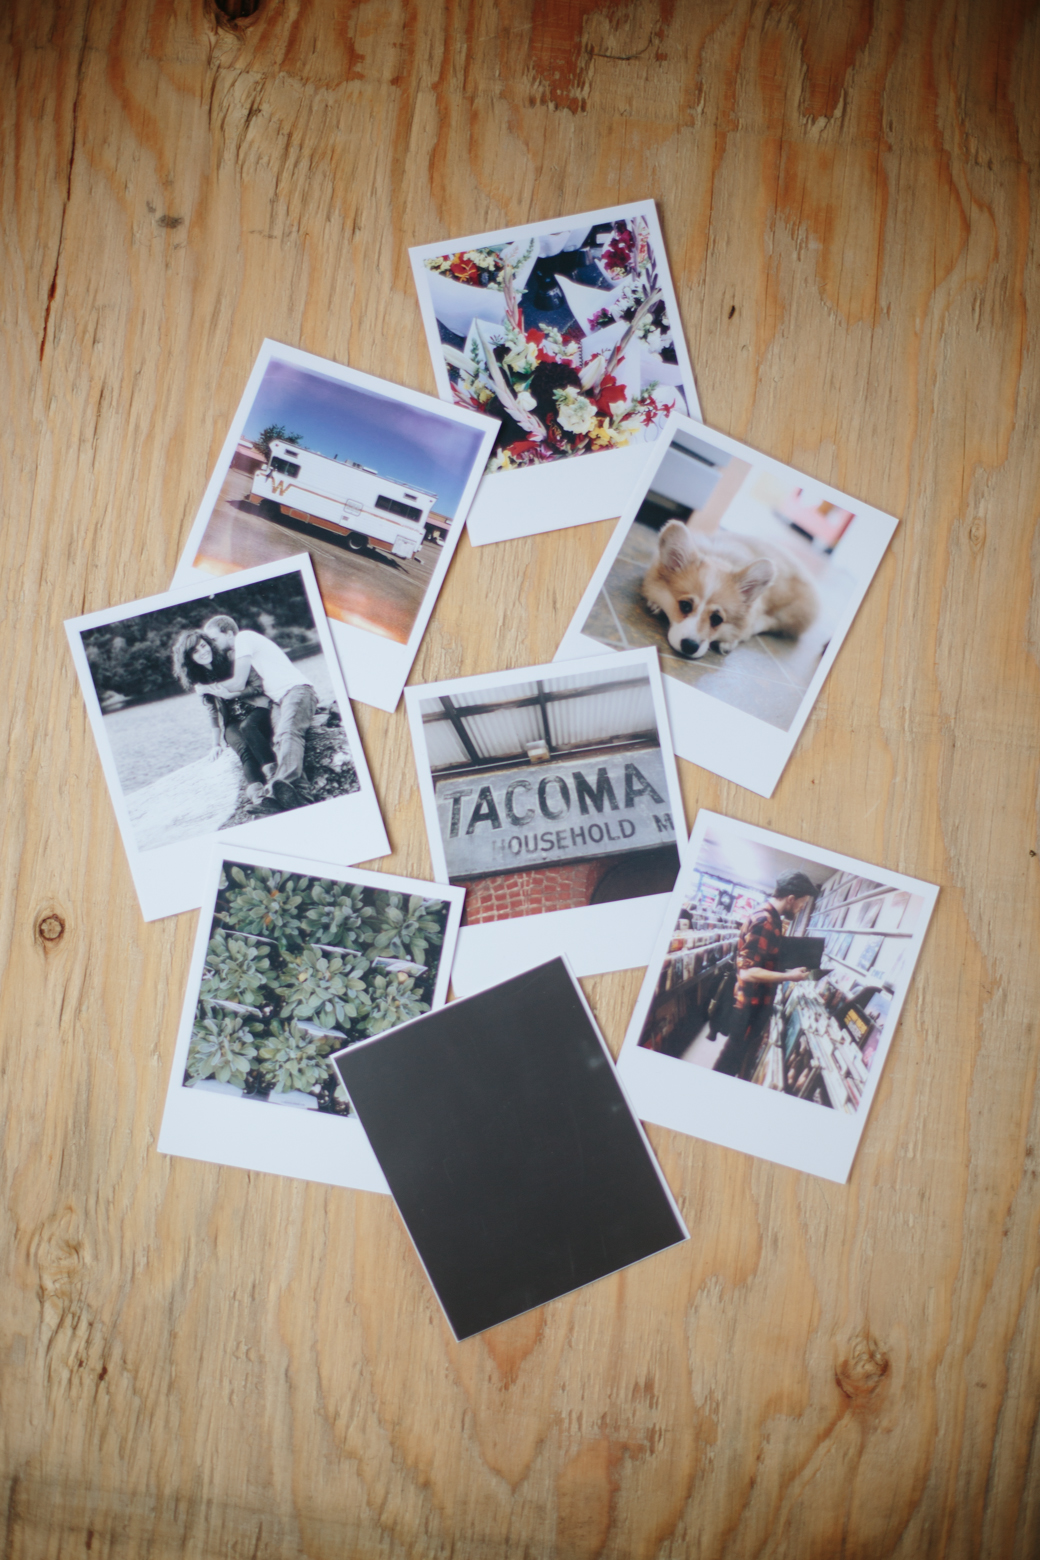
diy instagram magnets


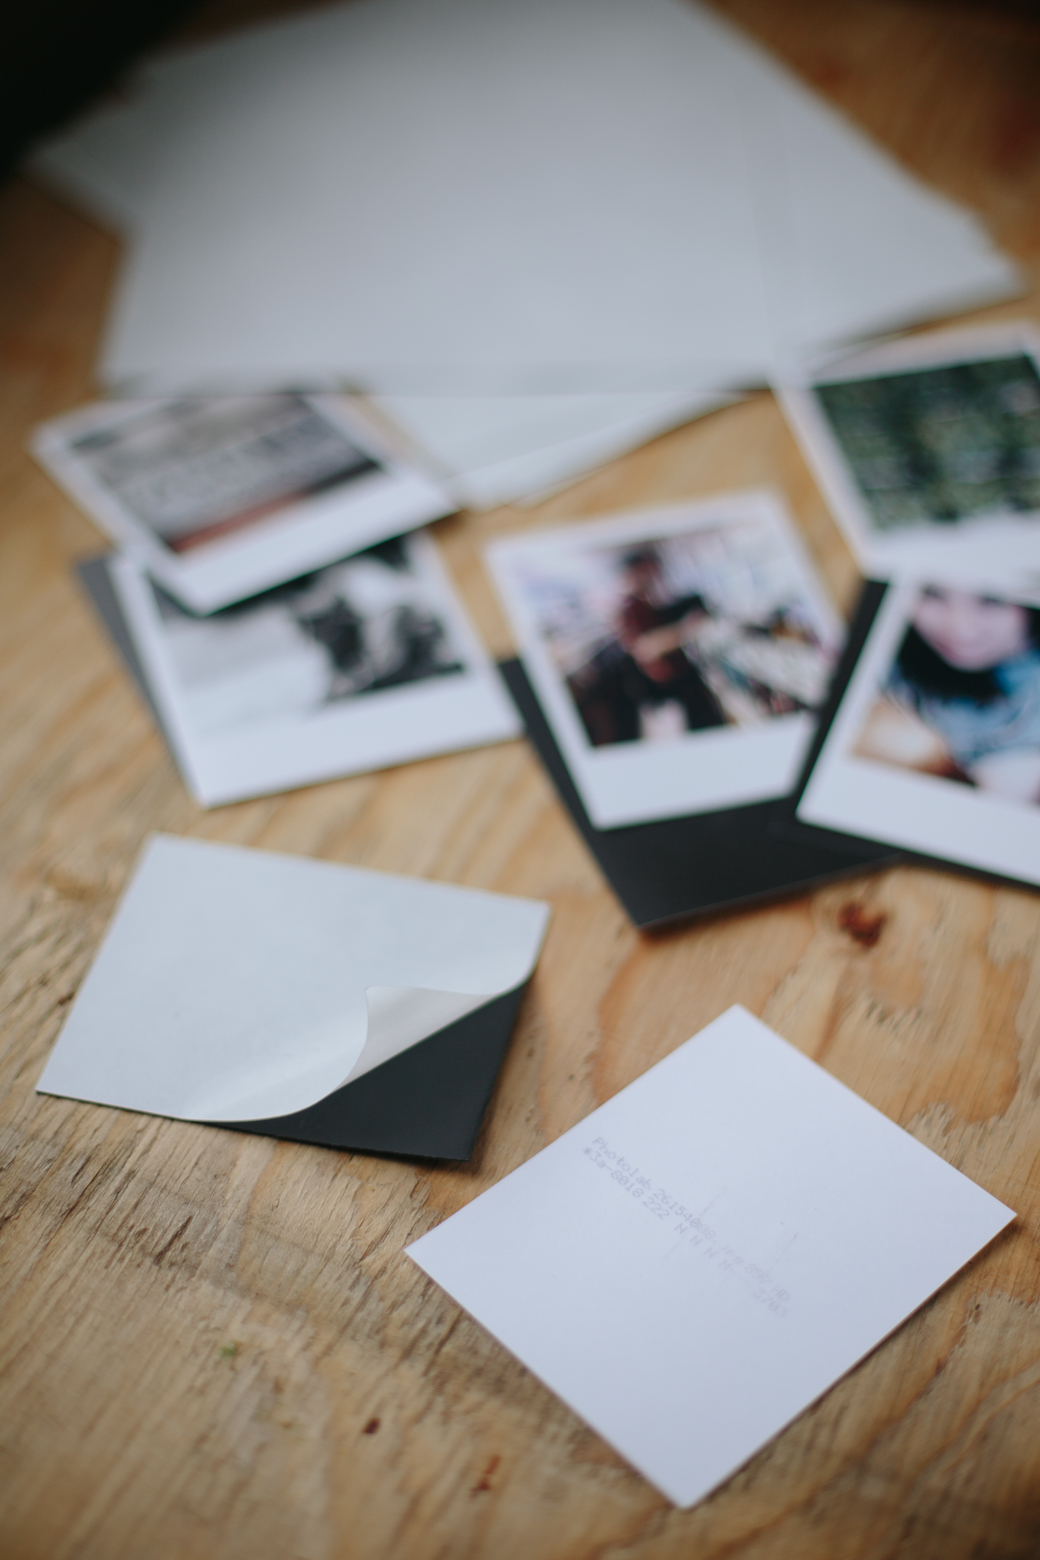
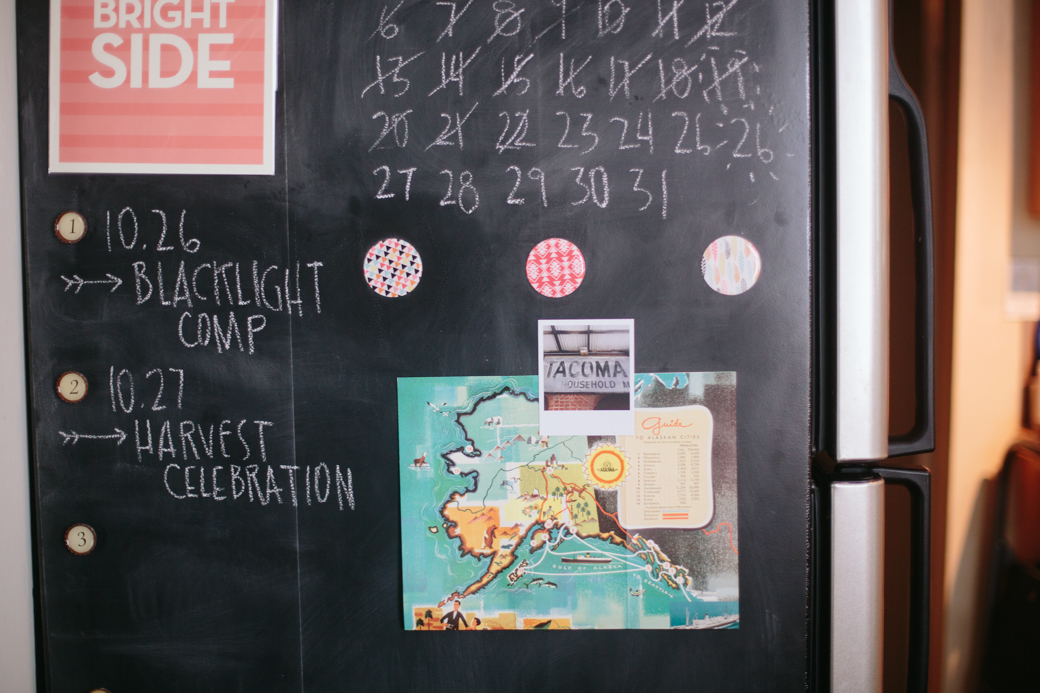
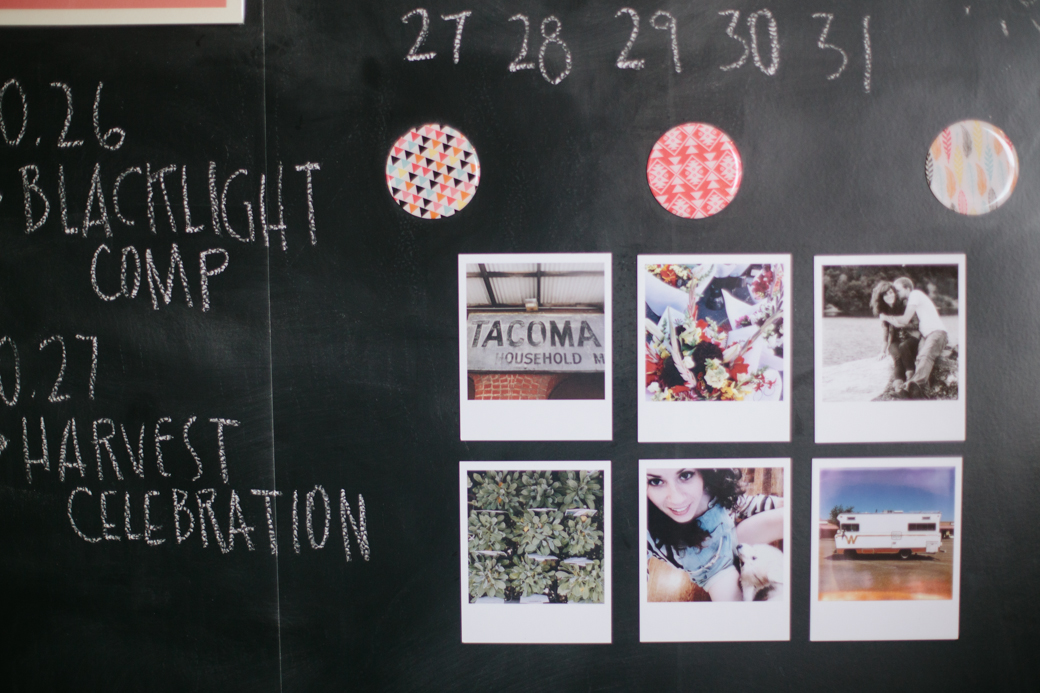
Happy hump day, y'all!  Here is a super easy DIY that only takes about 10 minutes to complete, and leaves you with some really fun, personalized magnets to use on your fridge, or wherever else you may need magnets.  I made my magnets out of some of my favorite instagram photos, printed out using the Printic App.  You can send them to print straight from your phone and then they come in the mail a few days later, printed on photo paper with a fun polaroid frame.  You could use almost anything for your magnets, though, as long as the adhesive on the magnet sheets can stick on!
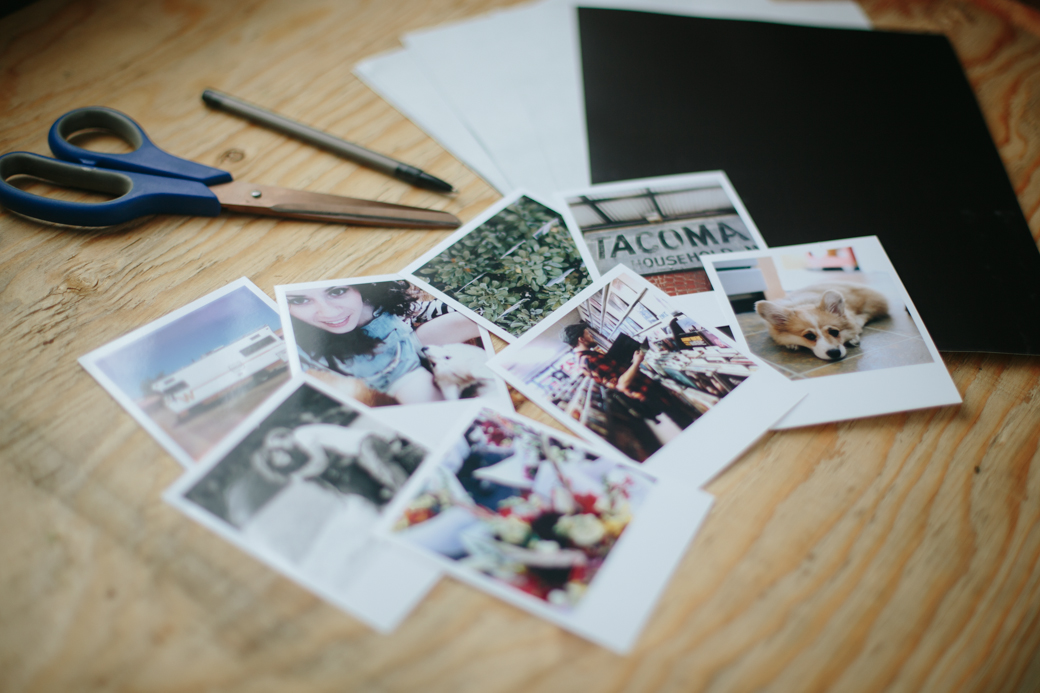

For this project you'll need:

Photos, or whatever you want to make into a magnet
Scissors
A pen
Magnet adhesive paper (I found mine on Amazon)
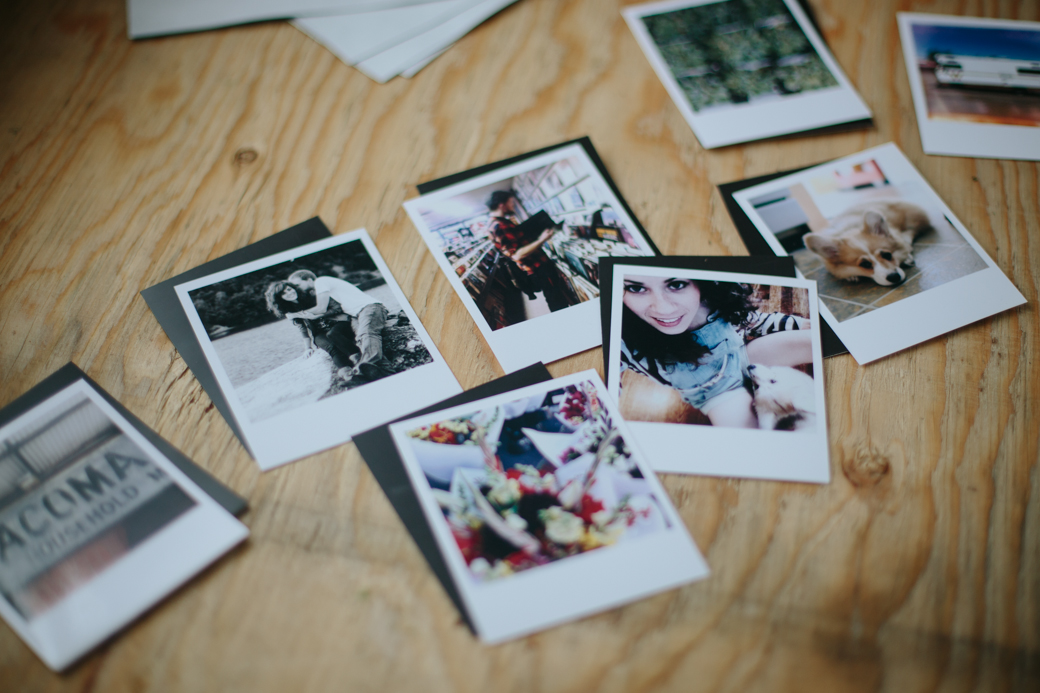
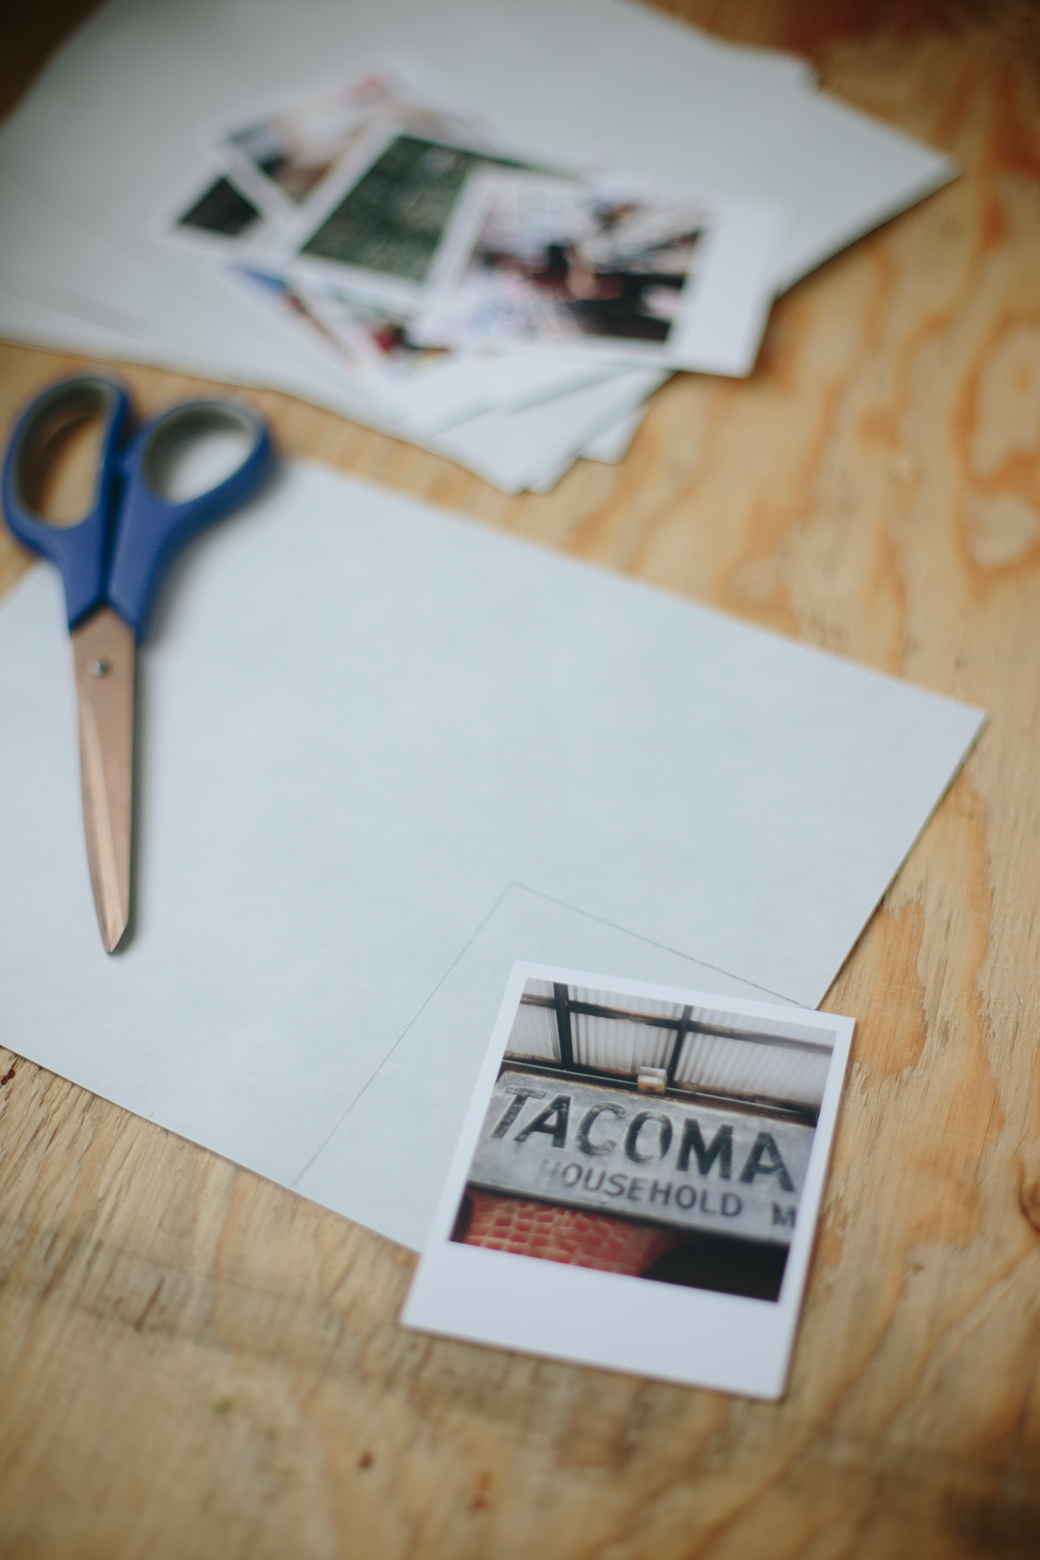
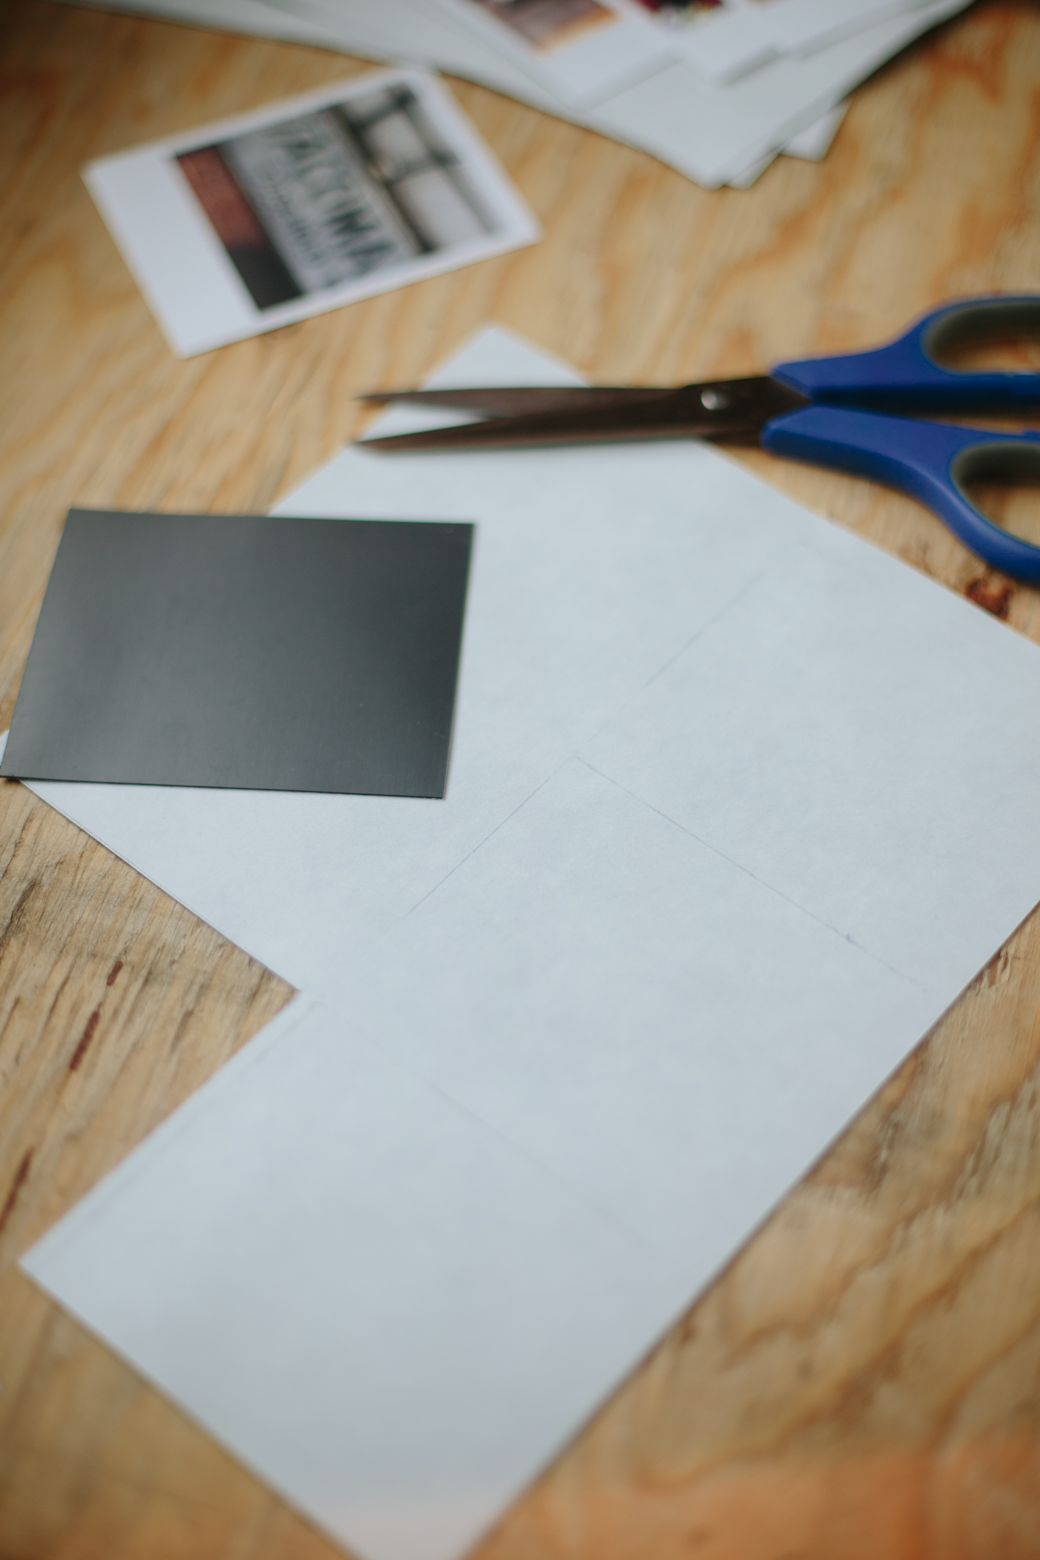
 

1. Take one of your photos and lay it on the magnet adhesive paper. Hold it still and trace around the edges so that you know how big to cut your piece of magnet.  

2. Cut along the line you drew and then lay the photo over the piece you just cut to make sure the piece isn't larger than the photo.  You don't want to see the magnet, so you'll want to cut it slightly smaller than the photo.  If you can see the magnet, go in and trim the edges of the magnet a bit until you can't see it when you lay the photo on top.

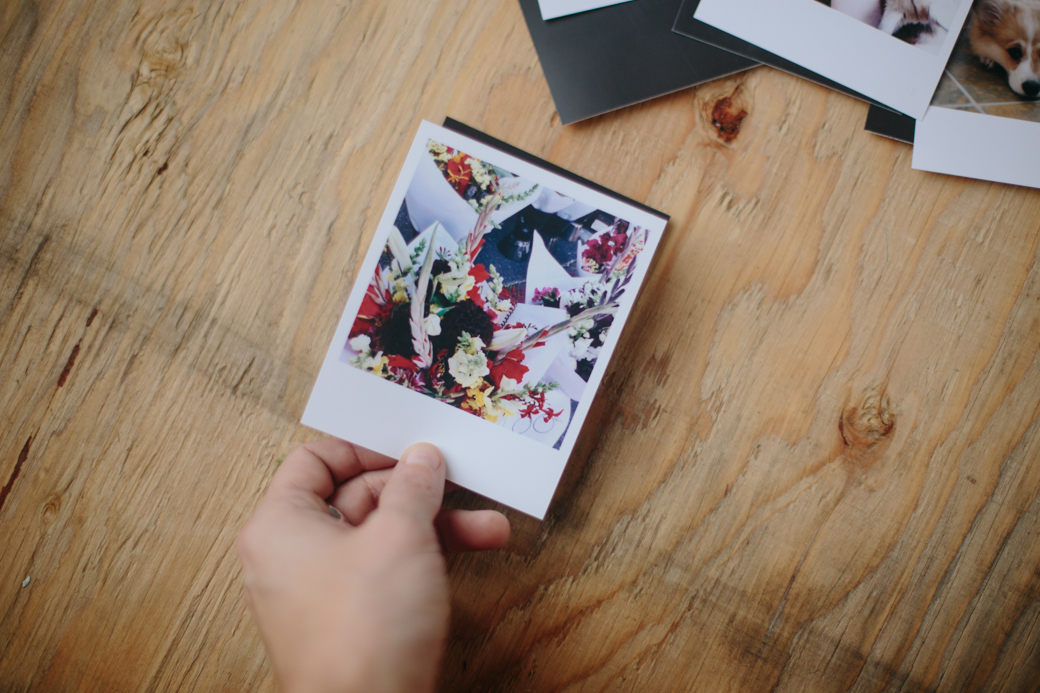
3. Remove the backing on the magnet to reveal the adhesive surface.  Carefully line up your photo over the adhesive and then stick it down.  You only have one shot to get this right because the adhesive is pretty sticky and it'd be difficult to pull it off and try again.  If you didn't get it quite right, you can take your scissors and trim any excess magnet that is showing.

Done!  The magnet is pretty decent, so you can even use the little magnets you made to hold up papers and such.  I think it'd be fun to have a whole fridge covered in photos of friends and family and pretty little details.  In a digital age where most of our photos are online or on our phones, it's nice to have tangible, physical photographs.  One of my favorite things to do when I'm at other people's houses is look at the photos they have on their fridge.

I have a bunch of magnet paper left over so I'm brainstorming more fun magnet projects now!


Pin It!

OUR HOME // bathroom before + after


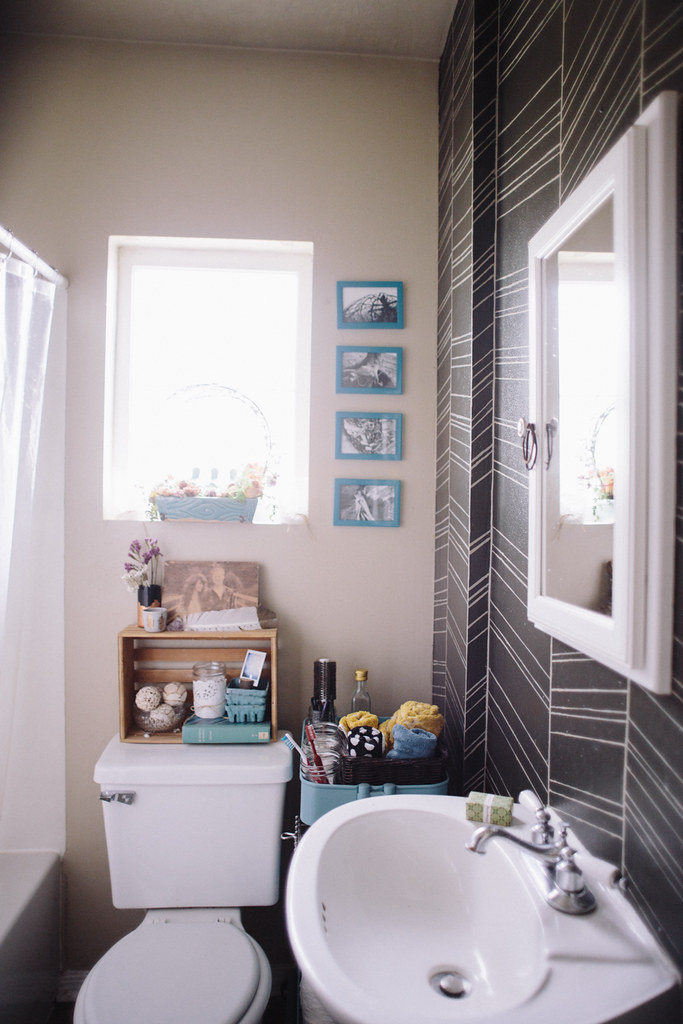
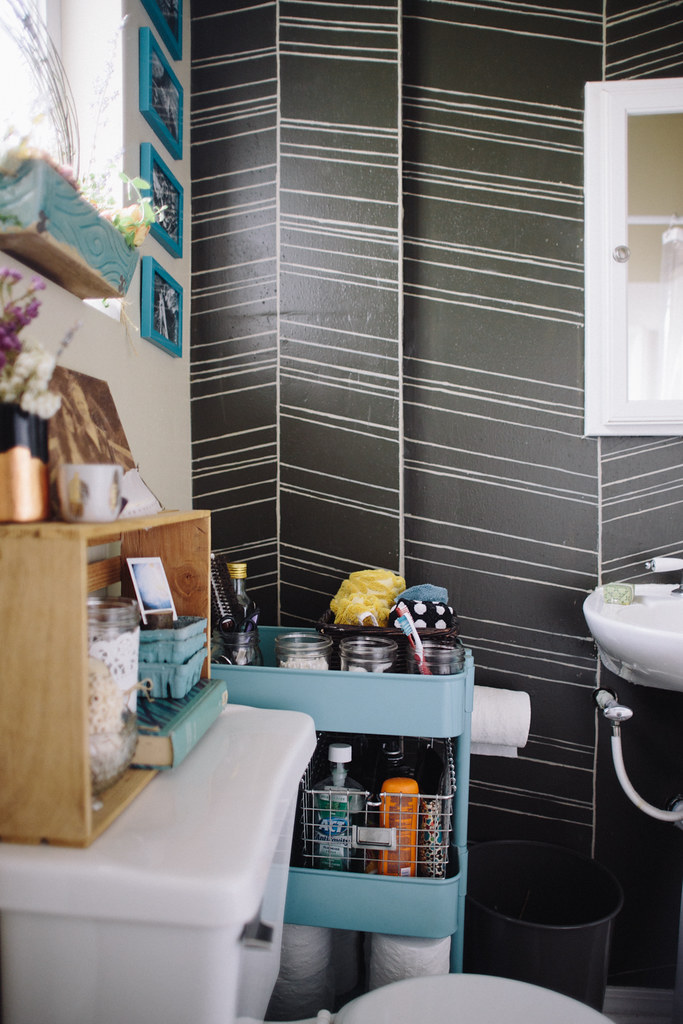
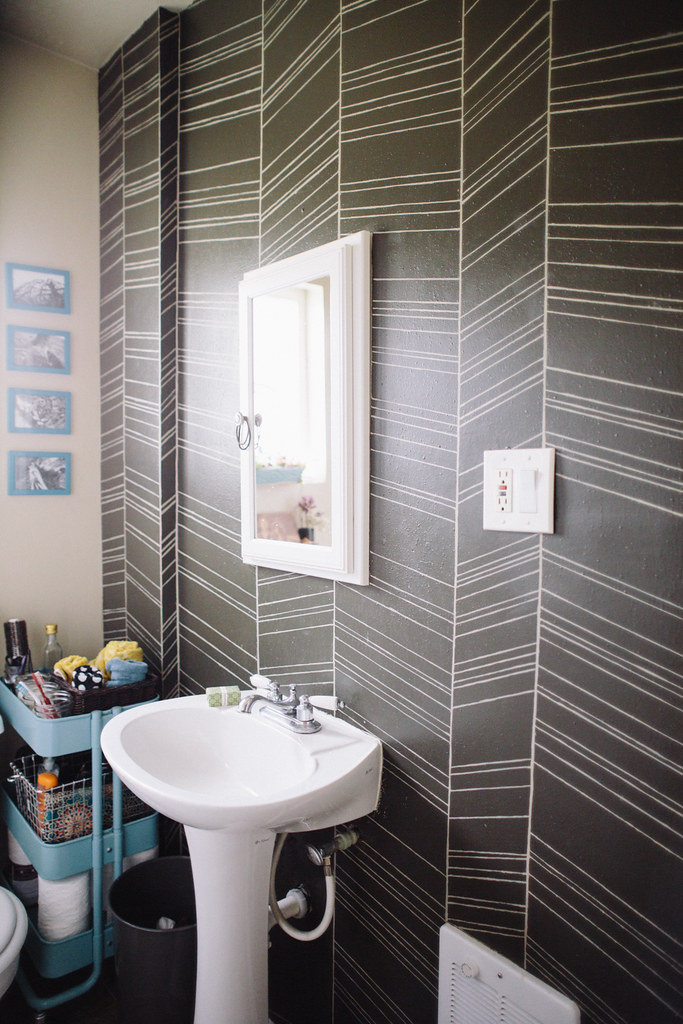
I'm pretty excited to share this with you guys because it's taken about ten months to finish this room, and the only reason it took that long was my crazy paint undertaking.  If I'd gone at it in one go, it probably would've only taken a week, but I started it right before my family got here to re-side the exterior.  Once we started that giant project the herringbone paint job was put on the backburner and I didn't return to it for months.  It was half done for most of this year.  I can't tell you how good it felt to put that last line up.

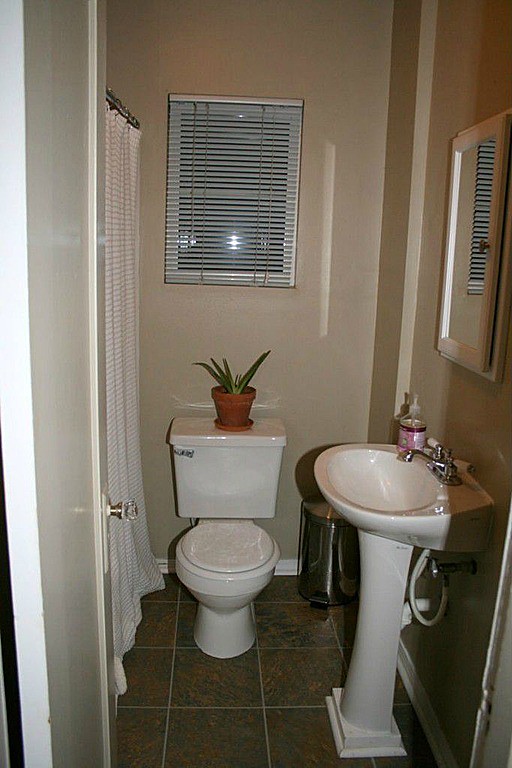
This before picture is a shot from the listing before we bought it.  The sad, lonely toilet plant was not my doing. I hated the blinds, mostly because they're impractical.  I never want them closed because the bathroom is so tiny that I need as much natural light as possible coming in.  But obviously I want them closed while showering so no peeping toms get a show.  I solved that problem by taking the blinds down and putting up an etched glass contact-paper-esque window covering that made it so I could have all the natural light and none of the peeping toms.


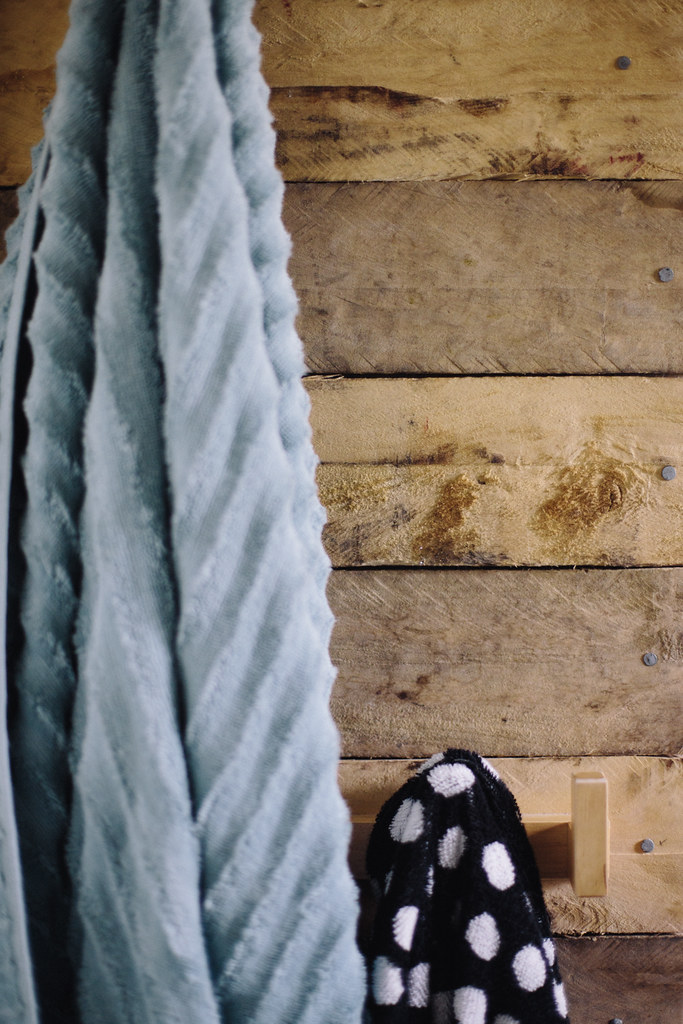
We didn't really have a place to hang towels, and there was an awkward tiny wall behind the door next to the shower which was begging for some hooks to be installed.  I didn't want to just throw up some boring old hooks so I covered the wall with reclaimed wood from pallets and then put up some natural wood hooks from Ikea.

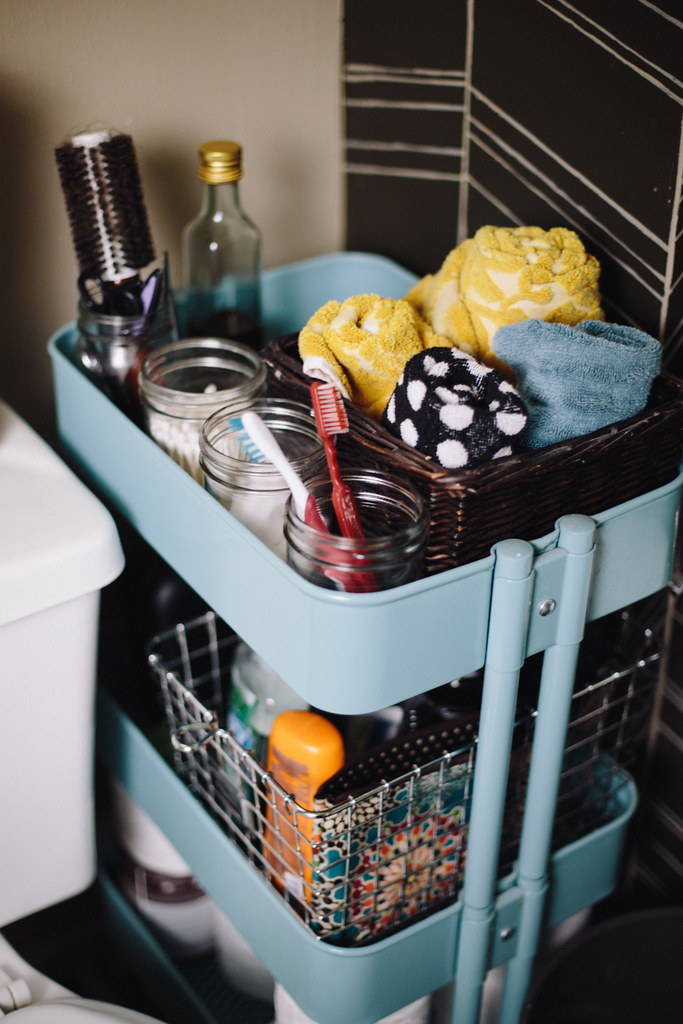
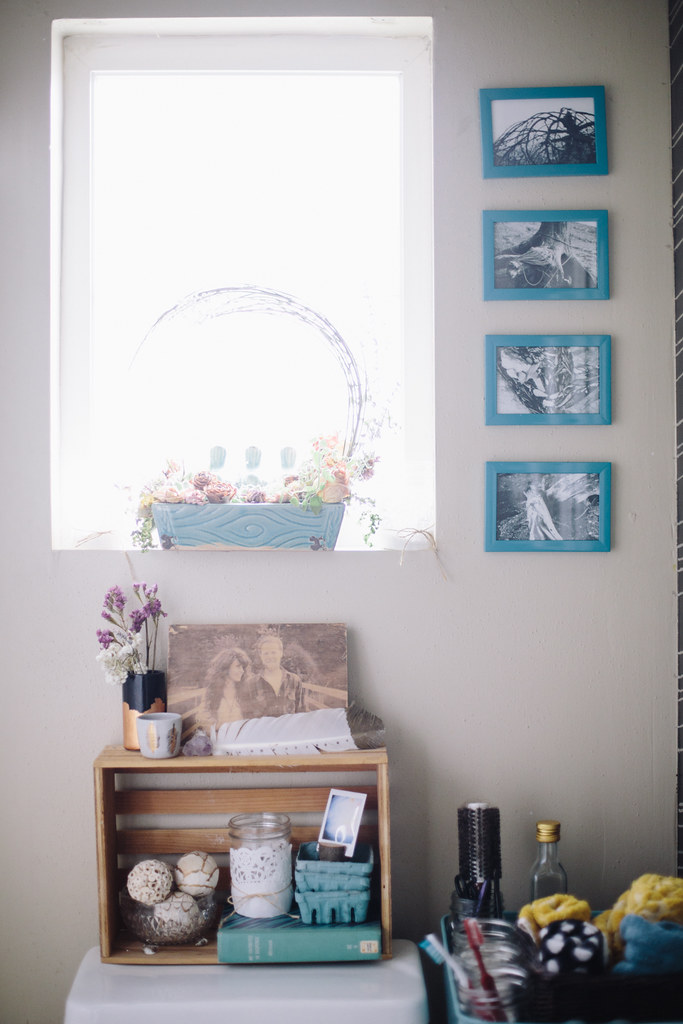
Also from Ikea is the little cart next to our toilet and sink.  The bathroom is rather tiny and it's the only one in the house so we really needed more storage for our daily items than the little medicine cabinet behind the mirror.  It fits perfectly between the toilet and wall and it holds everything from hair products, to spare toilet paper, to our toothbrushes, q-tips, and cotton balls.


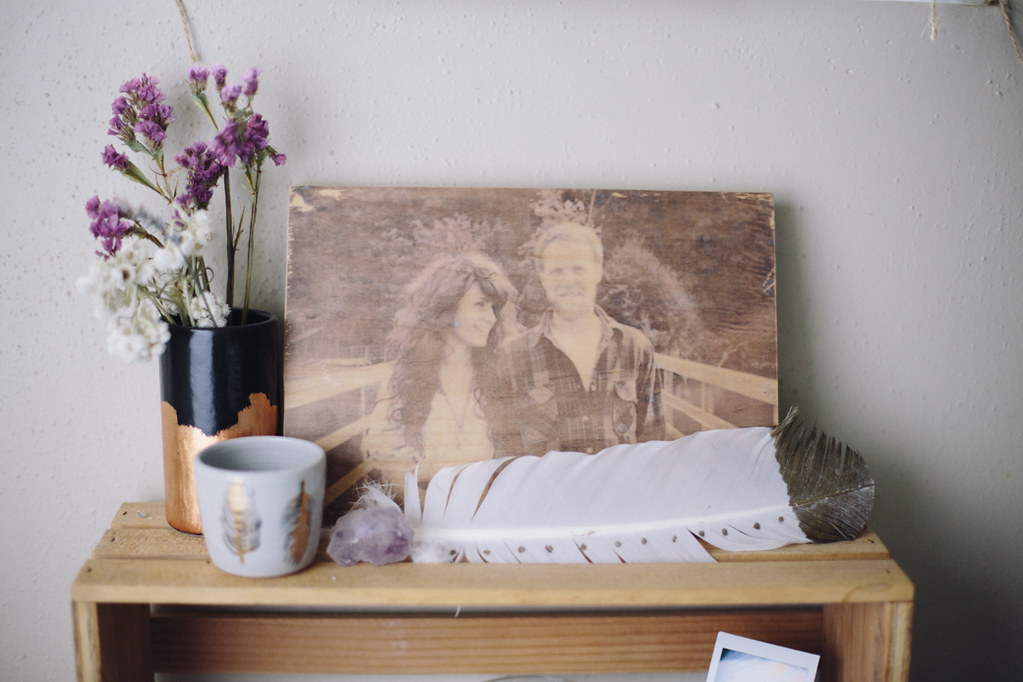
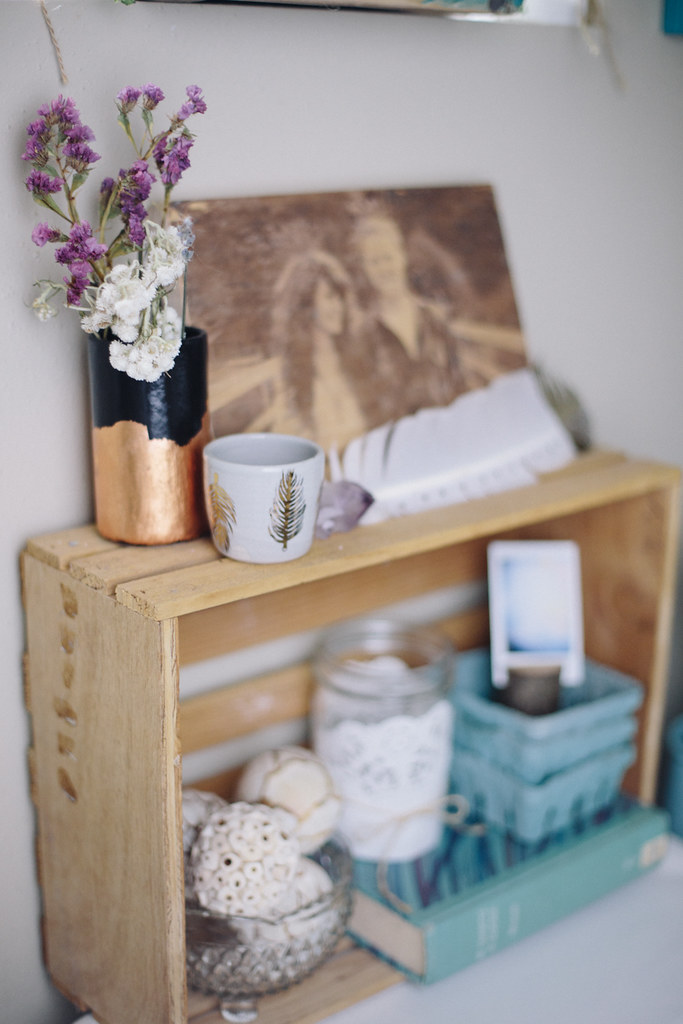
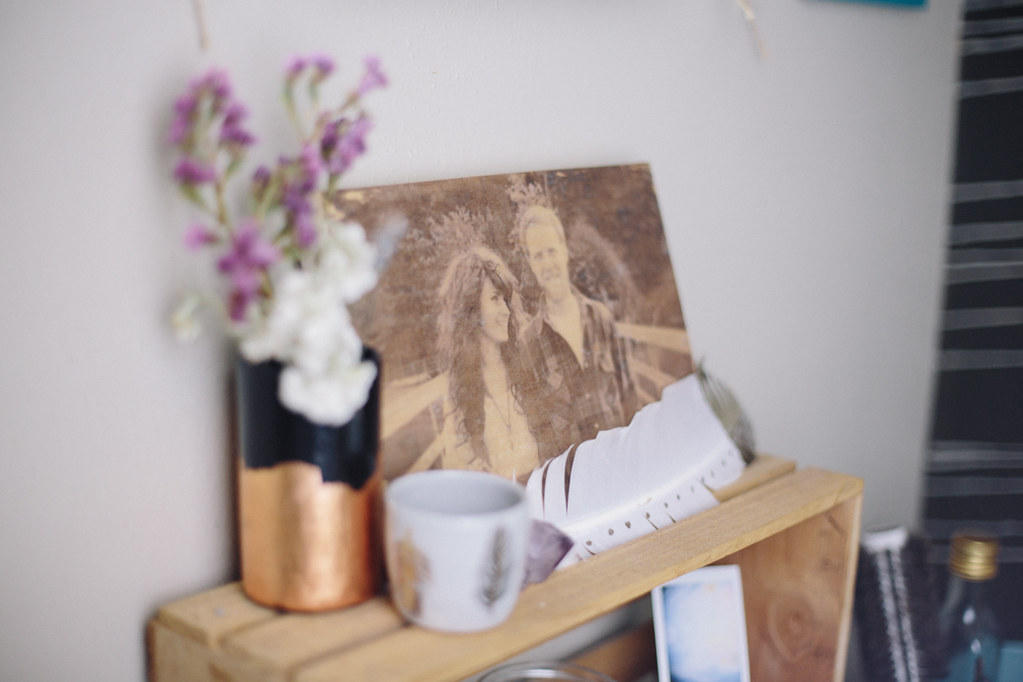
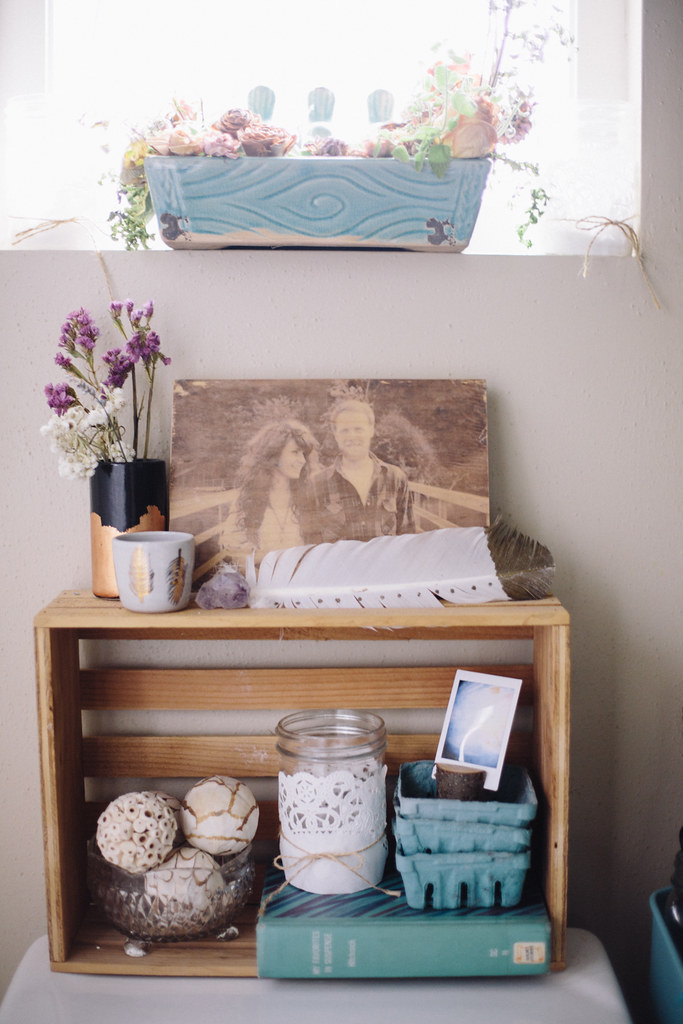
The little vessels on top the toilet are from Moorea Seal!  When did her product shoot at my home back in July, my wish list grew exponentially.  I basically coveted every little thing she brought to the house to shoot.  Of course, I'd go broke if I'd actually bought everything.  I settled for just a few items and this gold and black vase and feather vessel were two of the pieces I picked out.  

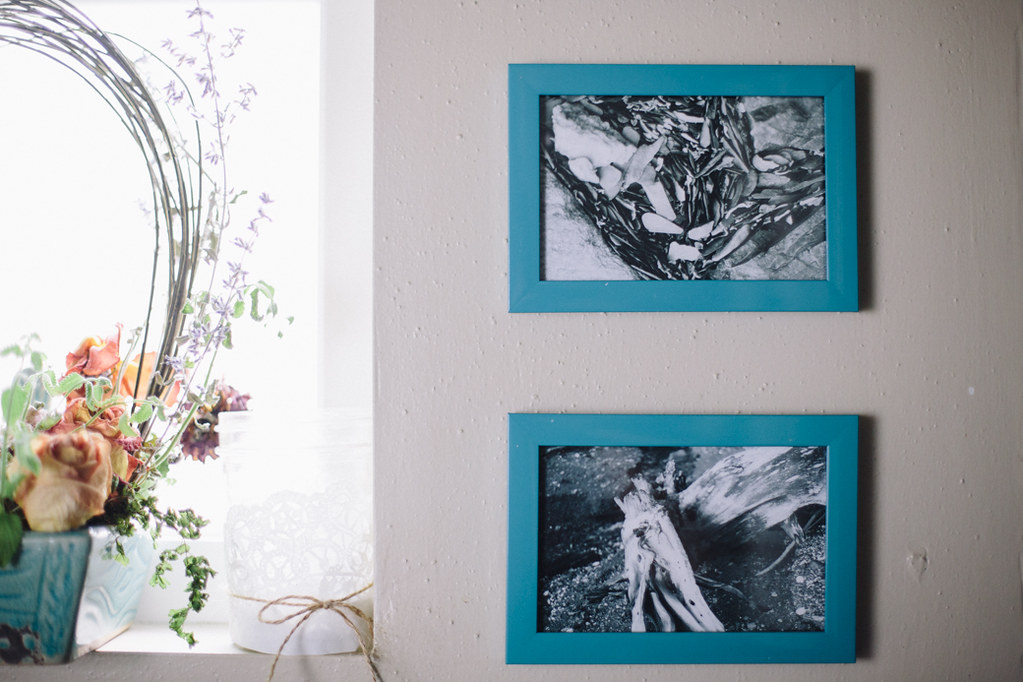
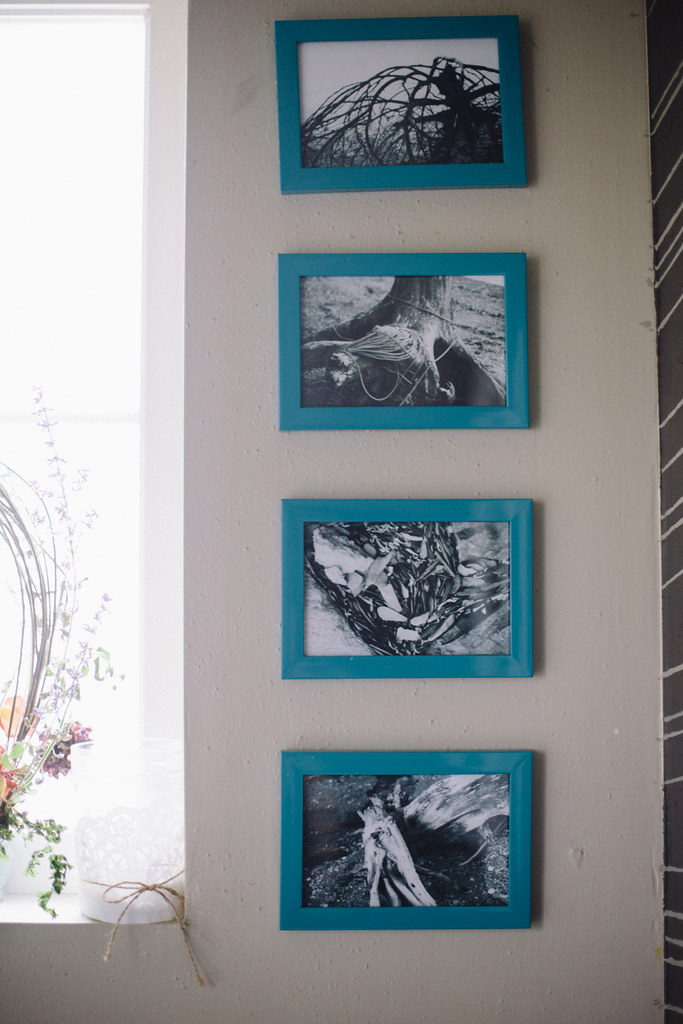
The photo on wood was a Christmas present from my little brother the year Dan & I got married.  He made it himself after googling tutorials and a ton of trial and error.  It's definitely one of my most treasured items.  The photos next to the window are photos I took at my grandparents' house in Juneau many years ago on my mom's old Olympus OM-1.  They've always been some of my favorite photographs, so I'm glad I finally got to display them!


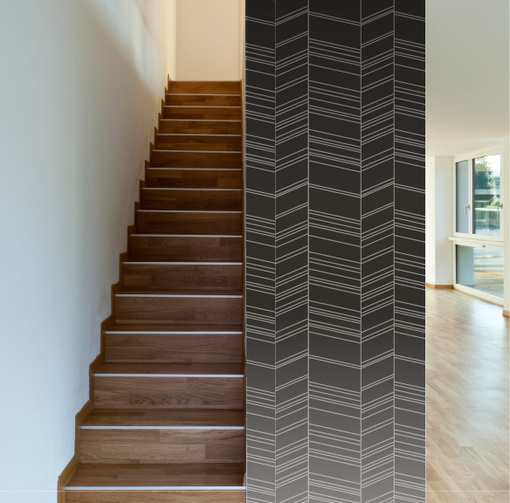
I know that you guys probably don't have any desire to spend hours and hours with a tiny paintbrush replicating my herringbone wall, and the good news is... you don't have to!  I partnered with WallsNeedLove.com to create a vinyl removable wallpaper version based on my hand painted design!

Bathroom Before + After

Sweet, right?  All of the herringbone, none of the cramped hand and hours crammed against the wall meticulously painting hundreds of tiny lines!  Although if you're looking for a way to watch all of the seasons of Grey's Anatomy, I highly suggest going the painting route.  Because it took multiple seasons of Grey's to finish that project.  So, it's your choice.  Binging on Grey's and cramped, painty hands or ... binging on Grey's while... drinking wine or something.

mini feather vessel / moorea seal :: black + gold vessel / moorea seal :: turquoise cart / ikea
towel hooks / ikea :: wall design / handpainted (but buy the wallpaper version here!)
turquoise + polka dot towels / target :: gold towels / anthropologie

Pin It!