One of my favorite things about summer is the cocktails. There isn't much that's better than an ice cold cocktail on the patio as the sun glides towards the horizon. Dan and are working on our yard right now, so instead of a patio we just have a pile of sod and dirt for the time being, but if I close my eyes I'm sitting on our future patio with my feet propped up on our future fire pit. The point is, it doesn't really matter whether or not you have a dreamy patio to enjoy a cocktail, they're still pretty damn delicious regardless of where you're doing the enjoying.
Want to make some bomb cocktails this summer? Here are a few tips for giving your cocktails an extra boost of awesome.
Always use the freshest ingredients when you can. Squeeze citrus juices fresh from the fruit, and use fresh herbs and spices. If you plan on making lots of cocktails this summer, it helps to always have lemons and limes on hand. Instead of using a sour mix, make your own! I promise it'll taste ten times better.
When muddling fruits and herbs, make sure to muddle the right amount. Use a heavier hand with fruits, while being more delicate with herbs.
When it comes to booze, get the best you can afford. I've always heard that you shouldn't cook with a wine you wouldn't drink, so it stands to reason that a cocktail should be made with liquor that tastes good straight! Of course, liquor can get super pricey, so it's a balance between affordability and taste, just find something that works for you. But! A good liquor can really make a cocktail incredible.
Strawberry Basil Lemonade Sparkler (above)

New York Sour

Chipotle Whisky Sour
Make sure to dilute your drinks! Diluting can feel like it's going against the point of creating a cocktail, but here are simple cues to know when your drink is diluted the right amount. For cocktails that are stirred, watch the edges of the ice cubes. Once they've lost their sharpness and the edges are rounded, it's done! If you're making a shaken drink, you'll know it's properly diluted as soon as the shaker gets frosty. Another tip on ice: if the ice has been sitting in your freezer for too long it can start to take on the taste of other stuff in your freezer, which really isn't the flavor profile you want in your cocktail. Use fresh ice!
Don't forget the garnish! My favorite way to make a cocktail look super fancy is the garnish. Even the most simple of garnishes can make your cocktail look like it was handcrafted by a world class bartender. Just a twist of lime, sprig of mint, or a wedge of fruit is all it takes! Not only do garnishes make your drinks look great, they can also finish out the flavor profile of your drinks. Just a twist of lemon peel or a star anise can perfectly finish your cocktail! If you're garnishing with a citrus peel, make sure to twist it over the drink before rubbing the rim and dropping it in. If you're garnishing with herbs, clap them between your palms to release the oils first.
Using the right type of glass for a cocktail can also help your cocktails shine. It's not required for a great tasting cocktail, obviously, but it can make it that much more pretty. I've bought all my different kinds of cocktail glasses at thrift stores! Or, you know, just use mason jars, I'm guilty of using mason jars for 90% of my home cocktails.

Clover Club

Classic Mojito

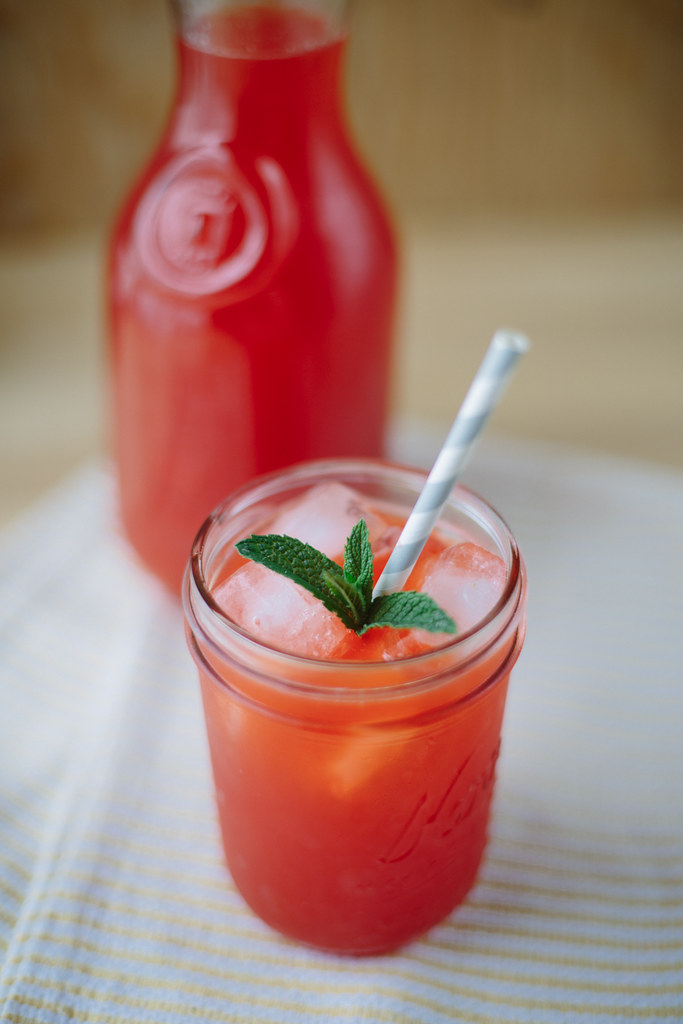
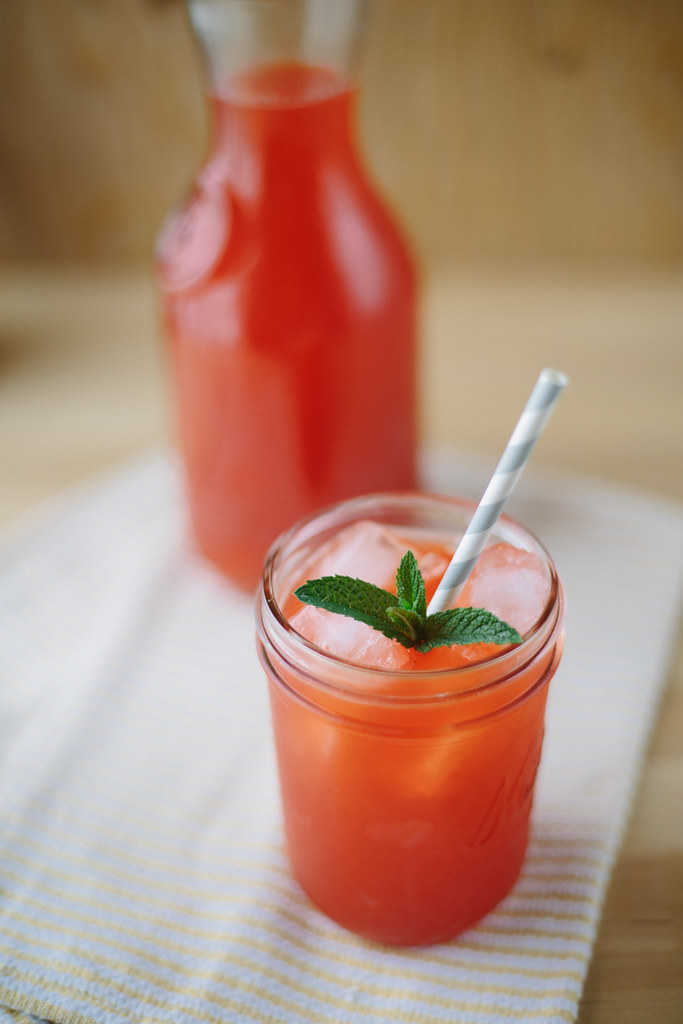
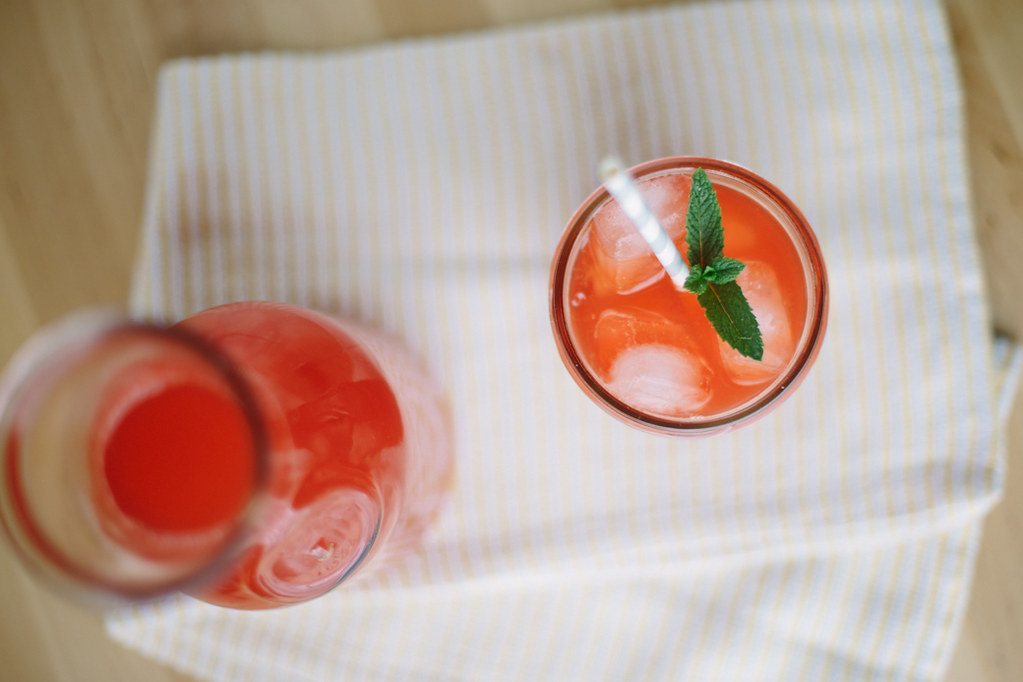
The rhubarb is still going strong in our CSA and now they've added strawberries! One can only make so many strawberry rhubarb pies without it reaching the level of absurdity so I've been thinking of new ways to utilize my stock of strawberries and rhubarb without repeating the same recipes over and over. We've been having amazing weather, and I think summer might finally be here to stay, so all I really want to drink is iced tea and lemonade. As a kid I remember going to Red Robin and getting their "freckled lemonade" which was lemonade with muddled strawberries in the bottom. This lemonade recipe doesn't have muddled fruit (though why the heck not, right? Go for it), but it's way more delicious than Red Robin's. I'm having a hard time not guzzling straight through it. I think my blood sugar thanks me for making that effort.
One of my favorite things about summer is lemonade stands on street corners. Kids with their pitchers full of crystal lite and scrawled signs. I lived on a small cul-de-sac growing up and there wasn't any foot traffic and the only cars that rolled through were our neighbors, so I didn't ever get to have a lemonade stand, except for one time when we had a garage sale. I remember we got those costco jelly-filled pastries and giant muffins and sold those too. I also remember sleeping in until like 1 pm, so I probably missed half of my potential customers. It was summer! Sleeping in on summer break is, like, totally legit, though not recommended for fledgling entrepreneurs.
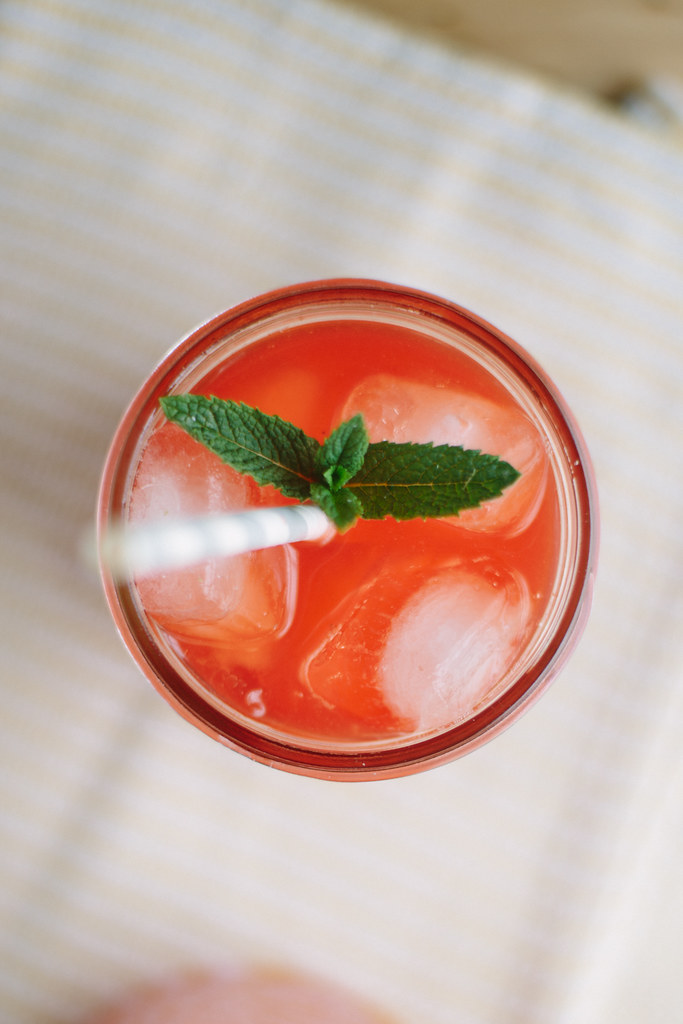
Ingredients
3 stalks rhubarb, chopped
1 lb strawberries, pureed (use a blender or food processor)
2 cups sugar
4 cups water
1 cup lemon juice
1. Pour the water, sugar and rhubarb into a large pot and boil for 5 minutes. Remove from heat and add in strawberries.
2. Let it sit for about 45 minutes and then strain through a sieve or cheesecloth.
3. Refrigerate the syrup for 1 hour and then stir in lemon juice. If it's too sweet for your taste, add water and/or lemon juice until it reaches the desired taste. If you have powdered or premade lemonade, you can always add the strawberry/rhubarb simple syrup to that to give it flavor, too.
4. Serve over ice. I garnished with some mint, because who doesn't love a garnish? Oh, and if you're feeling a bit saucy, throw in a 1/2 oz of vodka!
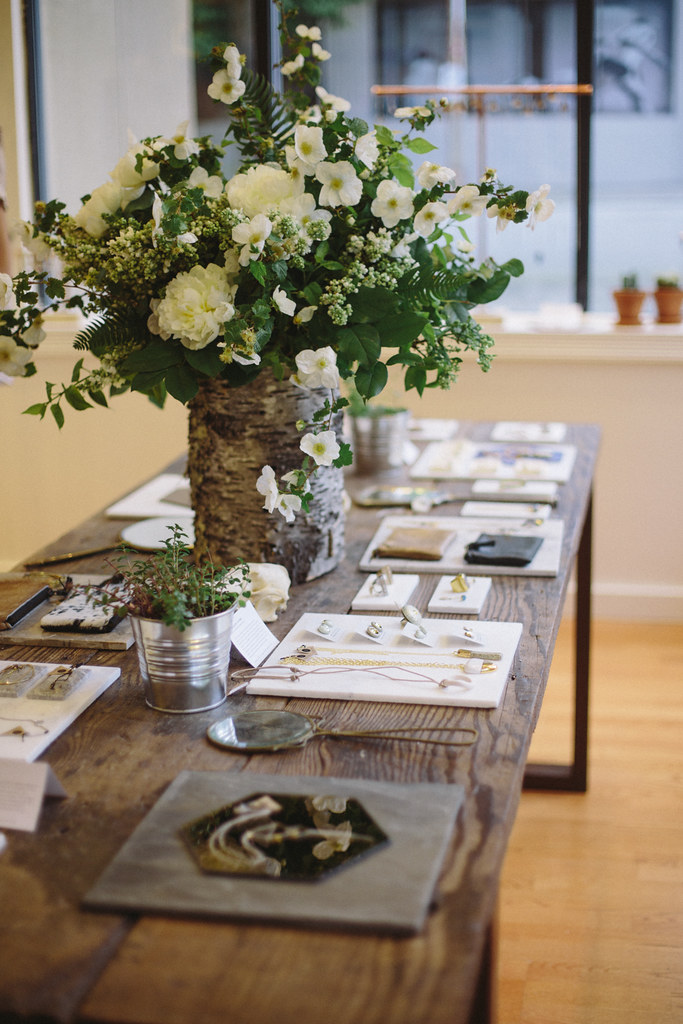 On Friday I had the pleasure of getting to go to Moorea's flagship brick & mortar store soft-opening party to preview everything and celebrate with her. I first "met" Moorea when we both worked for Freckled Nest Design creating blog designs. I realized that she lived in Seattle and started reading her blog and lusting after her beautiful jewelry creations, which at the time she sold in her etsy shop. We've become friends over the years and I love getting to hang out with her at blog meet-ups and blogger conferences. Last year when she launched her online retail store she used my home for a product photo shoot and I basically wanted to steal everything she brought for the shoot. I was so impressed with the caliber of designers and the curation of products she'd chosen to sell and was so excited for her.
One of the things I adore about Moorea is how she's constantly thinking of ways to give back. Her store donates a portion of every sale to amazing causes and she's completely committed to empowering women and helping people, which I deeply admire. When I heard that she was opening a brick and mortar shop in Seattle I was so thrilled for her. I knew it would be stunning and as I walked through the doors on Friday my expectations were exceeded. This woman is a powerhouse and I love her vision.
Her grand opening party is this Friday, May 9th from 6-9, and the first 100 people get a free Moorea Seal tote bag, so if you're local to the area make sure to head over, and bring your wallet because you're probably gonna want to buy everything (I did. It was a practice in self control being in there!). Here's a little taste of all the gorgeous items you can get your paws on! If you're not local, you can still shop on her online shop here, full of the same beautiful items!
On Friday I had the pleasure of getting to go to Moorea's flagship brick & mortar store soft-opening party to preview everything and celebrate with her. I first "met" Moorea when we both worked for Freckled Nest Design creating blog designs. I realized that she lived in Seattle and started reading her blog and lusting after her beautiful jewelry creations, which at the time she sold in her etsy shop. We've become friends over the years and I love getting to hang out with her at blog meet-ups and blogger conferences. Last year when she launched her online retail store she used my home for a product photo shoot and I basically wanted to steal everything she brought for the shoot. I was so impressed with the caliber of designers and the curation of products she'd chosen to sell and was so excited for her.
One of the things I adore about Moorea is how she's constantly thinking of ways to give back. Her store donates a portion of every sale to amazing causes and she's completely committed to empowering women and helping people, which I deeply admire. When I heard that she was opening a brick and mortar shop in Seattle I was so thrilled for her. I knew it would be stunning and as I walked through the doors on Friday my expectations were exceeded. This woman is a powerhouse and I love her vision.
Her grand opening party is this Friday, May 9th from 6-9, and the first 100 people get a free Moorea Seal tote bag, so if you're local to the area make sure to head over, and bring your wallet because you're probably gonna want to buy everything (I did. It was a practice in self control being in there!). Here's a little taste of all the gorgeous items you can get your paws on! If you're not local, you can still shop on her online shop here, full of the same beautiful items!
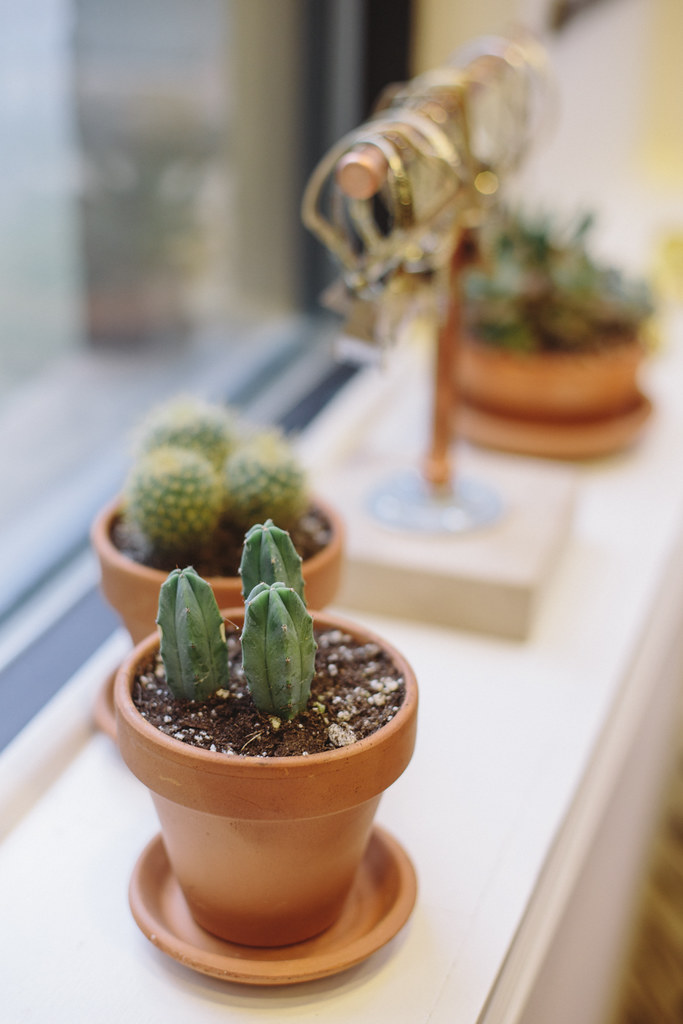
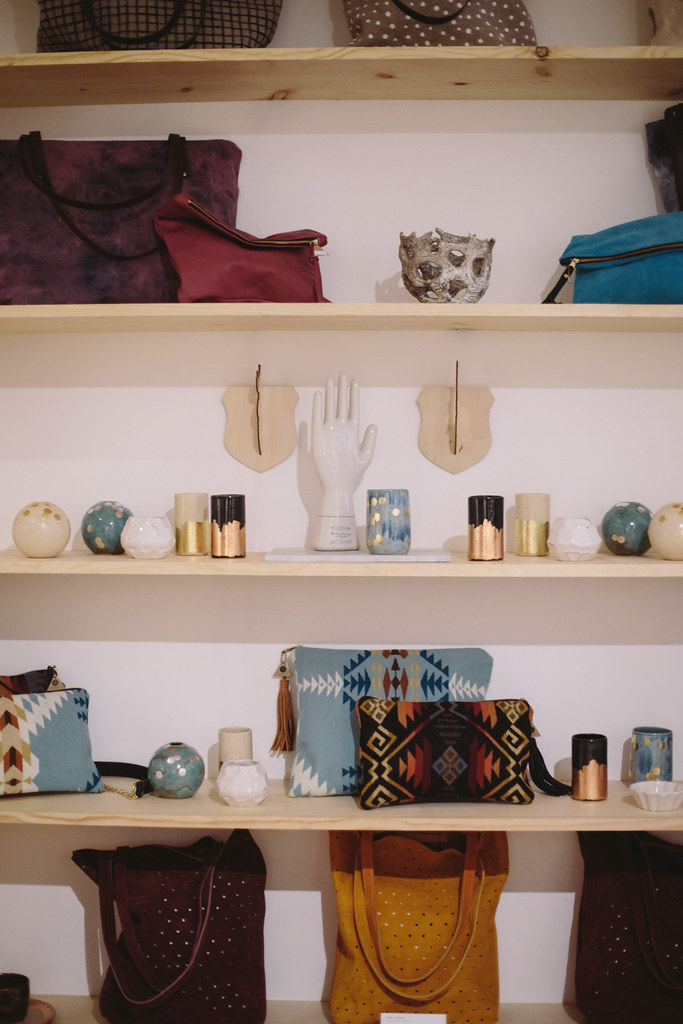
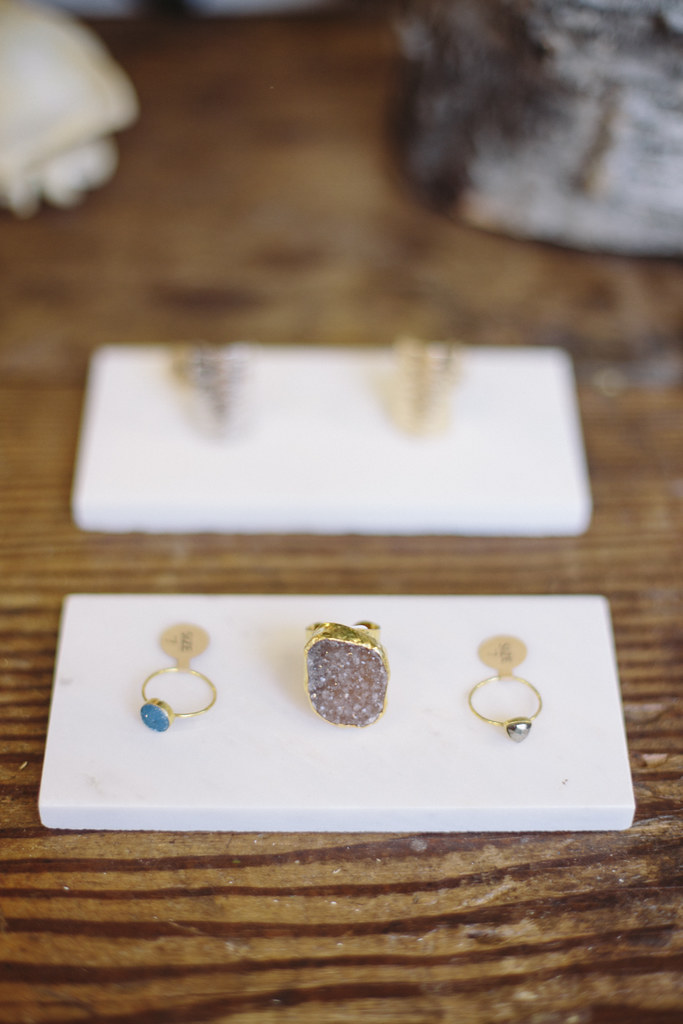
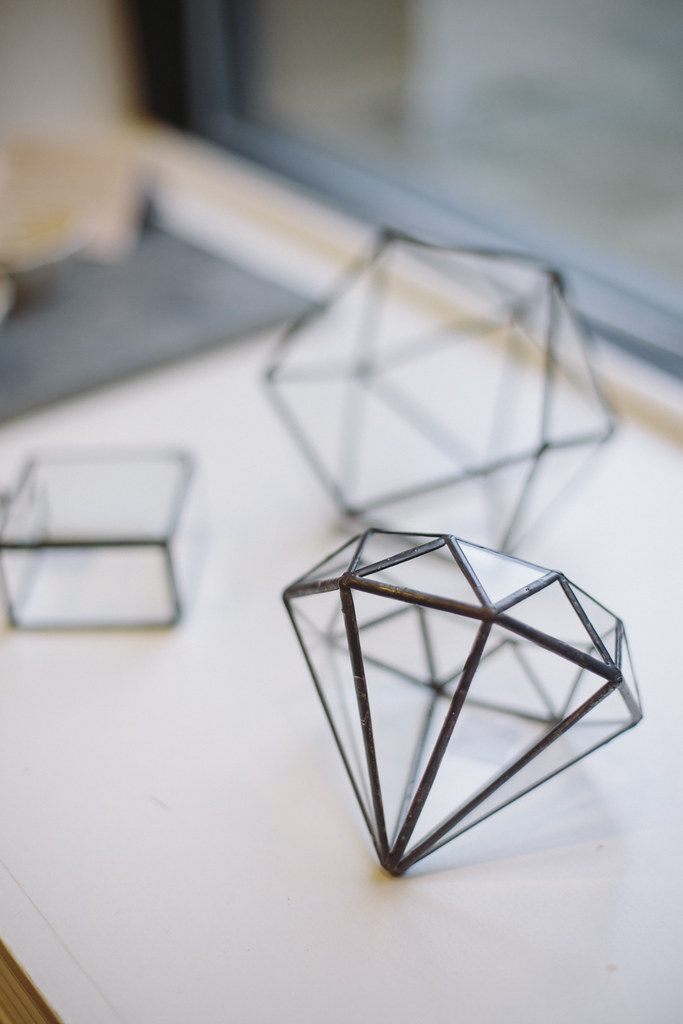
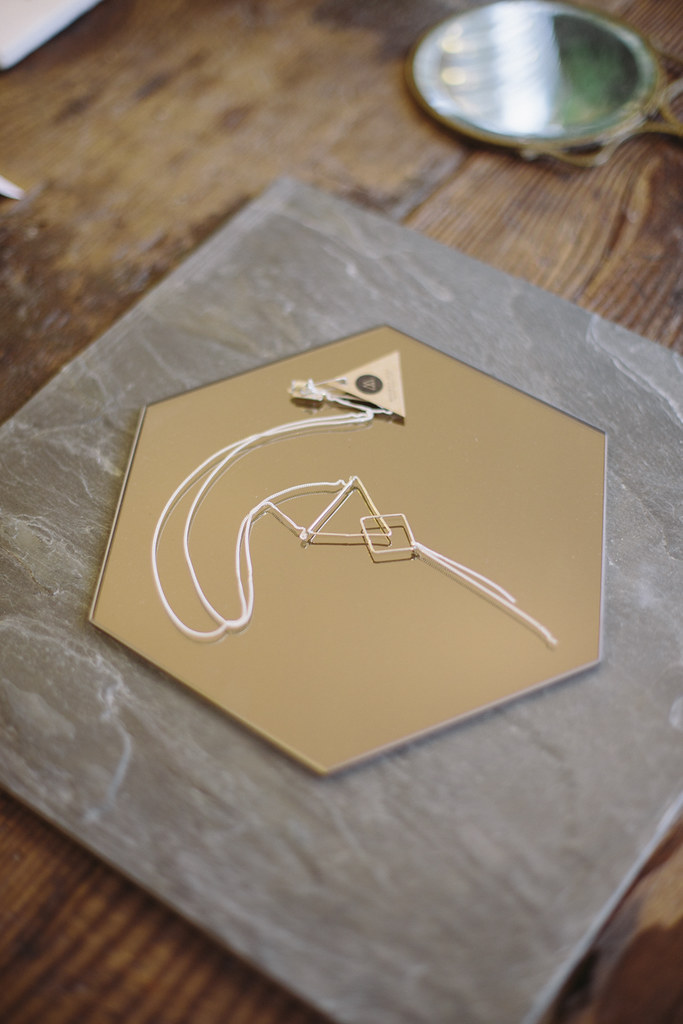
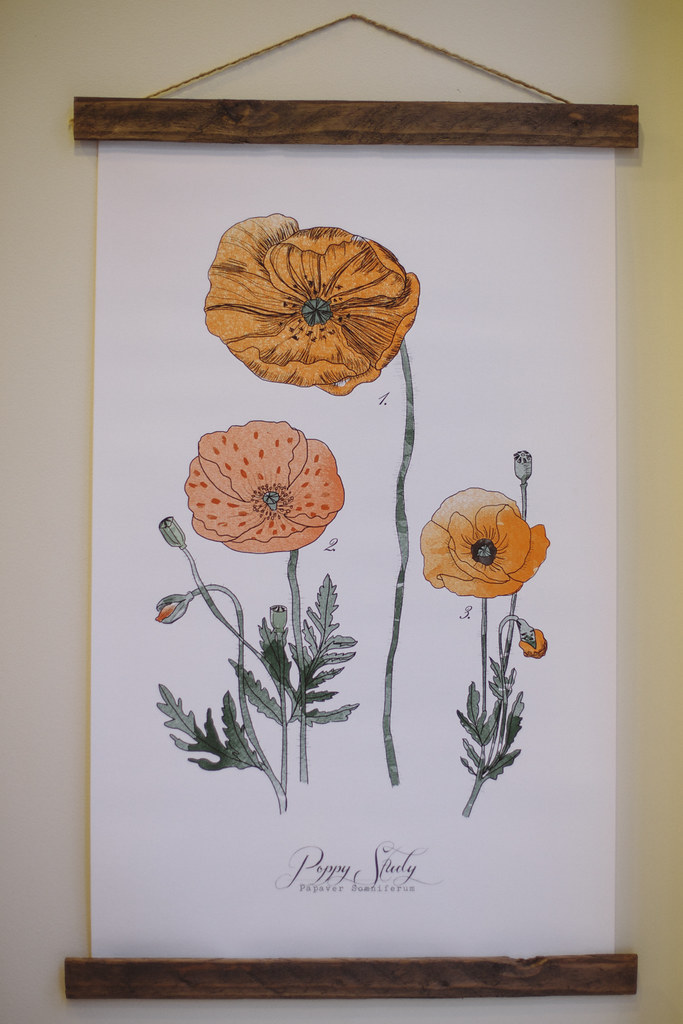

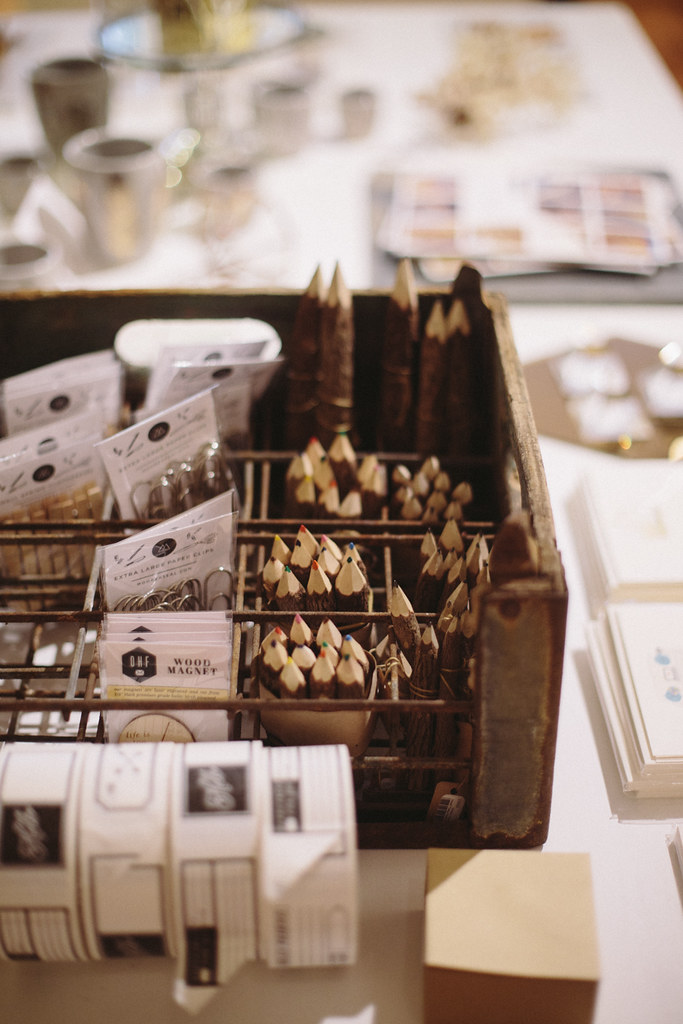

Moorea Seal Store
2523 3rd Ave, Seattle, Washington
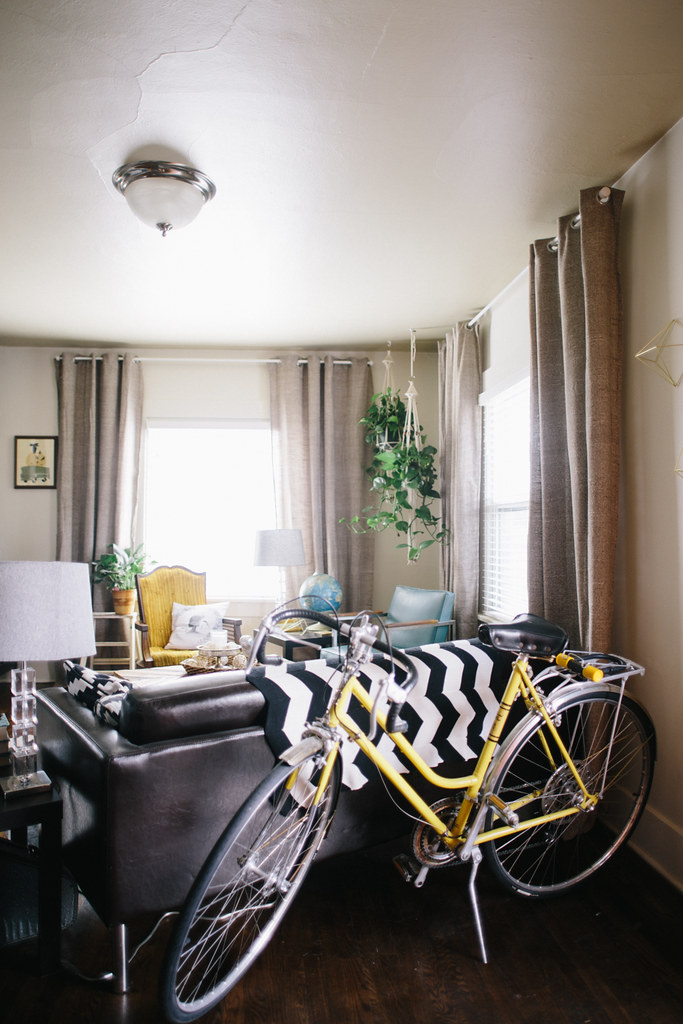
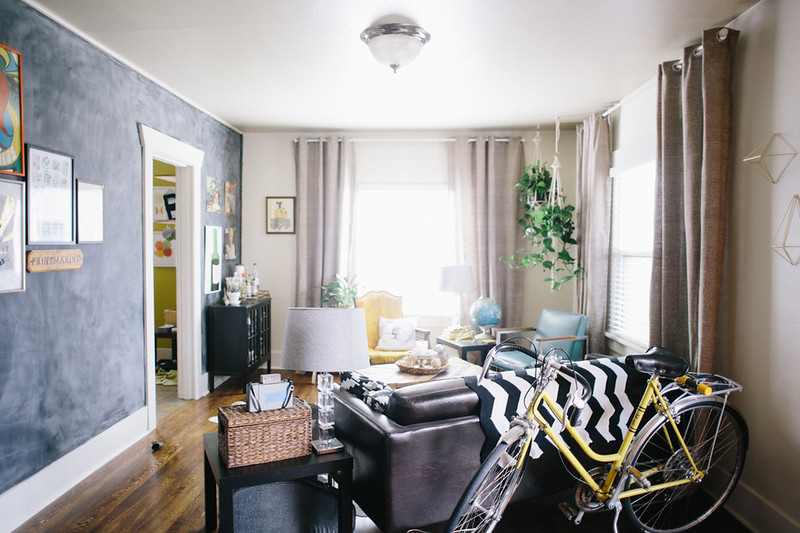
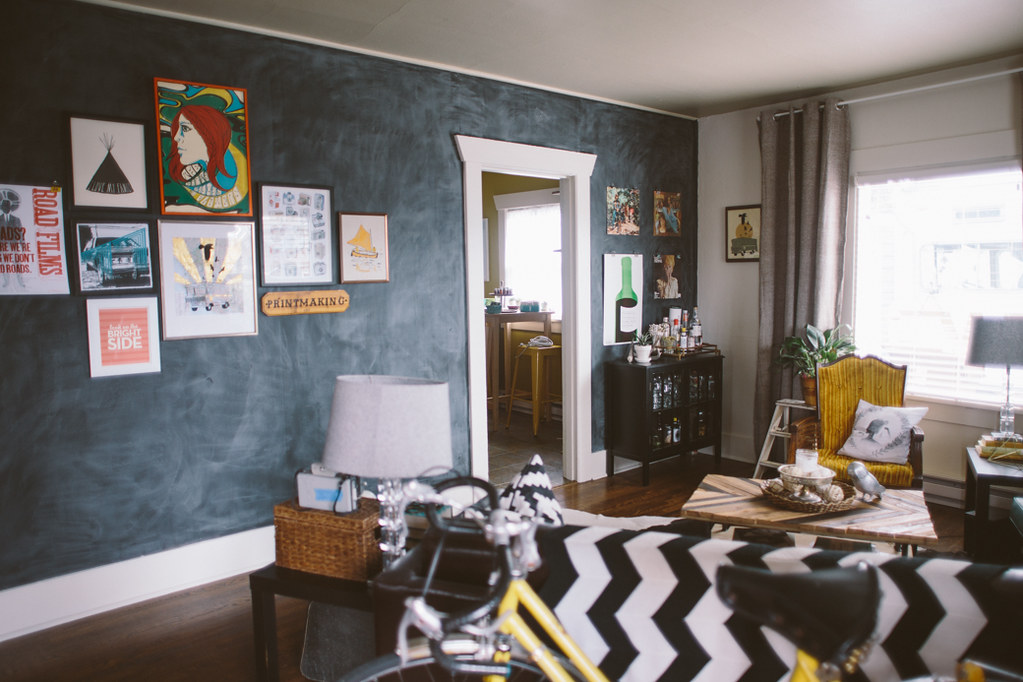
Back in July I painted half the living room white. I was tired of the beige and wanted something fresh and crisp. At the time, though I knew I wanted to paint my big wall something fun, so instead of taking the time to paint it white, I left it beige and proceeded to ruminate on what color I should paint it for months... and months. I knew that I wanted something that would compliment the chartreuse in the kitchen because you see that wall through the doorway, so I didn't want a clashy color. After some thought I ended up just going for another chalkboard wall. After I painted that wall I realized that the majority of the walls in our house are black. The exterior is black, living room wall, kitchen wall, most of the bedroom, and the wall in the bathroom is off-black. I guess I just really like black walls. I'm really in love with it though. We also rearranged the living room a smidge. I think I like the other layout better, but it's nice to switch things around and this is the layout we picked when we moved things around to fit our Christmas tree in the corner (where the black cabinet is now). I'll probably move things around again in a couple months.
I took down the bunting that had been up for about a year. I'd put it up for our housewarming party and just never took it down. I loved it but I wanted to see what it looked like without it and I like it just fine. It was fun, but I think it makes the room feel a bit taller without it.

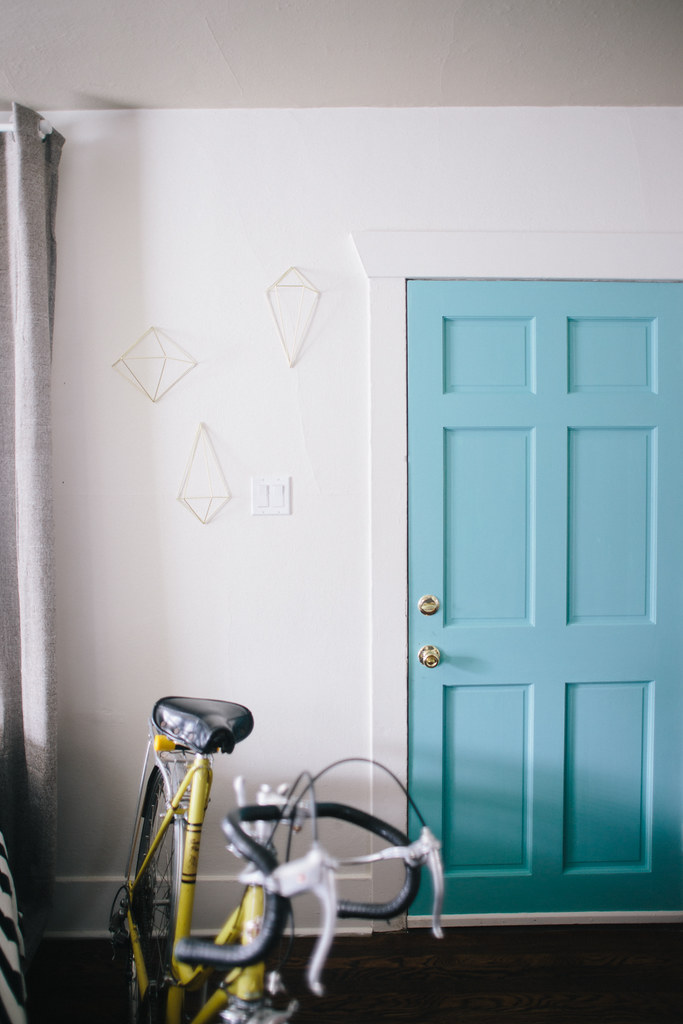 One of my other favorite changes is the turquoise door. When I painted the wall white, the door kind of just disappeared and it felt very stark and plain. The other side of the door is orange, so I figured it needed an alter ego equally as bold. We have quite a few turquoise elements in the room, and I love the color in general, so it was the perfect choice. The nice thing about painting a door is that it's a super minimal investment (all you need is one or two coats, and you'll only need one of those tiny sample sizes from home depot, which is like 3 bucks I think), and it gives you a big impact.
The wall next to the door always felt really empty to me, but it was an awkward place to hang any art, and when I found these little diamond wall hangings at Modcloth I knew they'd be just the thing to fill the space and add interest, while still keeping things light. The cool thing about them is that you can snap them together to make them into full diamonds that you can hang or put on a table as a little sculpture piece. I put up three halves on the wall and snapped one together to put on the table by the hanging plants.
Another favorite improvement is the plant life. We used to have a palm in the corner where the hanging plants are now and I killed it. I killed it dead. When I found the macrame hangers at the thrift store I knew exactly where I wanted them to go, but I also knew it would involve keeping living plants alive. So far so good! I love how they fill up that corner and add height and dimension.
One of my other favorite changes is the turquoise door. When I painted the wall white, the door kind of just disappeared and it felt very stark and plain. The other side of the door is orange, so I figured it needed an alter ego equally as bold. We have quite a few turquoise elements in the room, and I love the color in general, so it was the perfect choice. The nice thing about painting a door is that it's a super minimal investment (all you need is one or two coats, and you'll only need one of those tiny sample sizes from home depot, which is like 3 bucks I think), and it gives you a big impact.
The wall next to the door always felt really empty to me, but it was an awkward place to hang any art, and when I found these little diamond wall hangings at Modcloth I knew they'd be just the thing to fill the space and add interest, while still keeping things light. The cool thing about them is that you can snap them together to make them into full diamonds that you can hang or put on a table as a little sculpture piece. I put up three halves on the wall and snapped one together to put on the table by the hanging plants.
Another favorite improvement is the plant life. We used to have a palm in the corner where the hanging plants are now and I killed it. I killed it dead. When I found the macrame hangers at the thrift store I knew exactly where I wanted them to go, but I also knew it would involve keeping living plants alive. So far so good! I love how they fill up that corner and add height and dimension.
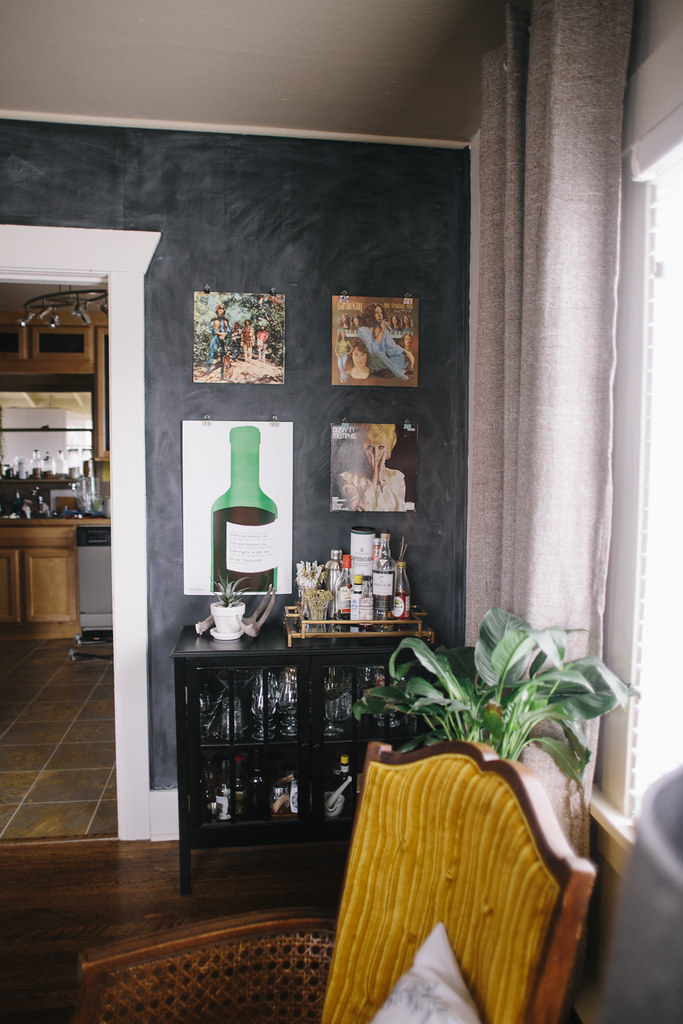
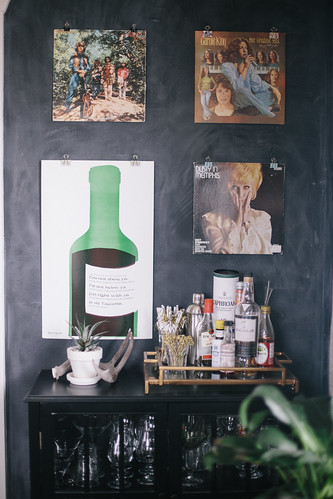

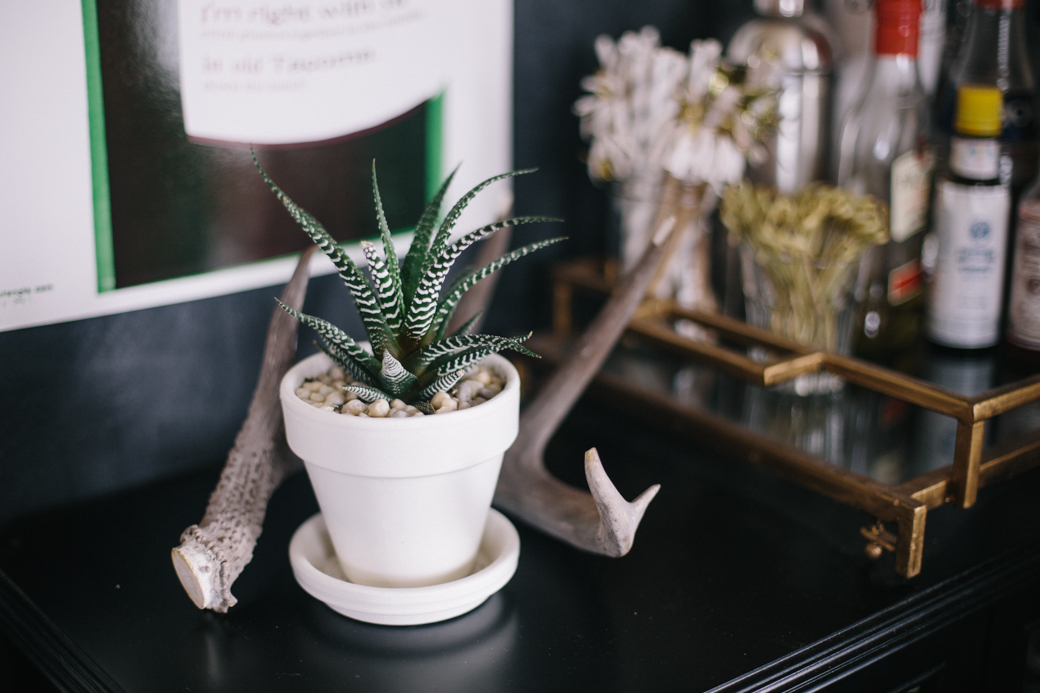 I'm currently in the process of building a rolling island for our kitchen and it's going where this black cabinet used to be. I figured moving the bar to the living room made plenty of sense and I love it against the black wall (though it was against a chalkboard wall in the kitchen too).
I tried to link to most everything, especially new elements, below, but I probably missed some stuff, so let me know if I didn't mention something and you want to know where it's from. A lot of stuff is old or thrifted or handmade.
I'm currently in the process of building a rolling island for our kitchen and it's going where this black cabinet used to be. I figured moving the bar to the living room made plenty of sense and I love it against the black wall (though it was against a chalkboard wall in the kitchen too).
I tried to link to most everything, especially new elements, below, but I probably missed some stuff, so let me know if I didn't mention something and you want to know where it's from. A lot of stuff is old or thrifted or handmade.
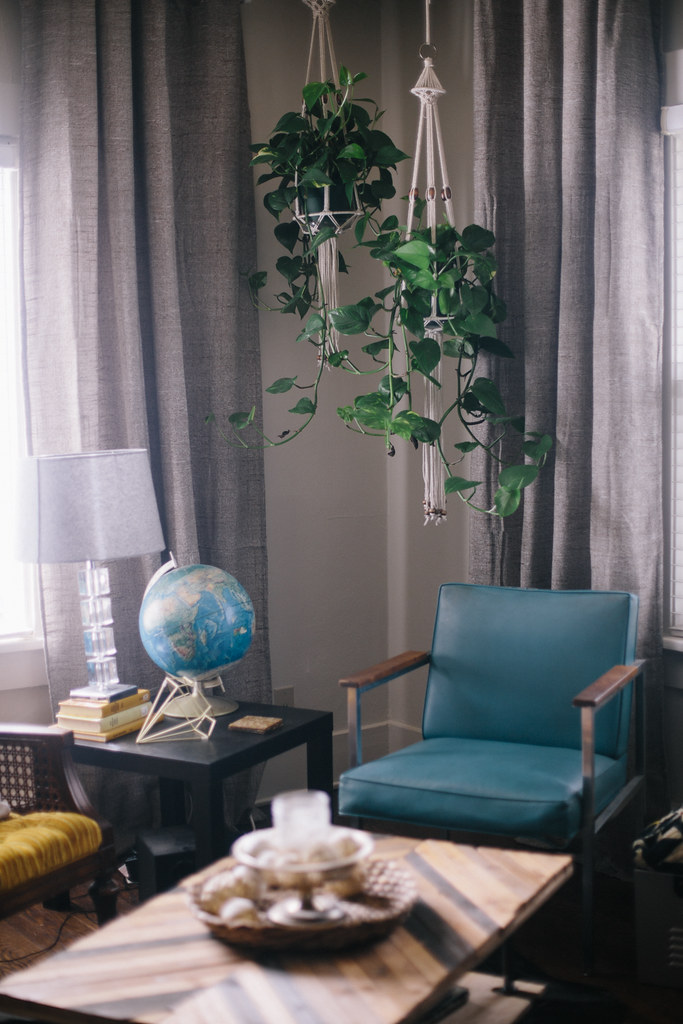
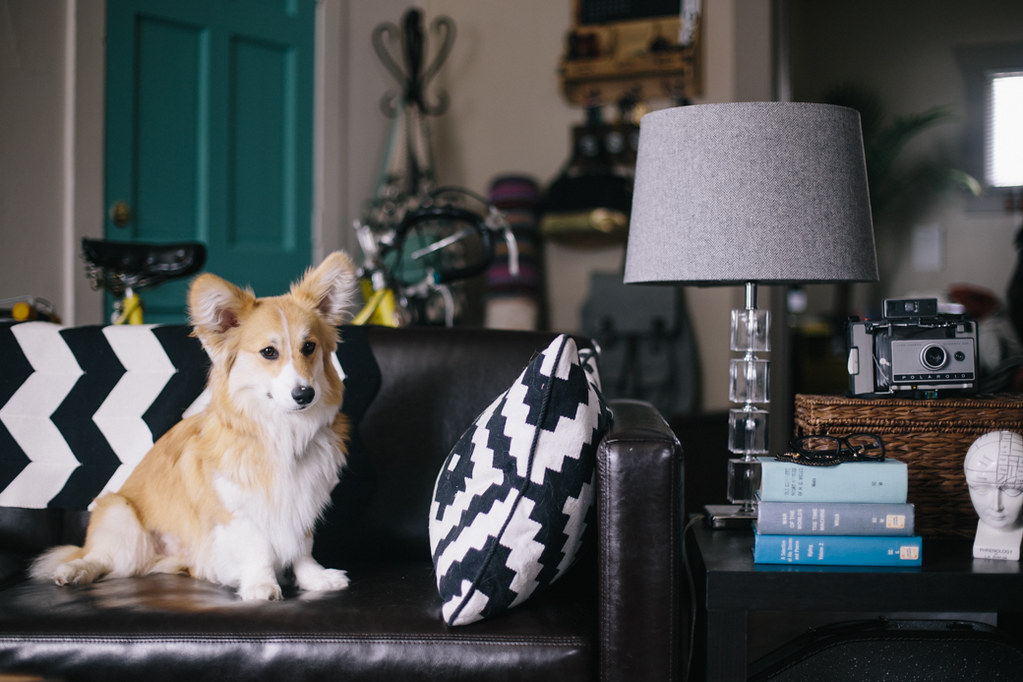 couch + pillows + side tables/ikea :: lamps + bar cabinet/target :: phrenology container + diamond sculpture-wall hangings/courtesy of modcloth :: coffee table/diy :: macrame plant hangers + chairs + globes + booze caddy/thrifted