Showing posts with label decor. Show all posts

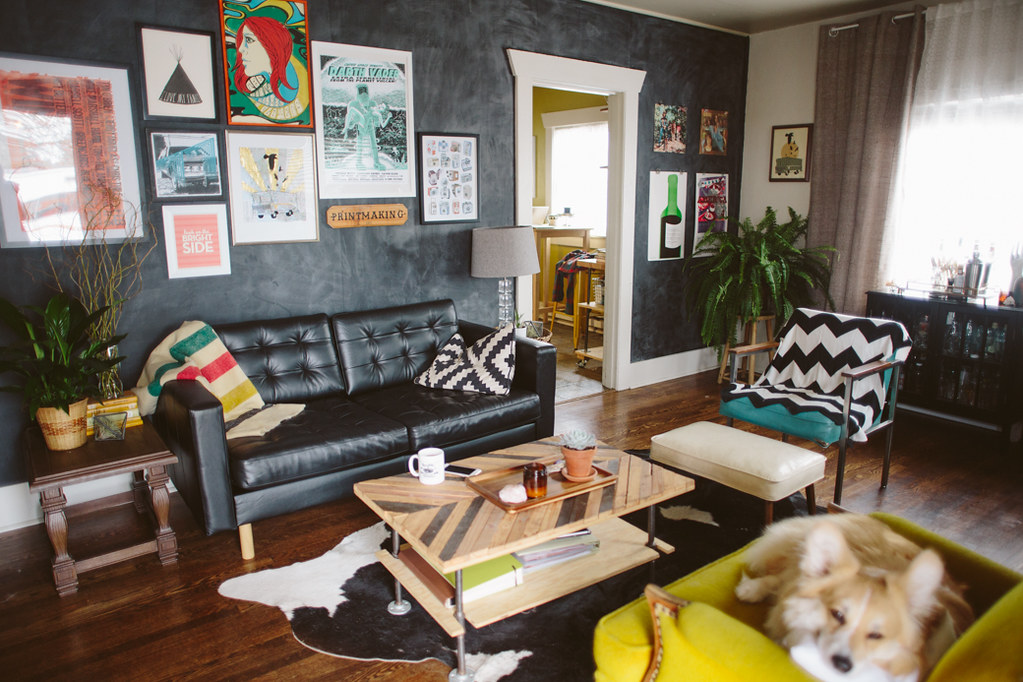
OUR HOME // living room update

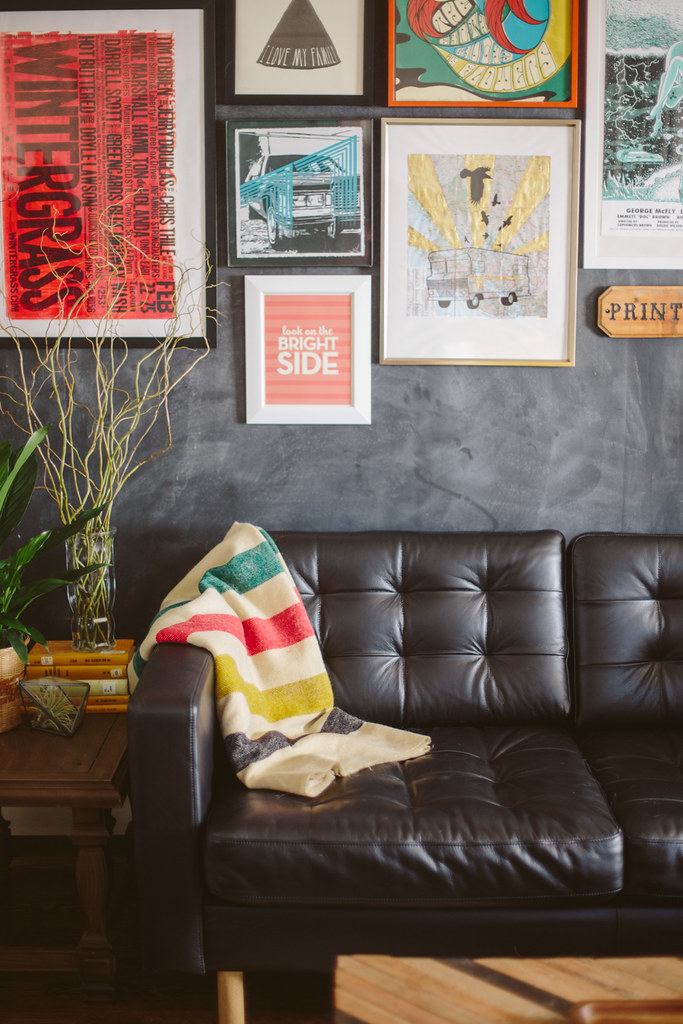
Eclectic Artist Living Room Inspiration

Mid-summer I got the idea stuck in my head that we were gonna split once Dan got home from Alaska, move out of our house into the Winne and sell all our stuff.  After my trip up to Alaska to visit him I came home and started selling our furniture.  I sold and donated quite a bit of stuff, including our couch, but then after Dan came home he got a new job, I got invited to join the Gritty City Sirens and staying in Tacoma started to sound appealing again.  Our house was still in a bit of a jumble from my purge fest and our living room always felt like it was in a state of being unfinished.  

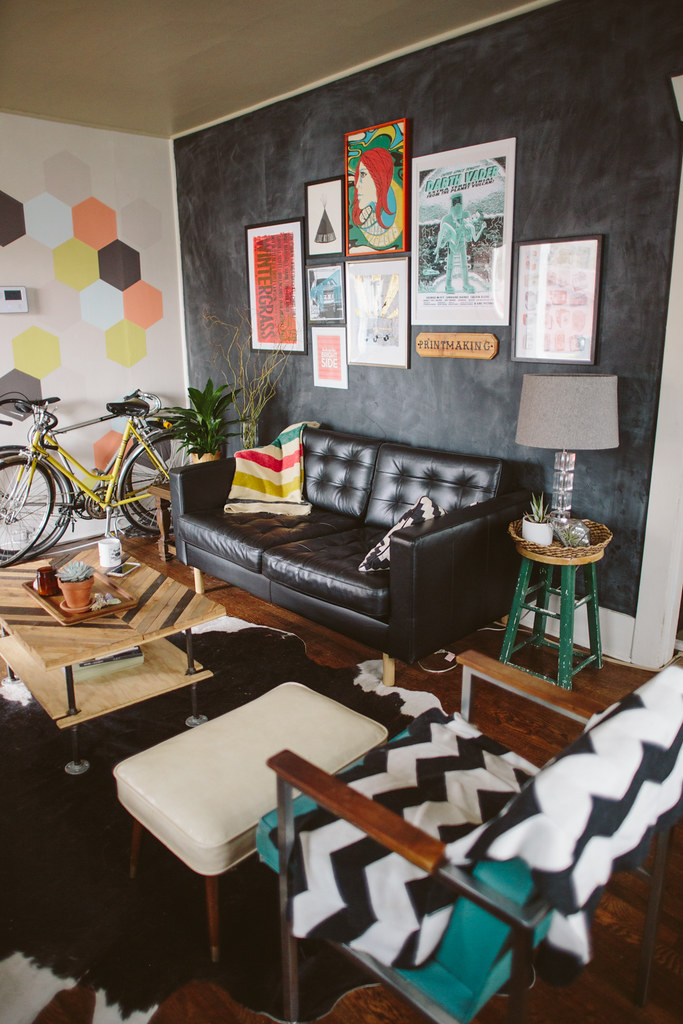
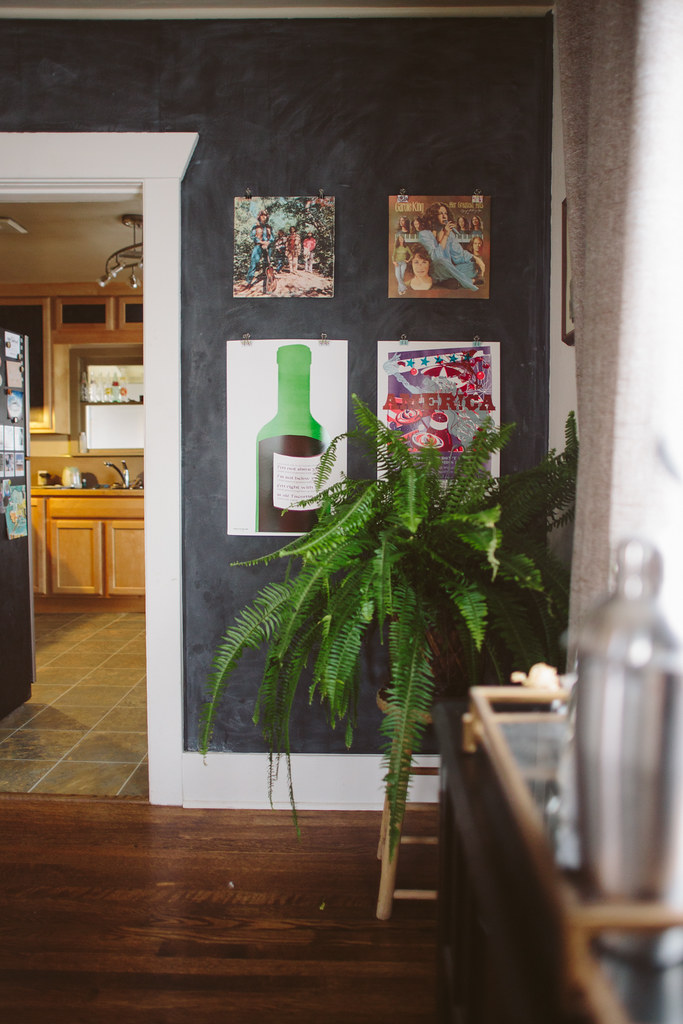
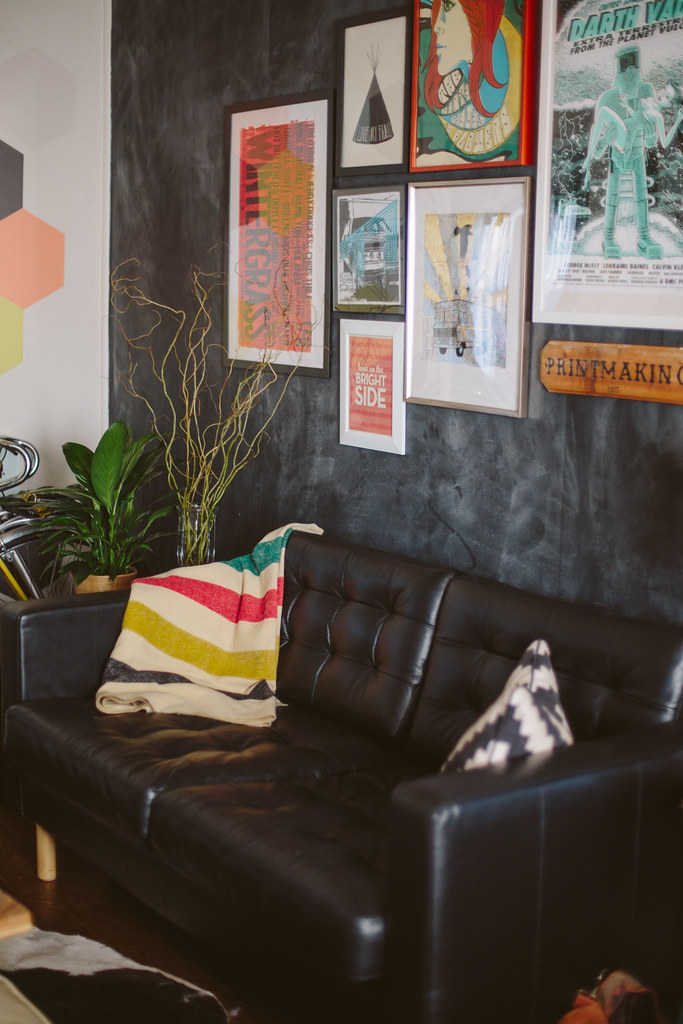
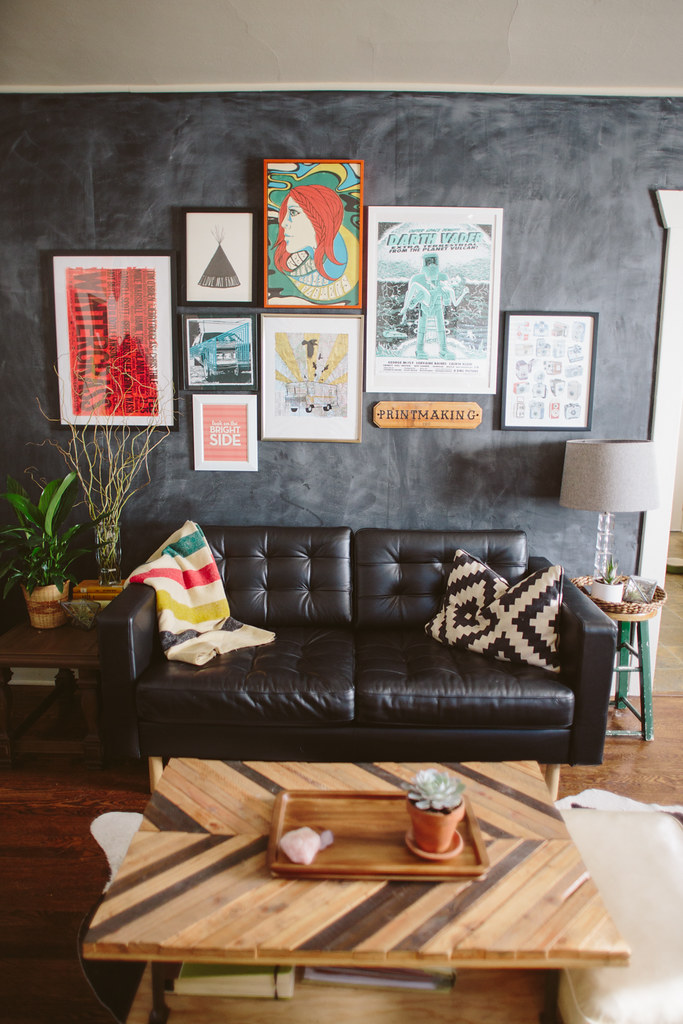
We're still thinking of moving, but that won't be happening until at least after I return from the Wildbride Retreat west coast tour.  So for now, it made sense to make our home feel homey again.  We got a couch again, and I set up the living room into an arrangement that I've never had it in before!  I've always liked the idea of the couch being on the black wall, but I wasn't sure how that'd work with the front door being right there.  I figured I'd try it out anyway and I really love how it feels!  Plus, there's a perfect spot for our Christmas Tree!

See the other ways I've arranged our living room here.

Eclectic Artist Living Room Inspiration
Eclectic Artist Living Room Inspiration Eclectic Artist Living Room Inspiration
Eclectic Artist Living Room Inspiration
Eclectic Artist Living Room Inspiration Eclectic Artist Living Room Inspiration
Eclectic Artist Living Room Inspiration

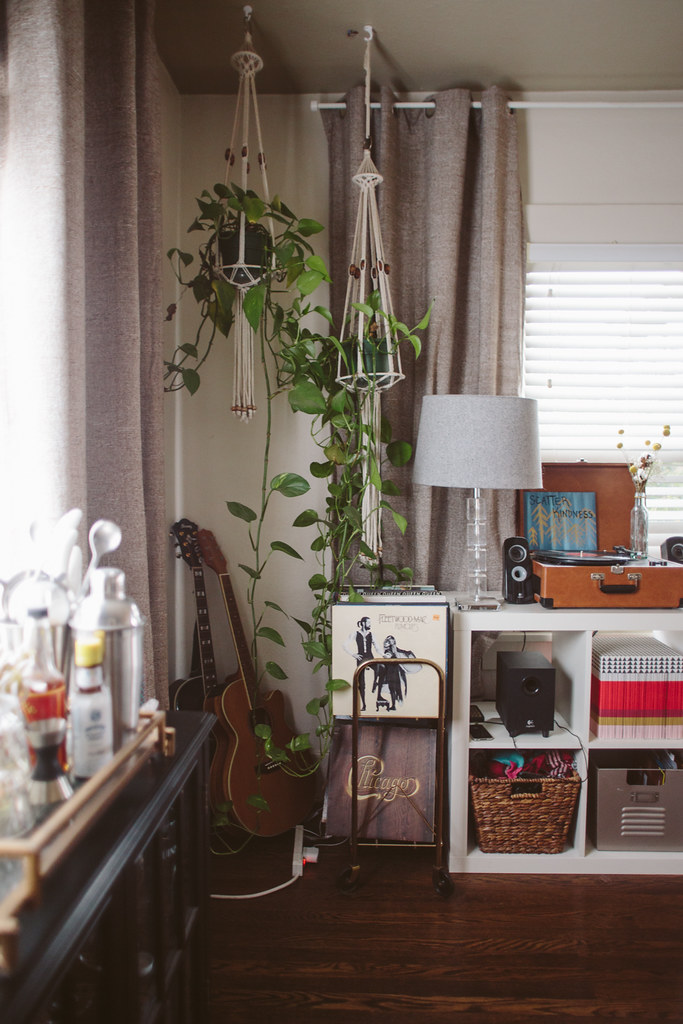
Almost everything is Ikea, thrifted, or Target.

Pin It!

diy home office

DIY Home Office, Creative Home Office

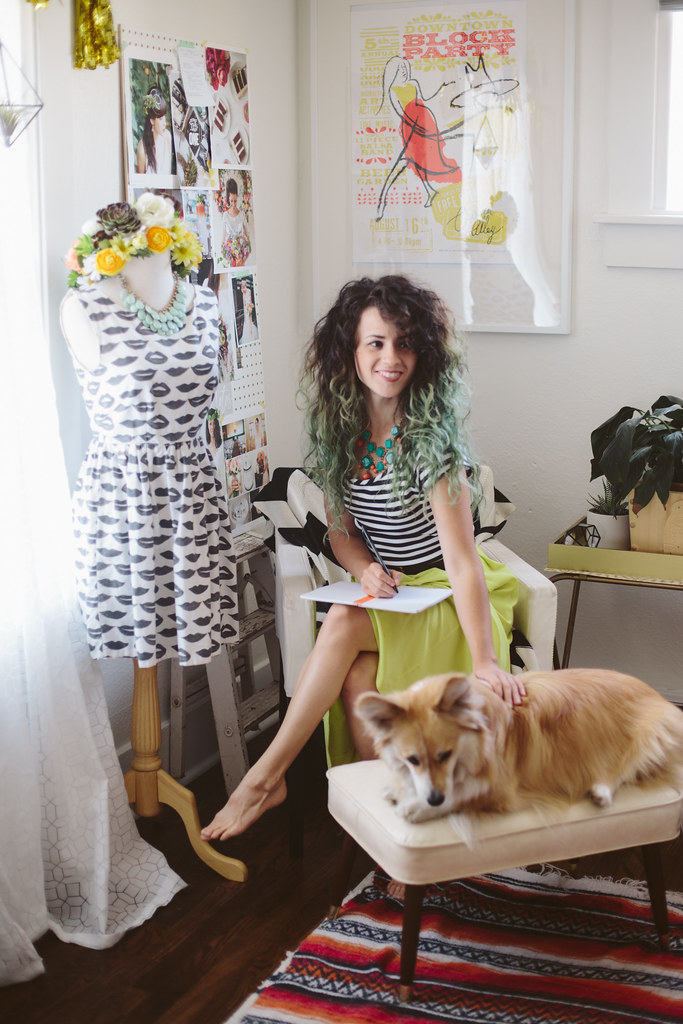
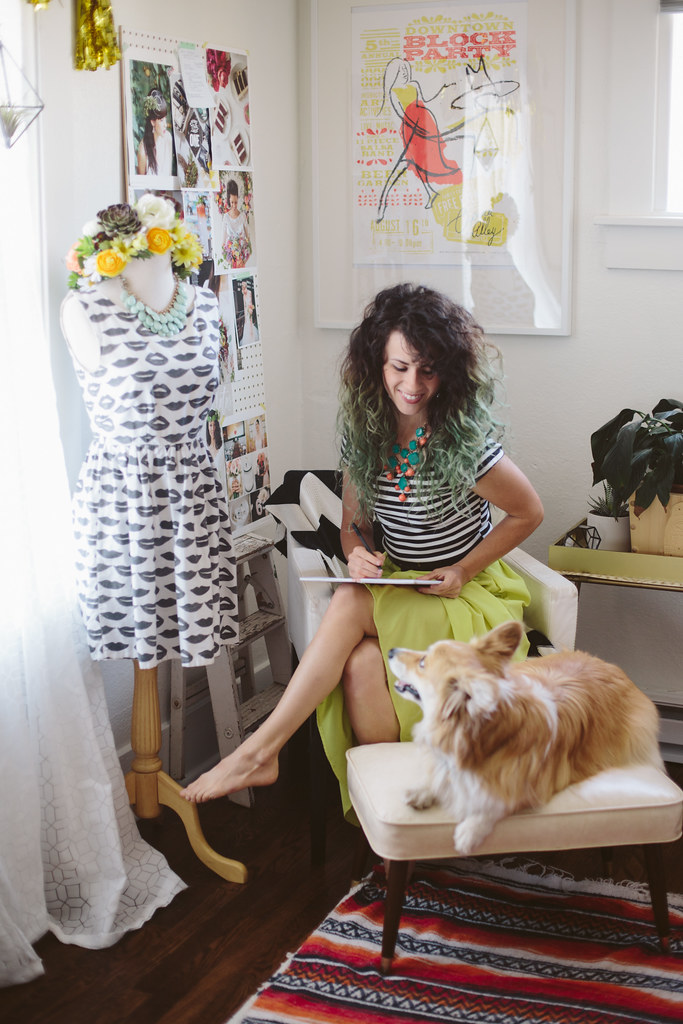
So, based on my hair color you can guess that these photos were taken a while ago.  June, I think? I hinted at these photos on instagram, but never got around to posting them here because blog hiatus.  My office looks a little different now,  I put my big desk where the chair/sidetable is and I finally have an actual sewing station for the first time in, well, forever.  Which is good because I have two burlesque shows coming up and that means costuming!  The rest of the room is the same, save for a bit more clutter because for whatever reason I'm incapable of keeping a room tidy for any sustained period of time.  

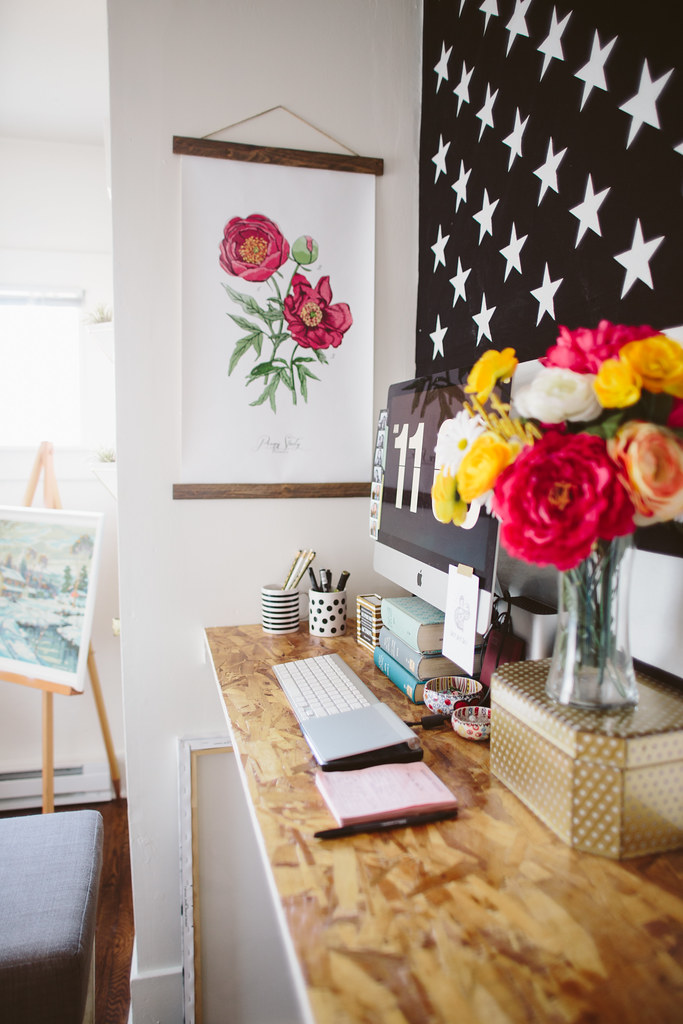
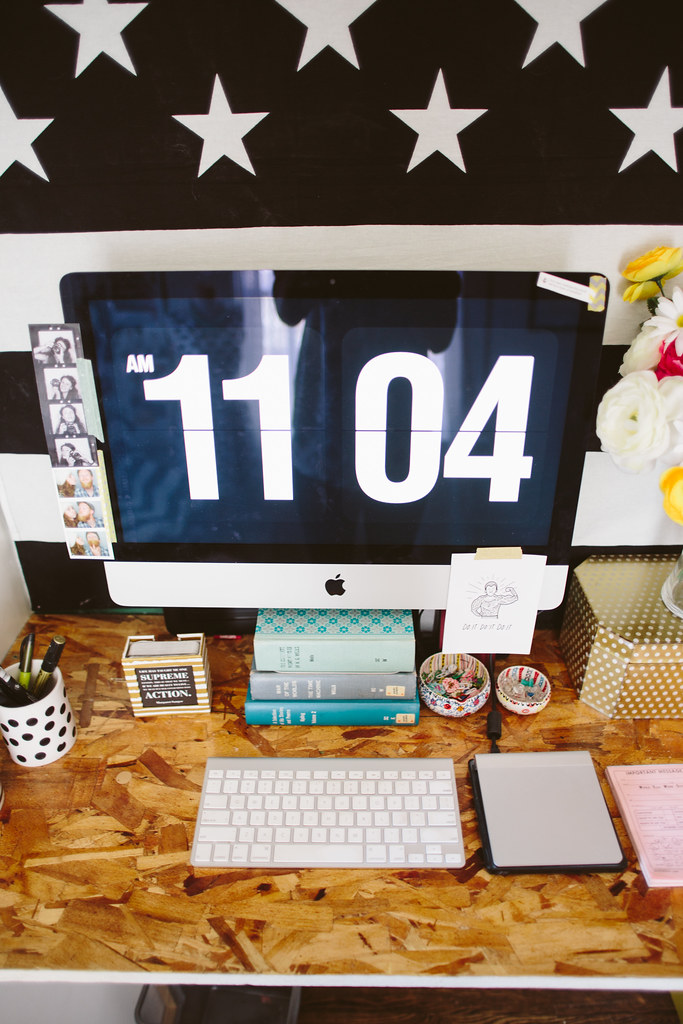
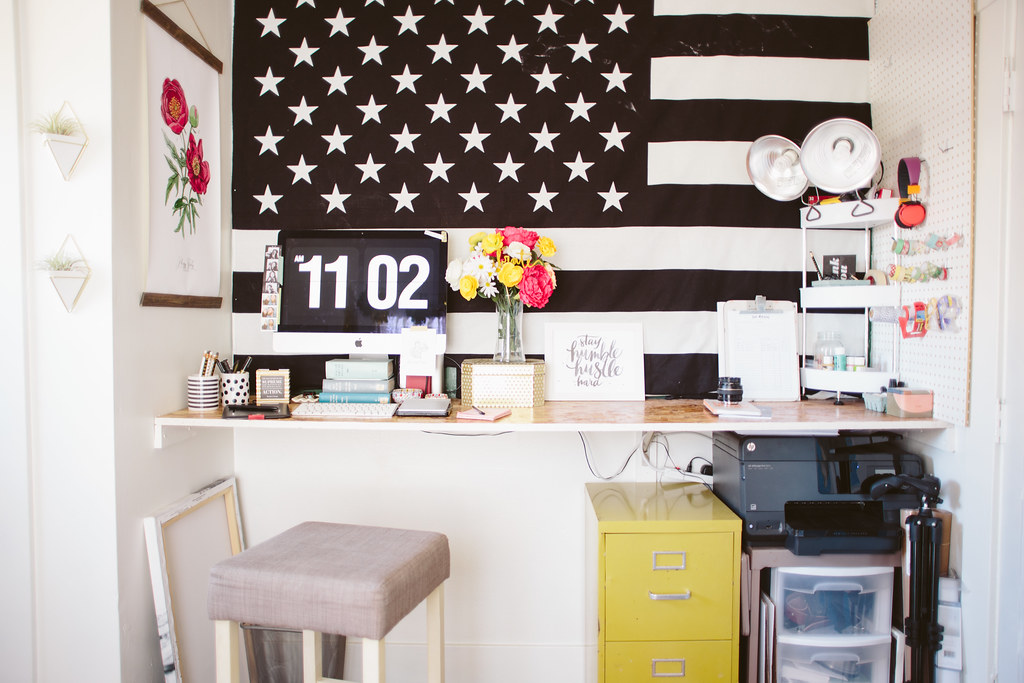
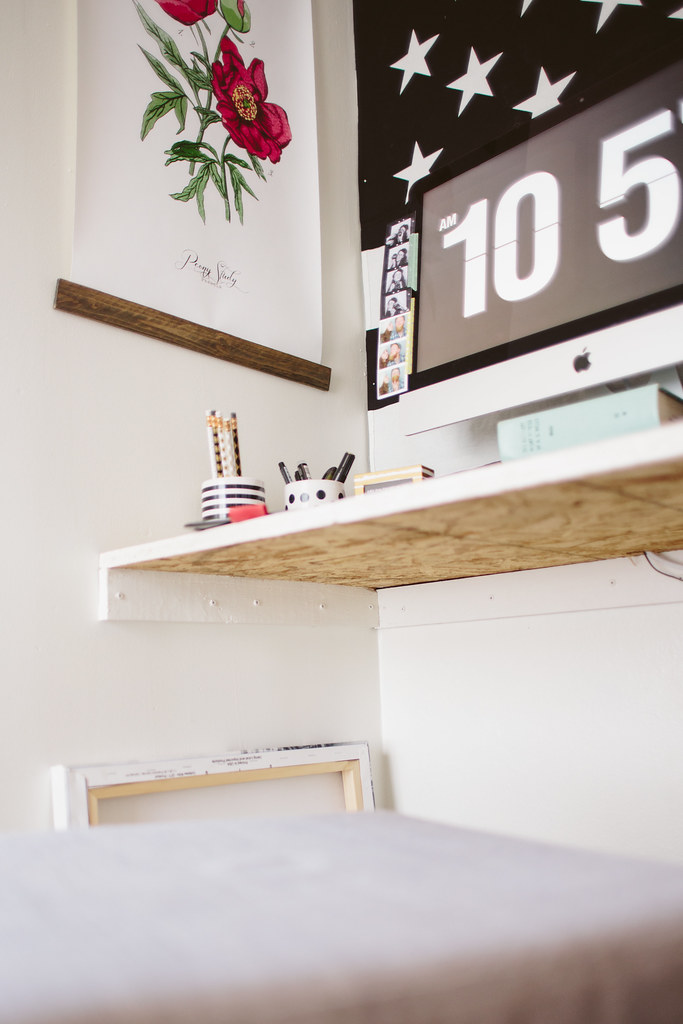
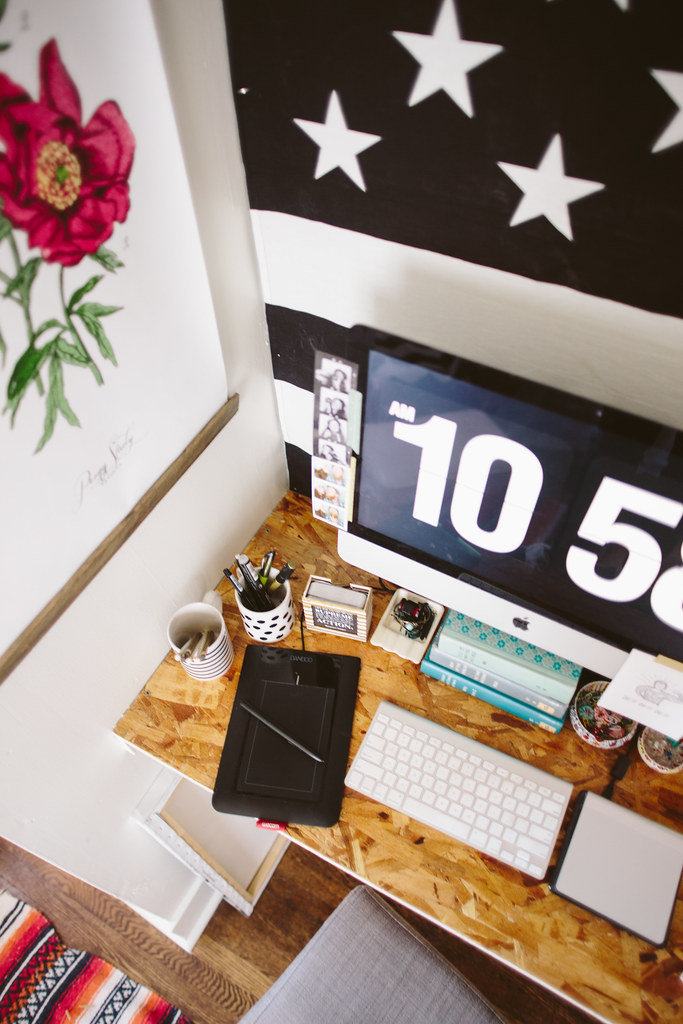
This room is a bit awkward. Technically it can be considered a bedroom because it has a closet, but it's right off the living room and has been through quite a few iterations before ending up as my home office.  the little nook where my standing desk is now has always been an awkward area because it's behind the door when it opens into the room, so it felt hard to utilize.  I figured it looked just deep enough to be the perfect size for a big long standing desk, so a sheet of OSB ripped in half, and some 1x4s later: standing desk.  It's a pretty long span, so I put a bracket in the center to make it more sturdy, but it doesn't really support a ton of weight.  It's basically a real long, deeper than normal shelf.  Super minimal and one of the most functional DIY's ever.  I'm not going to do a DIY post for it because it's so basic.  Cut OSB to fit your space.  Screw 1x4s into wall.  Set OSB on top of 1x4s.  Screw top down.  Done.

DIY Home Office, Creative Home Office
DIY Home Office, Creative Home Office DIY Home Office, Creative Home Office
DIY Home Office, Creative Home Office

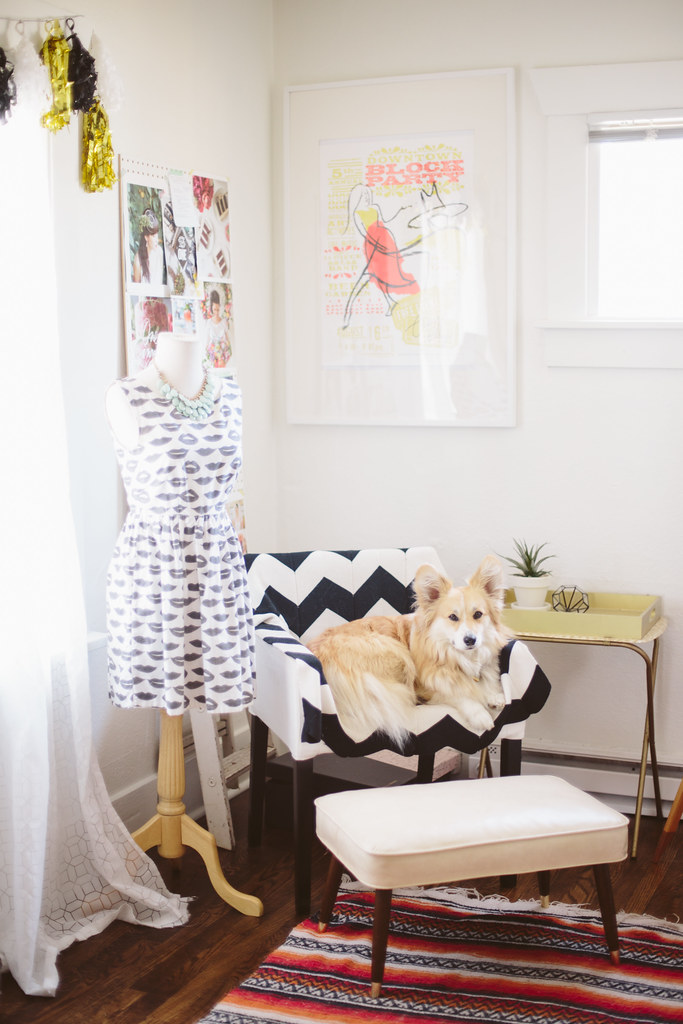
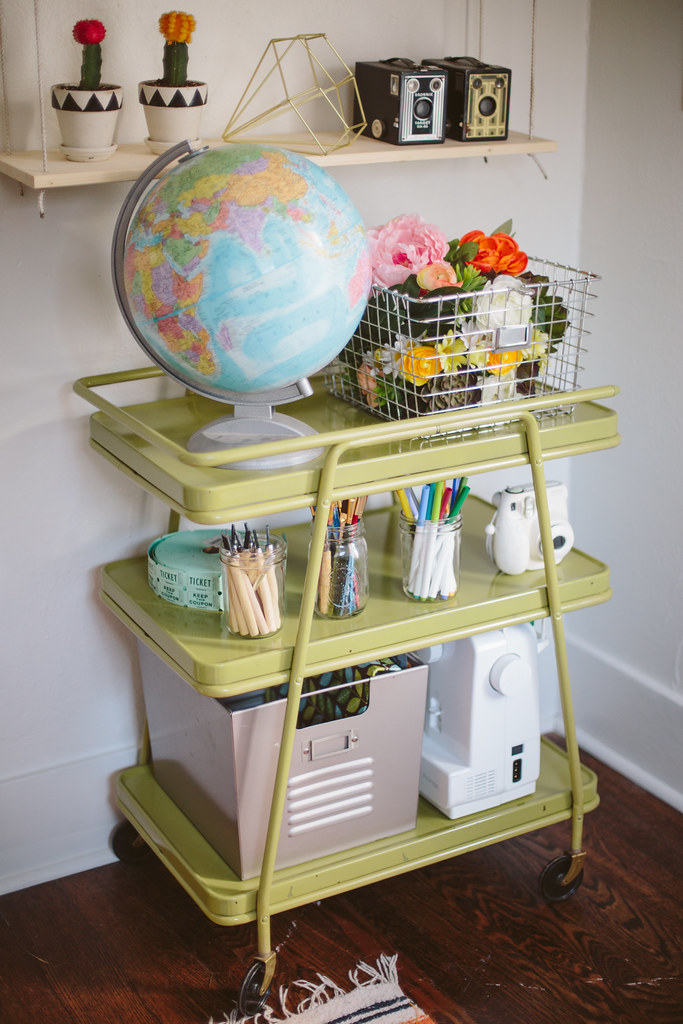
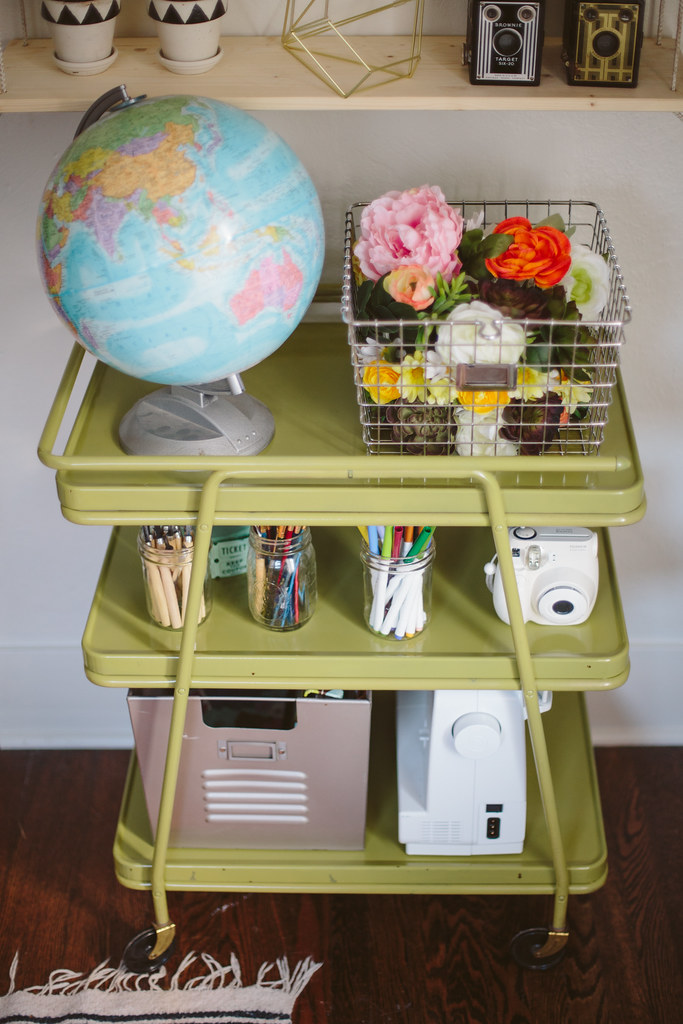
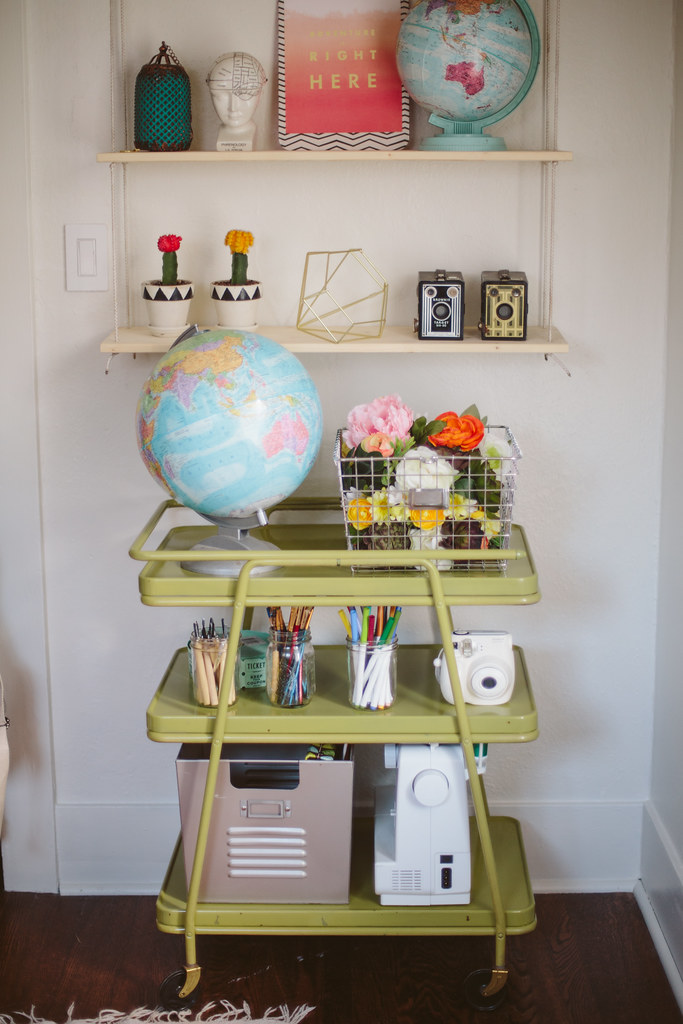
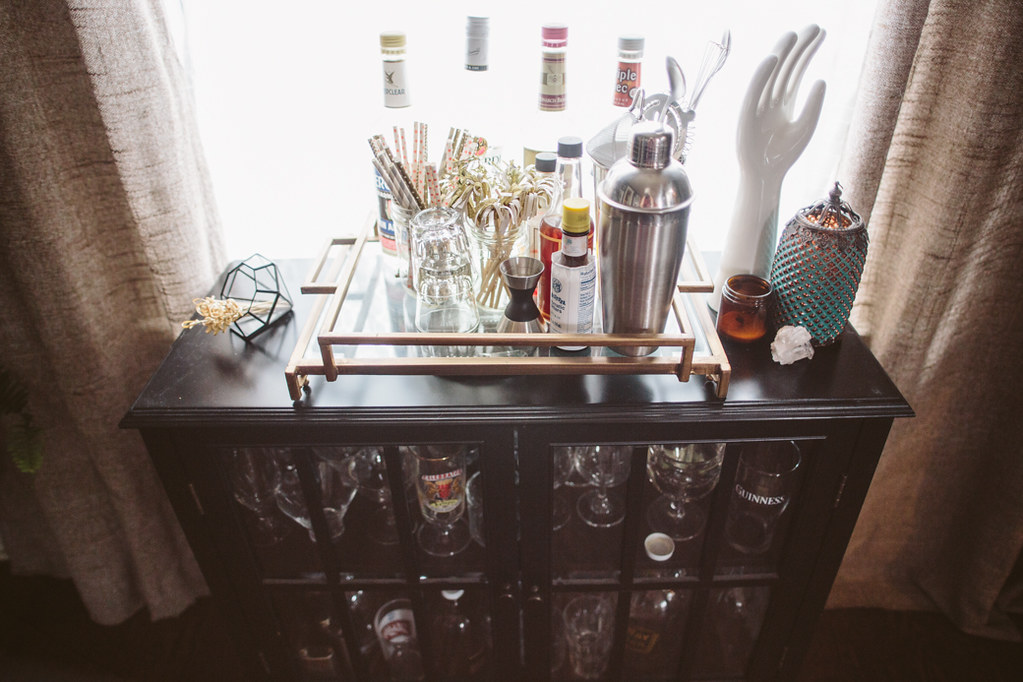
This guy was a thrift find when I was searching for a bar cart.  It was brown faux wood and brass, so I spray painted it green.

I wanted to raise my computer screen a bit higher than where it was when it sat on the desk so I stacked some of my vintage library books and now it's perfect.

DIY Home Office, Creative Home Office
DIY Home Office, Creative Home Office DIY Home Office, Creative Home Office
DIY Home Office, Creative Home Office

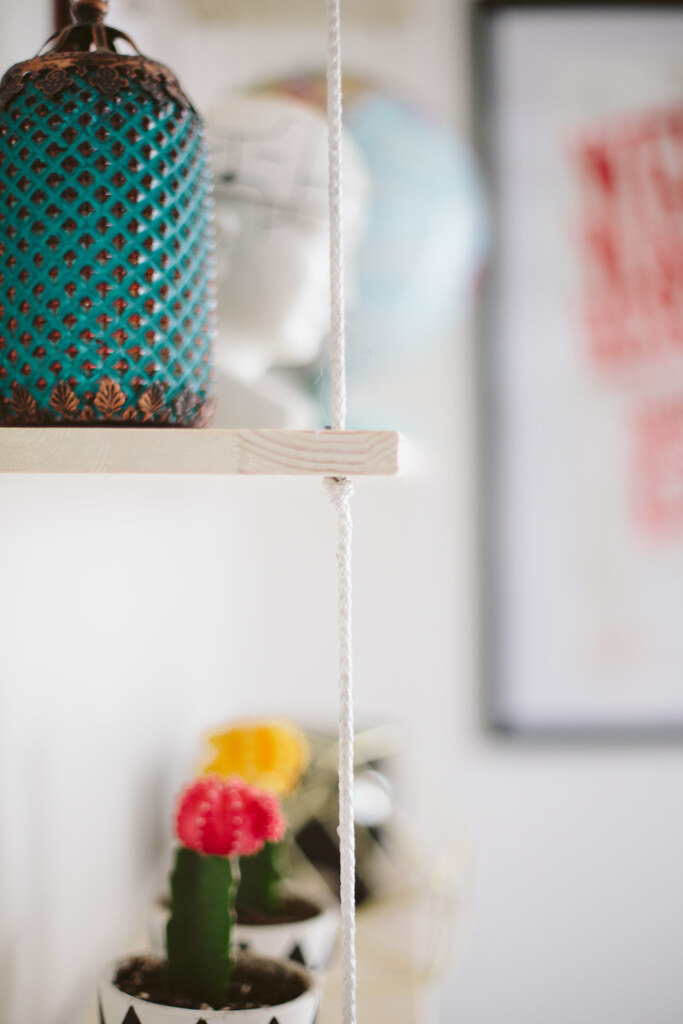
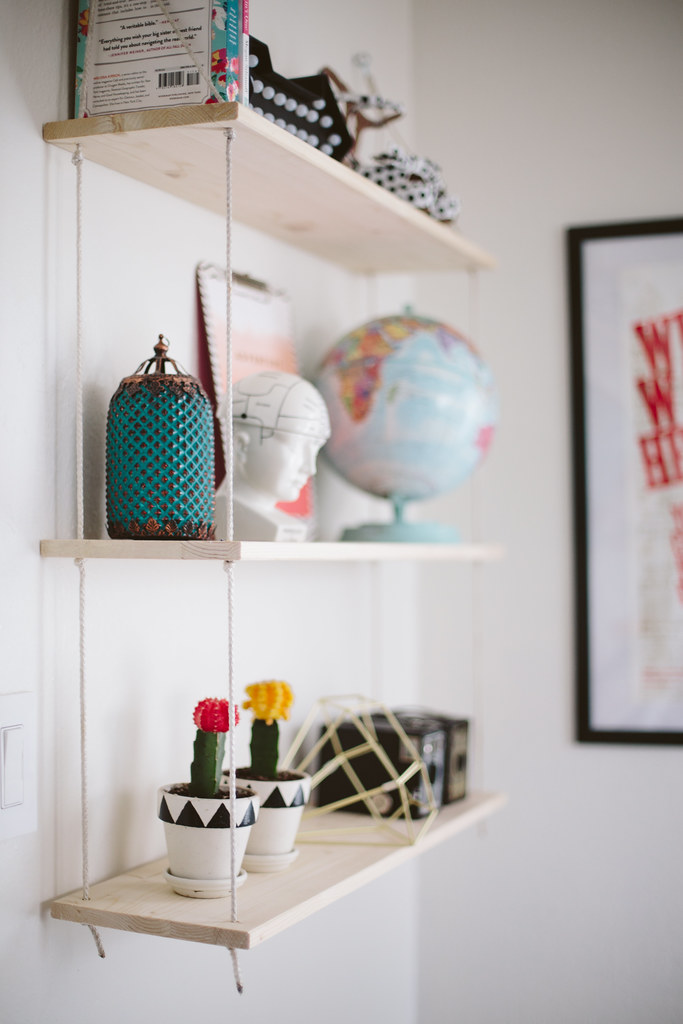
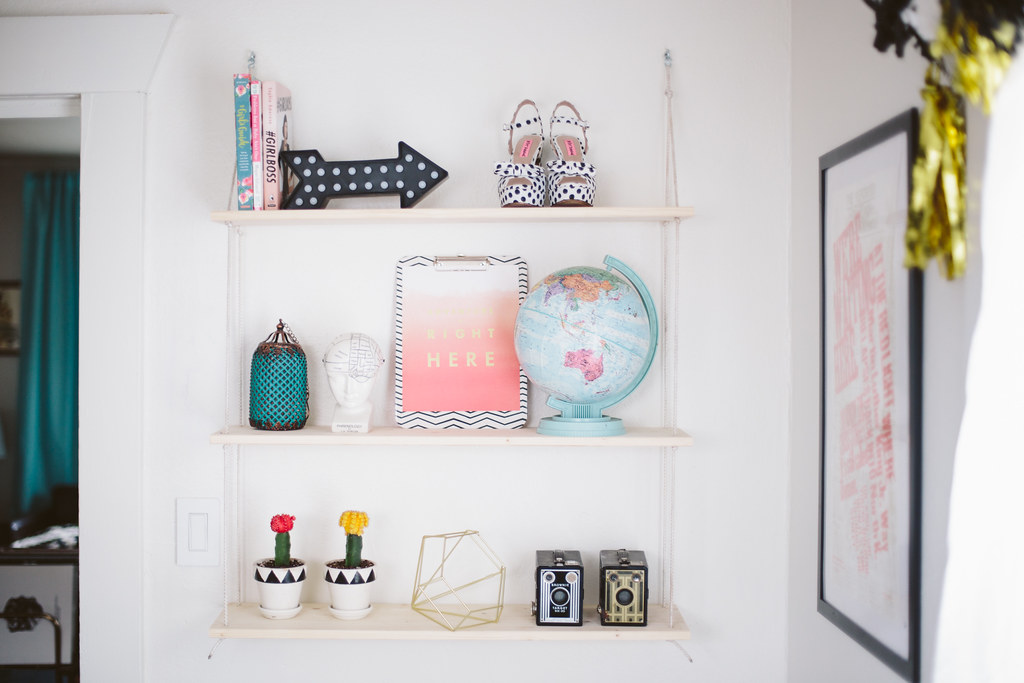
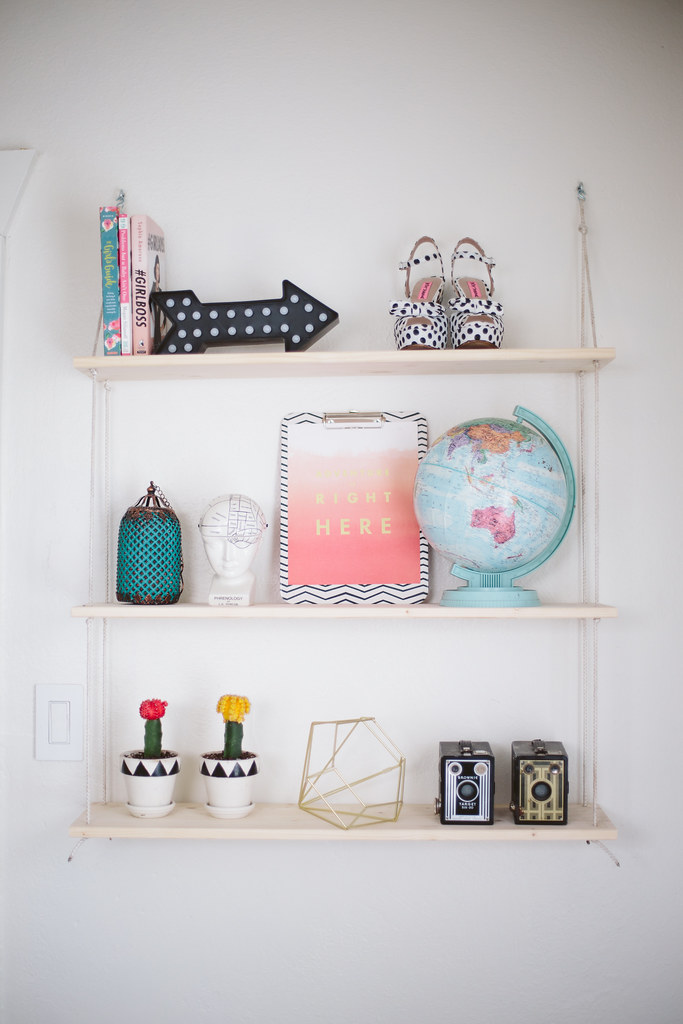
I loathe screwing things into my walls because they are lath and plaster, so I wanted to make a shelf that had the most minimal screwing possible.  And also cheap.  Plain wood shelves from Ikea, eye screws and hooks, and some white rope were the perfect solution.  I love how minimal and clean it looks, and it was one of the cheapest DIY's I've ever done.

DIY Home Office, Creative Home Office

rug + ottoman + sidetable + cart + dressform + barstool + globes/thrifted
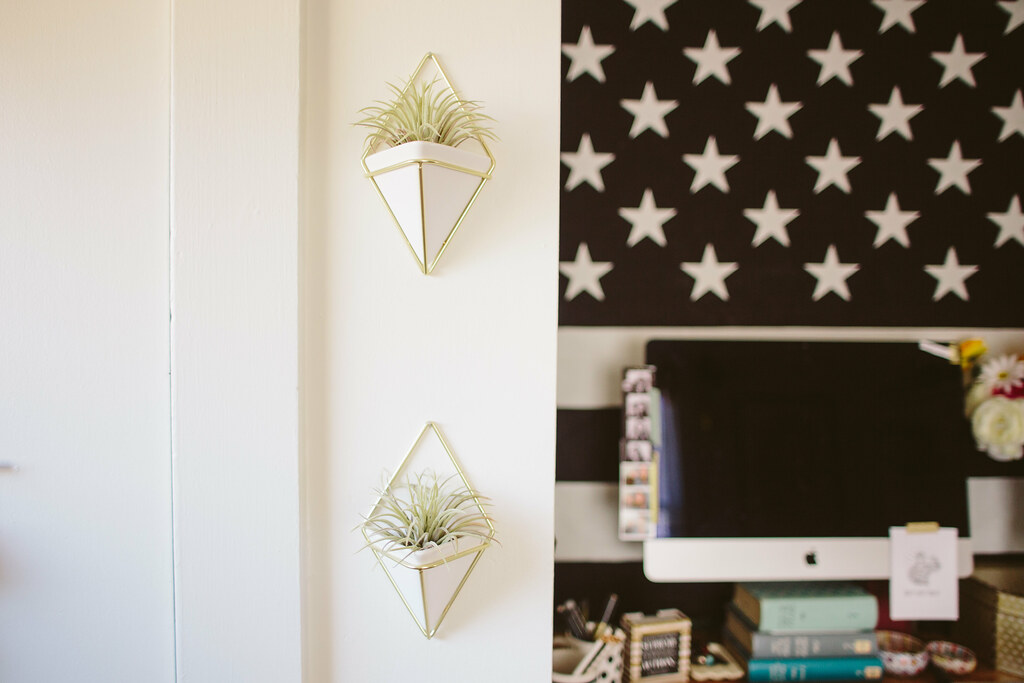
chair + frames/ikea :: flag/urban outfitters :: tiny hanging airplant holders + 
wire metal diamond + phrenology bust + morroccan lanterns/modcloth :: peony print/vol 25
adventure print/ABM happy mail :: block party print/year round co. 
stay humble print/jenny highsmith :: standing desk + hanging shelf/DIY

Pin It!

Hexagon Painted Wall Mural Tutorial

hexagon painted wall design

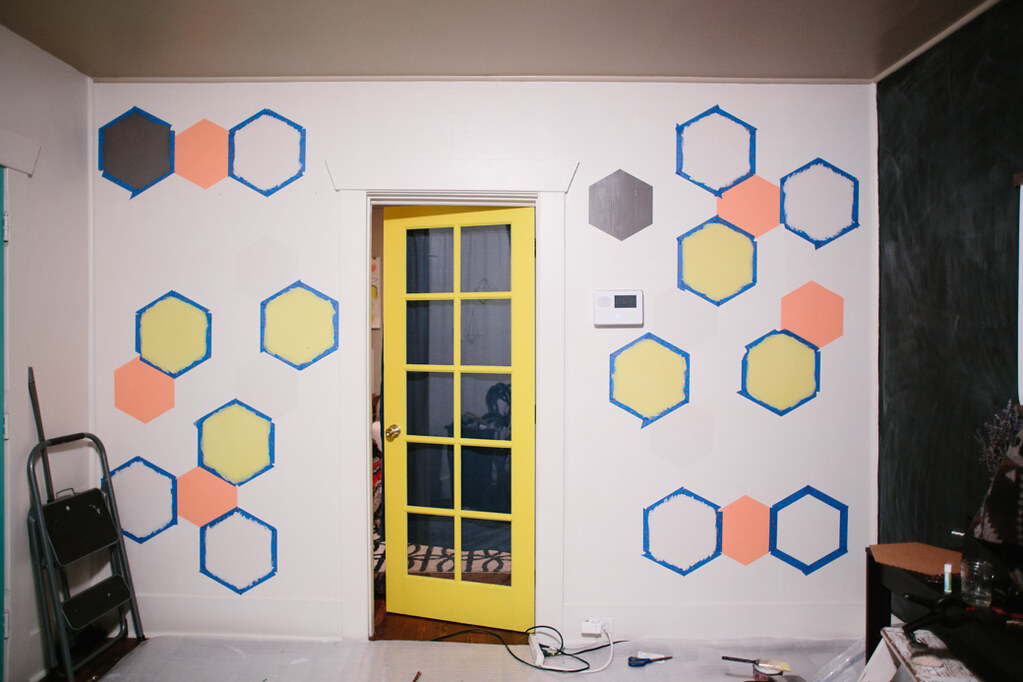
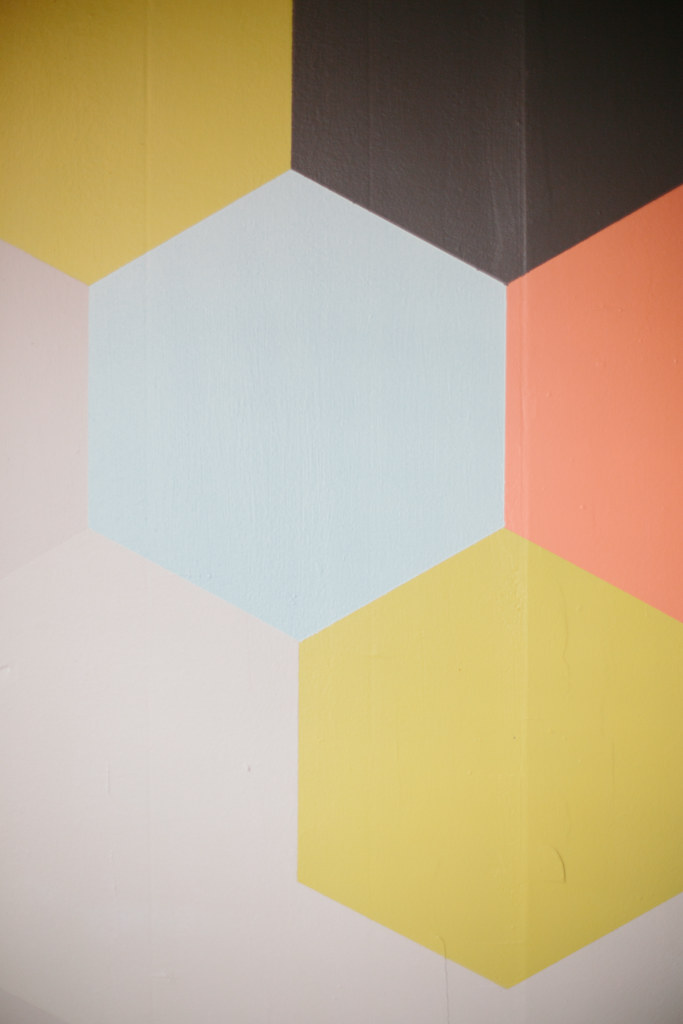
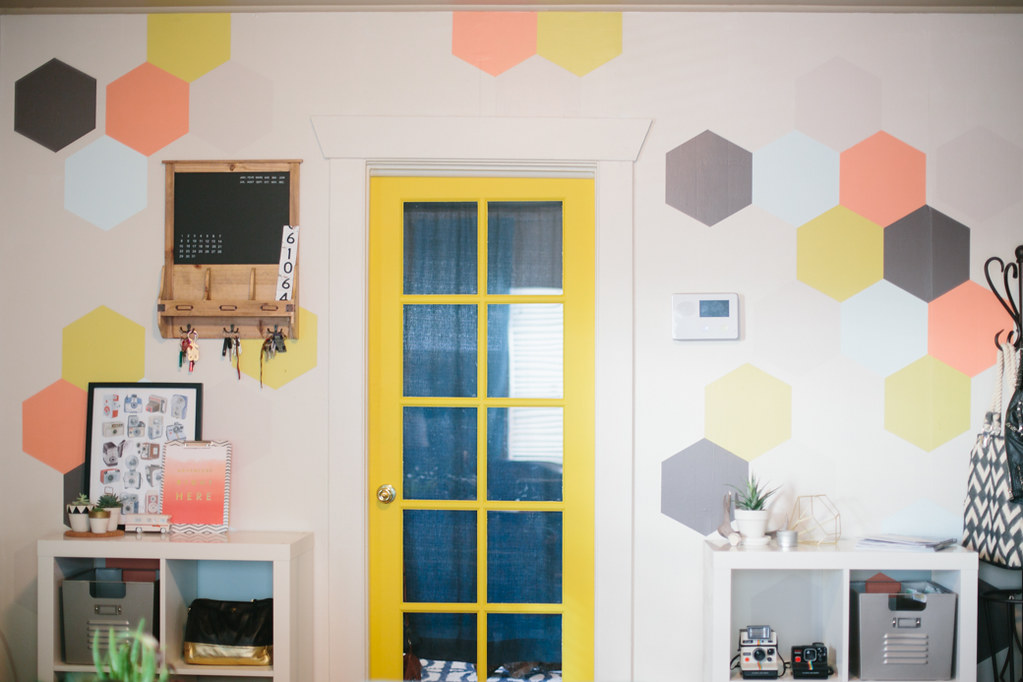
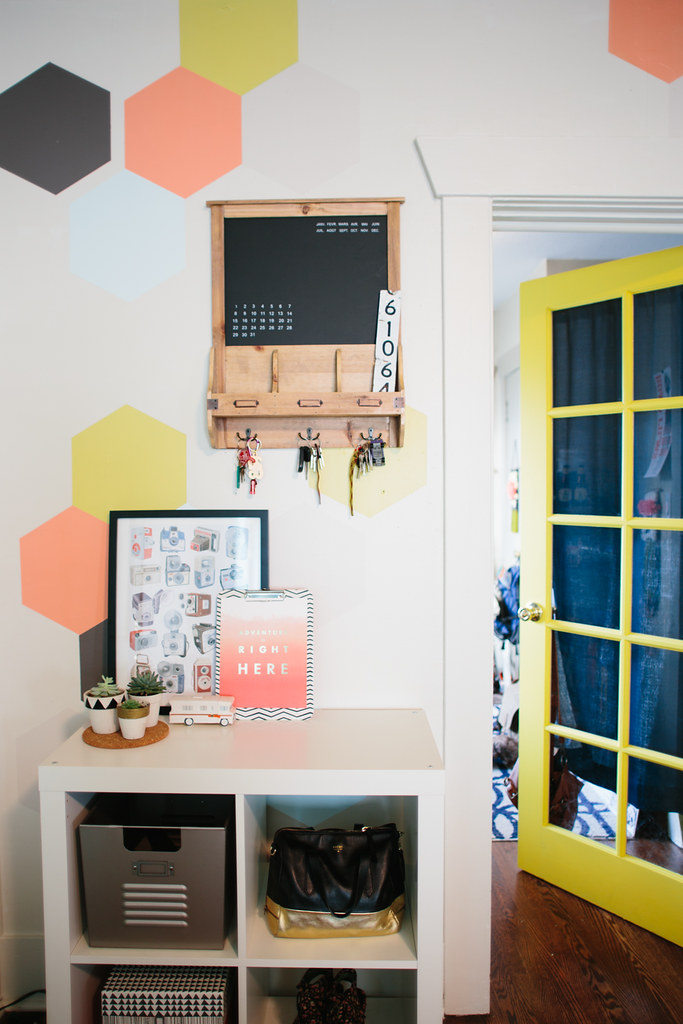
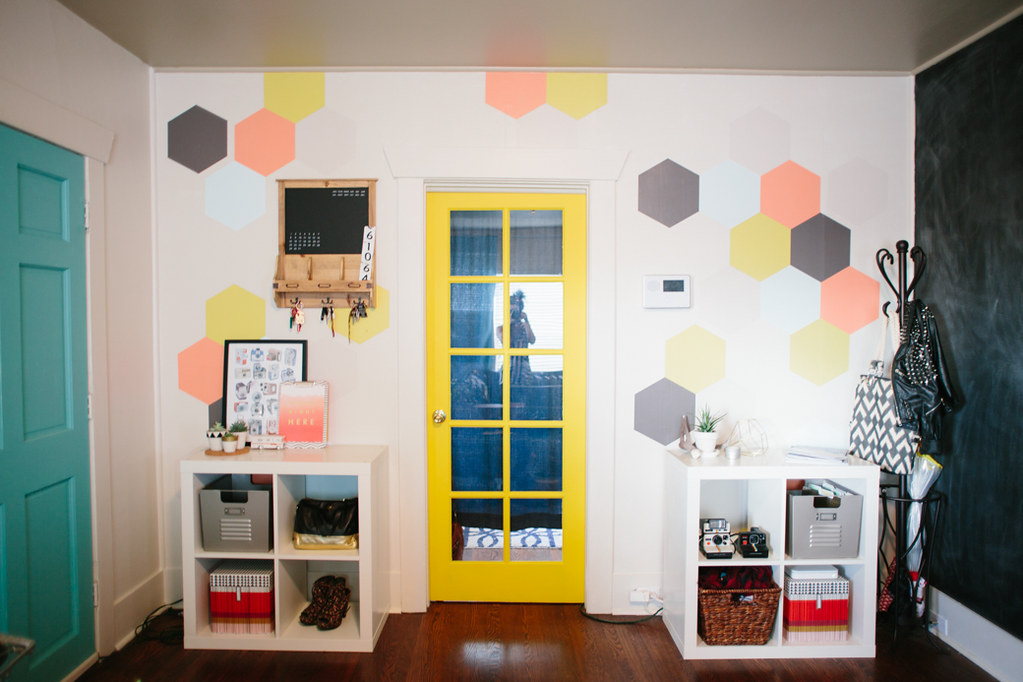
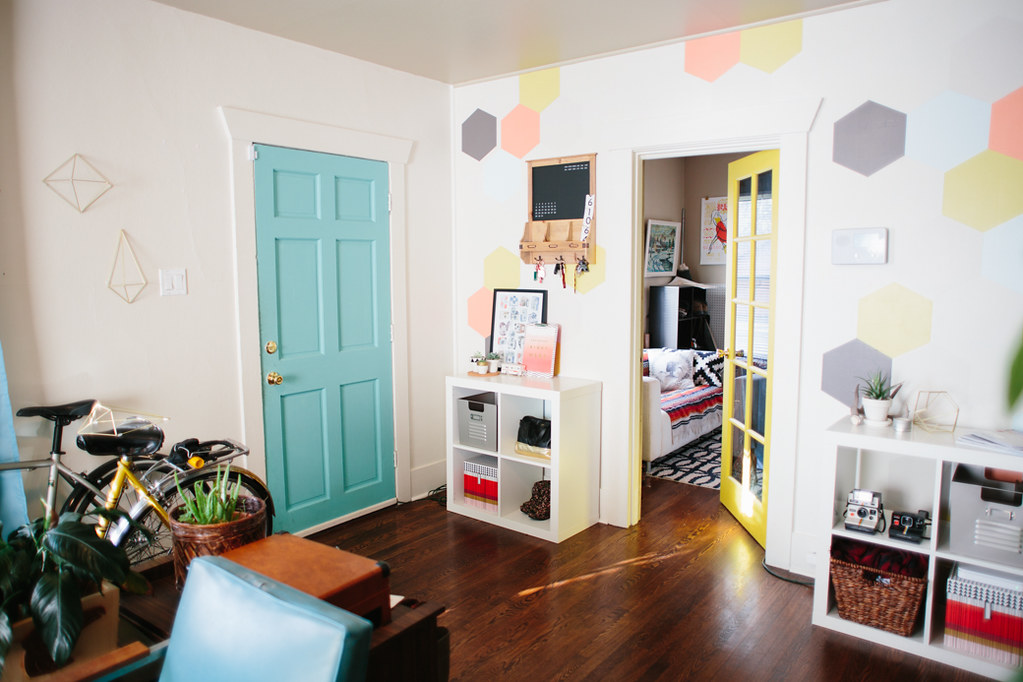
've been painting my living room slowly over the last year and a half.  The first thing I did was paint two of the walls white, then I painted my big chalkboard wall, but I still had one wall left.  It was still the boring, dingy beige that was there when we moved in.  I knew I wanted some kind of pattern or statement, but nothing too crazy because I already had a huge black wall.  When The Home Depot and ScotchBlue™ Painter’s Tape contacted me seeing if I'd be interested in doing a painting project in collaboration with them, I knew this was the perfect time to finally finish my living room!  I love how it turned out!  It's clean and neat, and a statement but not visually overwhelming.  I picked some muted, pastel Behr® paint colors so it wasn't too bold.  I'd already painted the door bright yellow so I wasn't sure if the muted colors would clash, but I love how the door stands out and is still in the same color family as the yellow hexagons.
hexagon painted wall design

MATERIALS NEEDED:
ScotchBlue™ Painter’s Tape
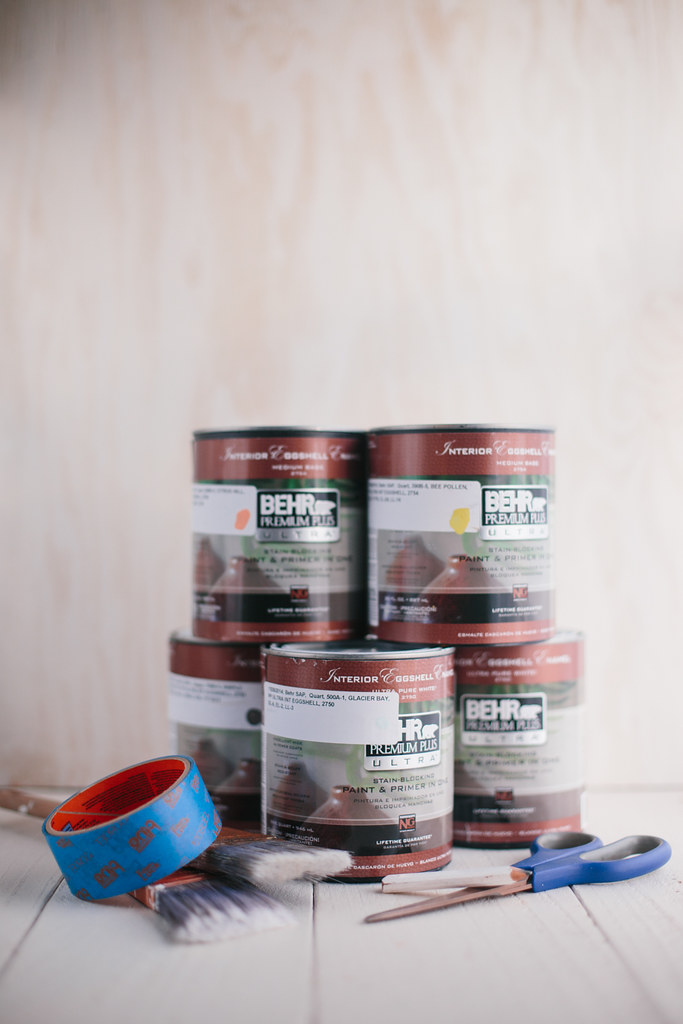
Behr® Premium Plus Ultra™ Paint
- I used: I used: Glacier Bay #500A-1, Citrus Hill #200B-4, Bee Pollen #390B-5, Chocolate Froth #720C-2, and Simple Silhouette #790B-5
Wooster® Pro brush
Scissors
Pencil
Cardboard
hexagon painted wall design

DIRECTIONS:
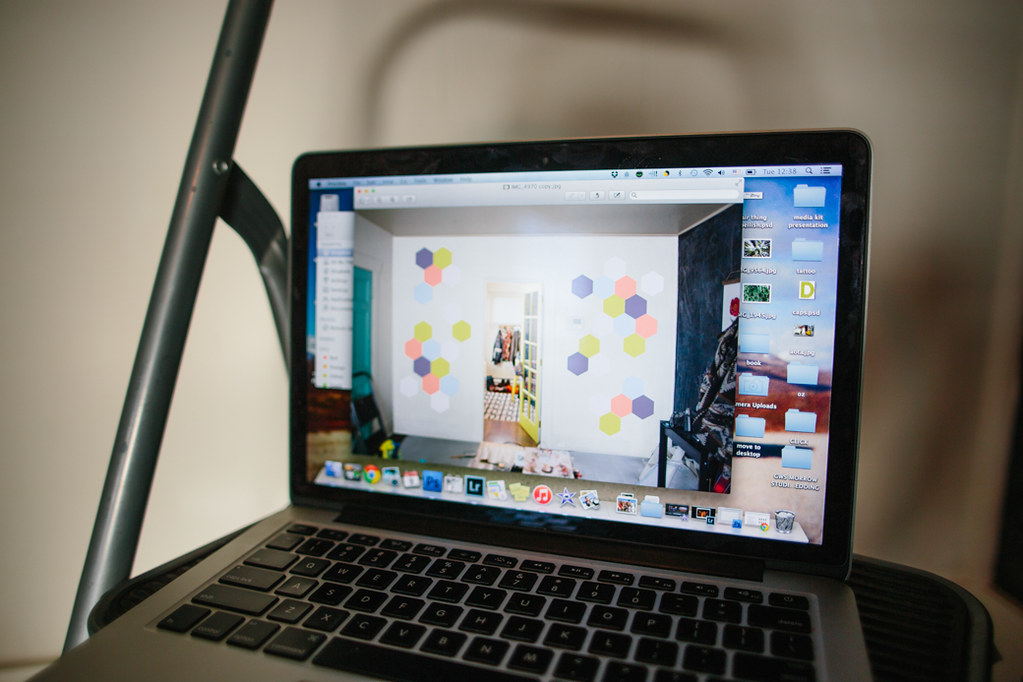
1. Decide on your pattern.  I used photoshop to mock up how I wanted my design to look on the wall and which colors would go in each hexagon.  This also helped determine how big I wanted to make my hexagon template.

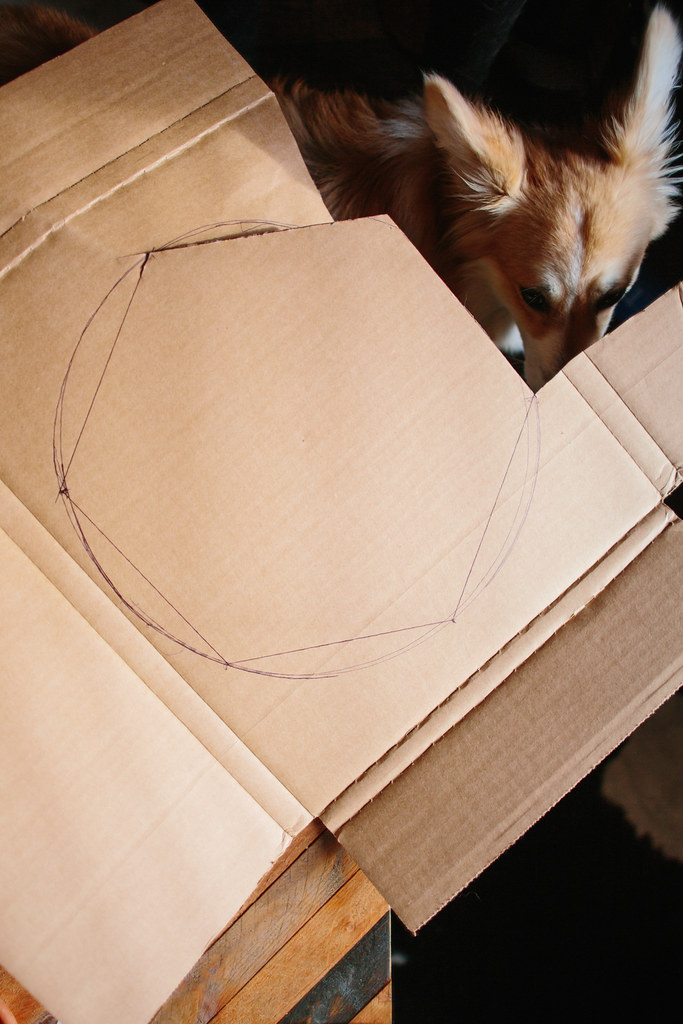
2. Create your hexagon template.  It's pretty easy to make a hexagon, but you'll want to make sure it's pretty close to perfect so that your pattern doesn't get wonky.  I used this super easy little tutorial with a makeshift compass.  My hexagon ended up being 13 inches from tip to opposite tip (diameter of the original circle drawn). Cut the template out of some cardboard or other sturdy material to trace around.

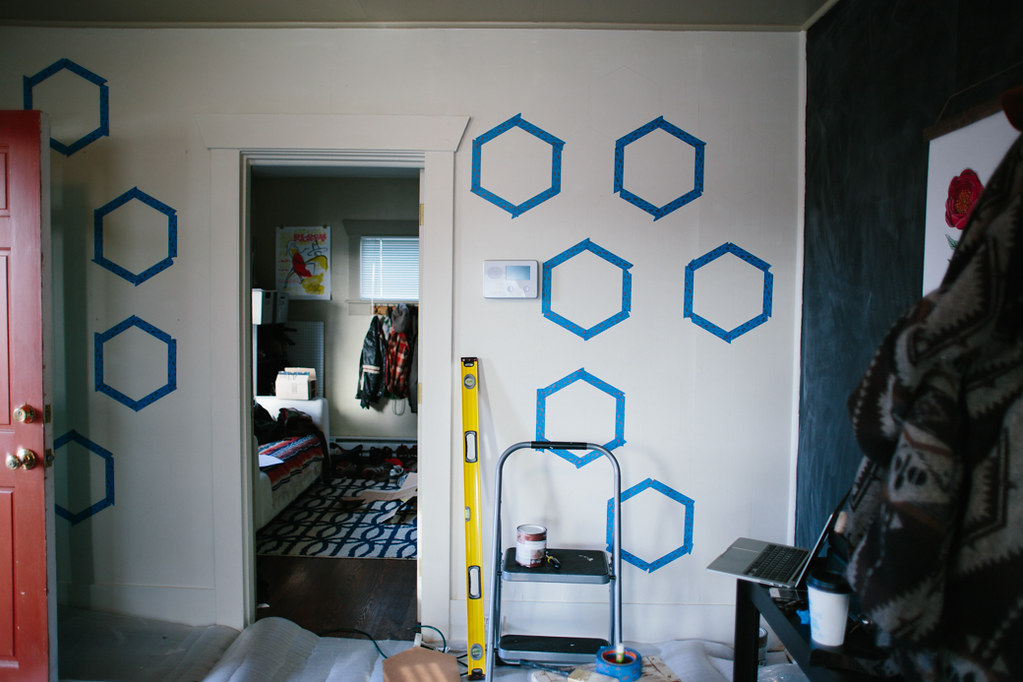
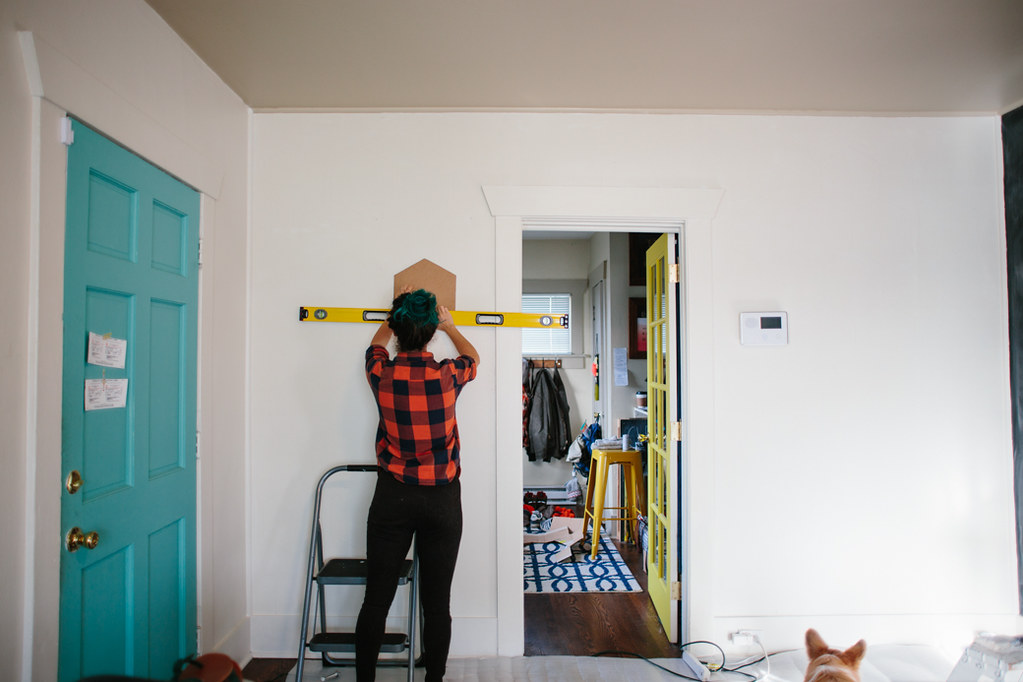
3. Draw the outlines to the hexagons using a pencil.  Make sure your hexagons are level.  I leveled the first one and then outlined about 4 or 5 and checked the level again, just to make sure I wasn't getting off level.  In each hexagon I lightly wrote the color that would be painted inside.
hexagon painted wall design

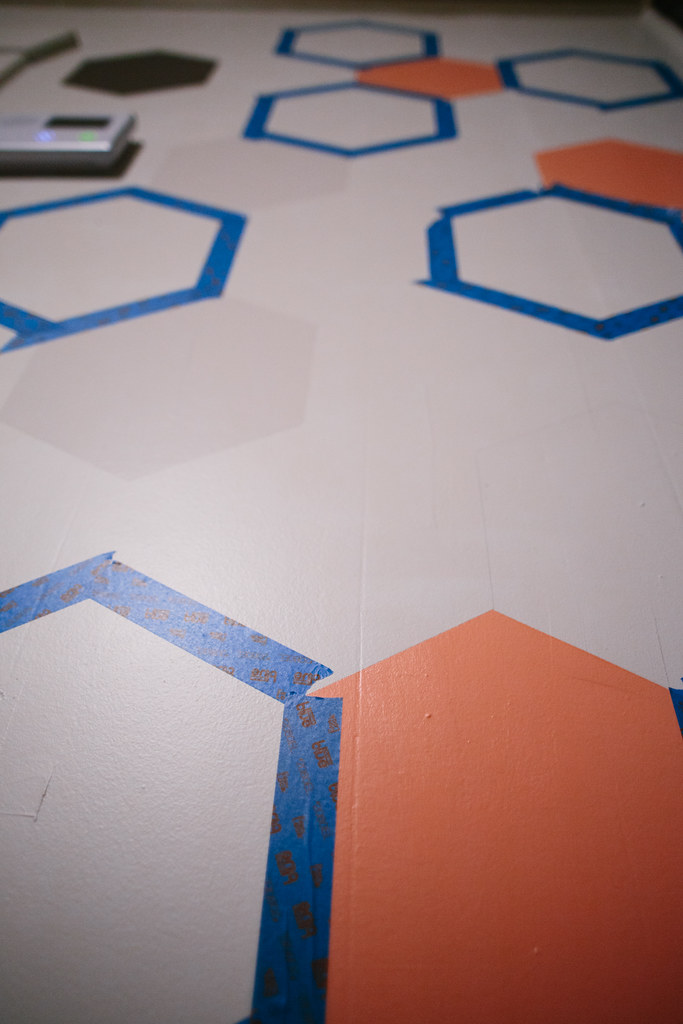
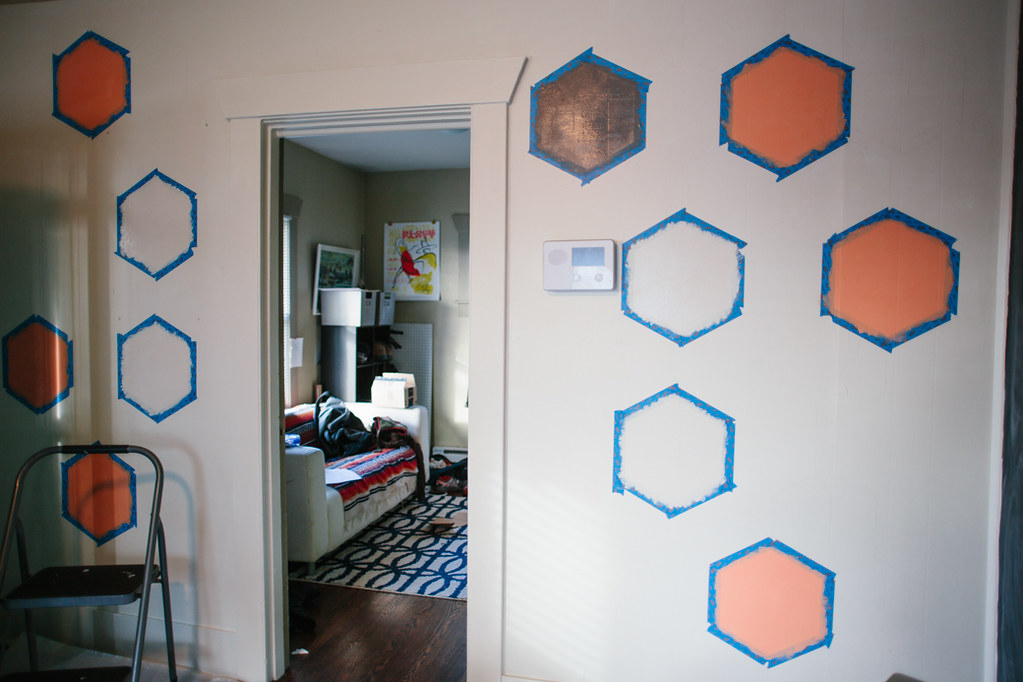
4. Using your  ScotchBlue™ Painter’s Tape, outline the hexagons that aren't directly next to each other.  Since these hexagons are directly butting up against each other, you'll have to wait for the paint to dry so you can mask off the one next to it.  I masked as many hexagons as possible and painted the color that was written inside using my Behr paint.  Each hexagon got two coats of paint.

5.  Because I had to wait for each hexagon to dry before taping the one next to it, this project took a little longer, but I'm super happy with how it looks.  As soon as I painted the second coat on a hexagon I'd remove the tape and allow it to dry.  This project took three days to complete with the time required to wait for paint to dry.  I let the paint dry about 2 hours between coats, as recommended by Behr®.
hexagon painted wall design

I have to say I was skeptical about how good the Edgelock tape would really be in comparison to the regular painters tape I usually use, but I was super happy with how precise my edges were.  I didn't have to fix any leaks and the edges were so sharp and clean.  I used the Delicate Surface Painter's Tape, but ScotchBlue™ Painter’s Tape has a guide that can help pick the right tape for your project surface.
hexagon painted wall design

I am proud to be a 3M, Behr®, and Wooster® - sponsored blogger, and, as part of my responsibilities, I get the opportunity to evaluate products. Opinions are my own and additional product used in the project were selected by me. Thanks for supporting those companies that keep Delightfully Tacky alive and kicking!



Pin It!