Hexagon Painted Wall Mural Tutorial

hexagon painted wall design

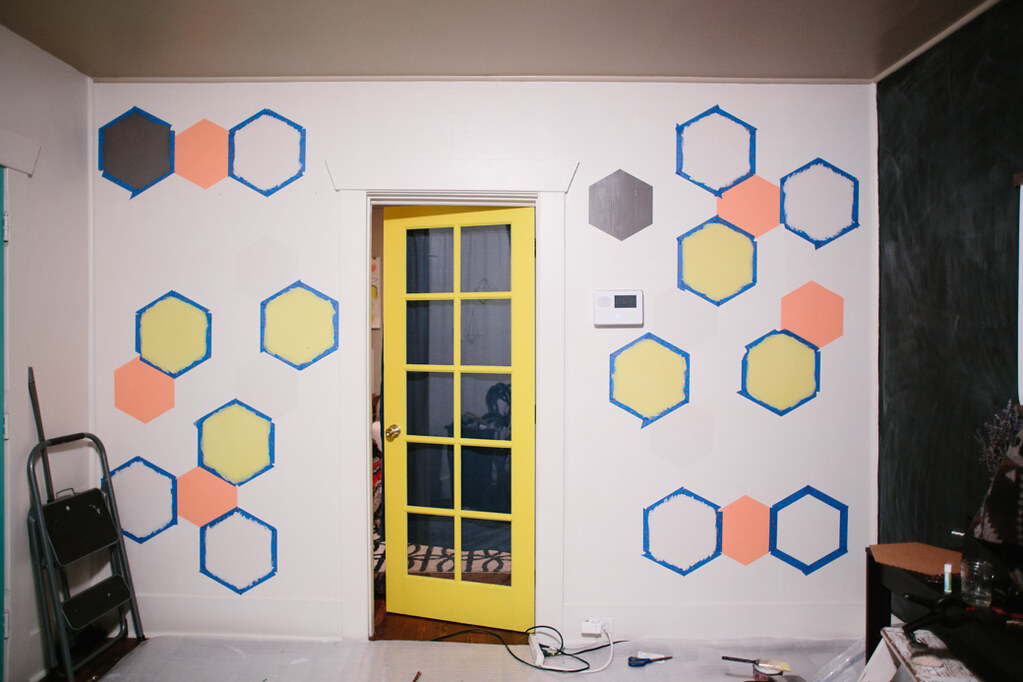
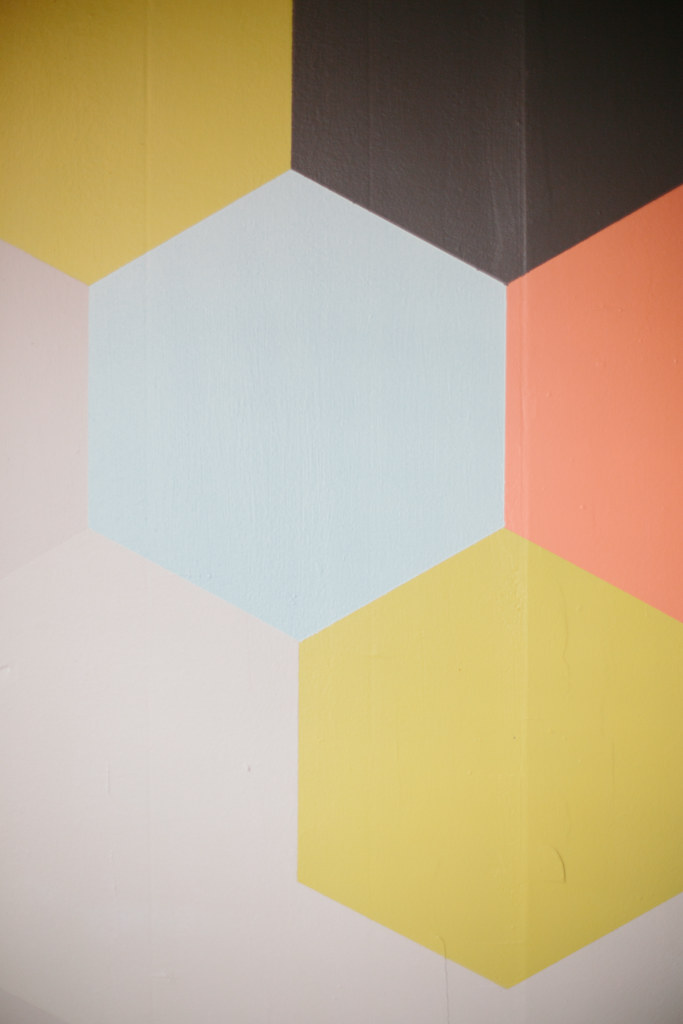
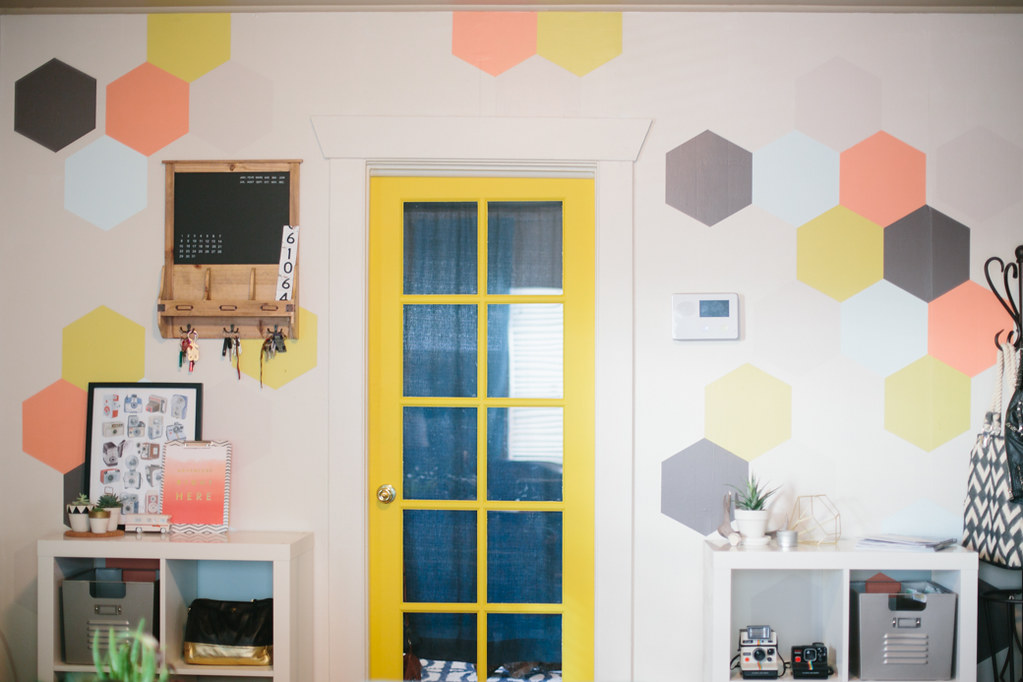
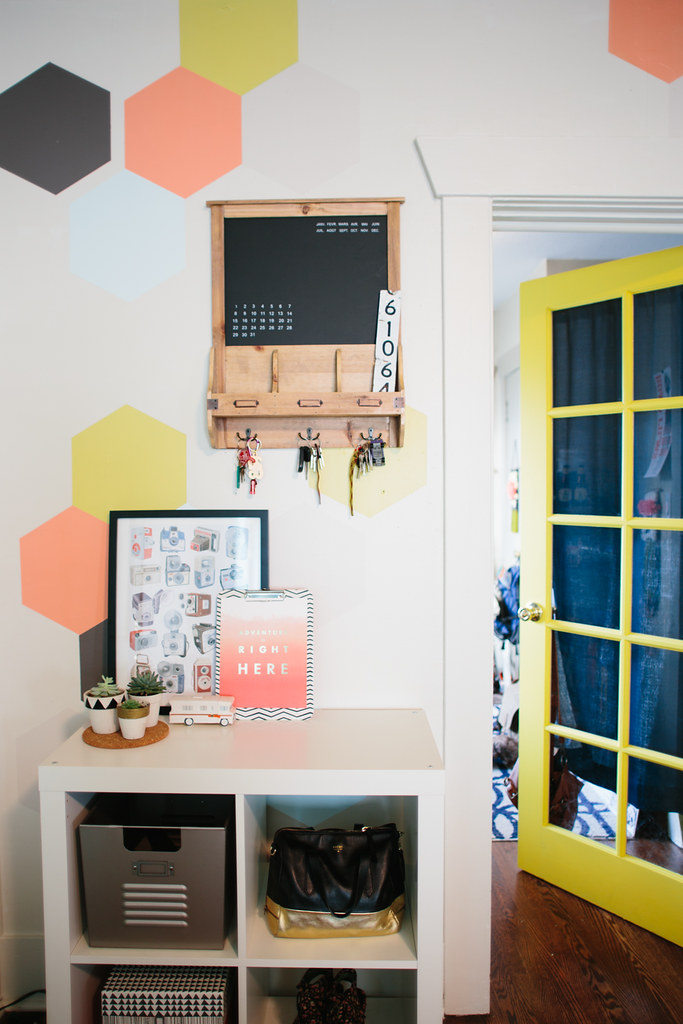
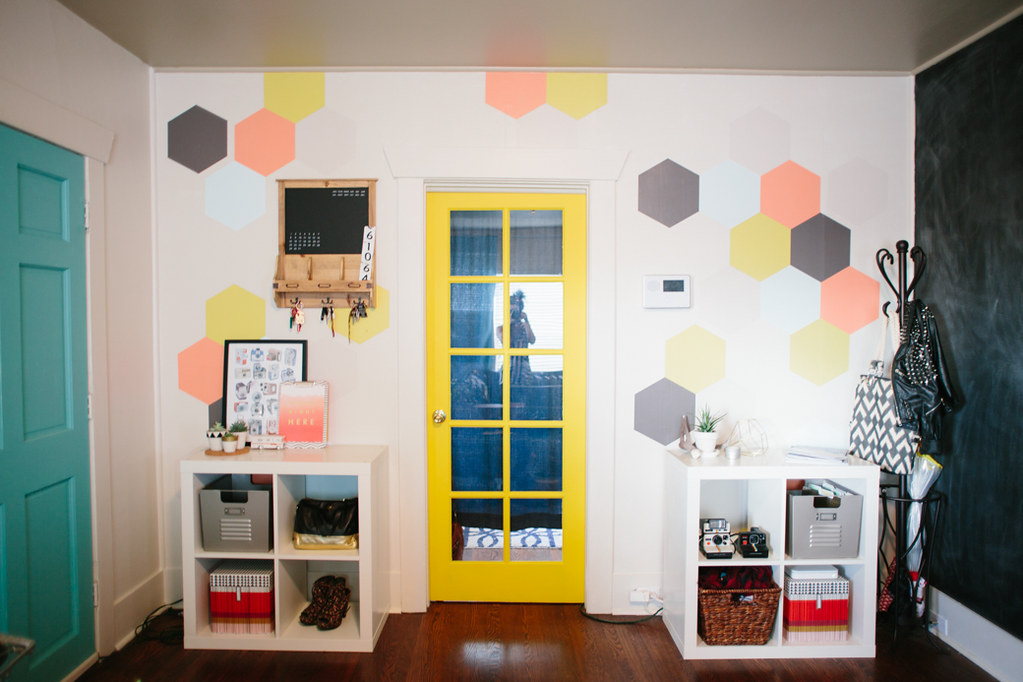
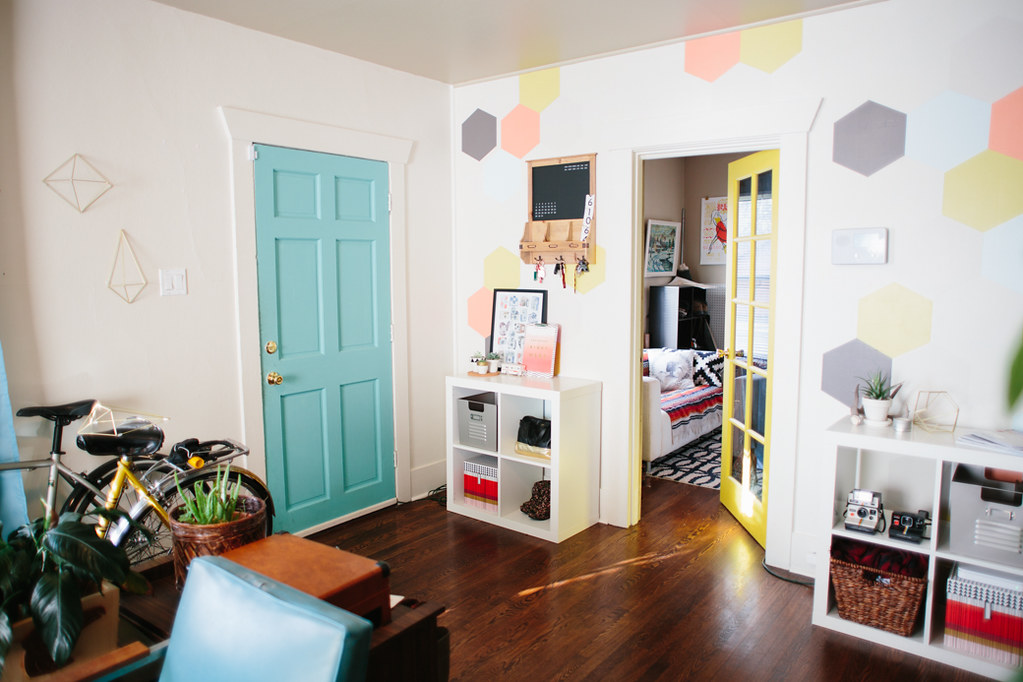
've been painting my living room slowly over the last year and a half.  The first thing I did was paint two of the walls white, then I painted my big chalkboard wall, but I still had one wall left.  It was still the boring, dingy beige that was there when we moved in.  I knew I wanted some kind of pattern or statement, but nothing too crazy because I already had a huge black wall.  When The Home Depot and ScotchBlue™ Painter’s Tape contacted me seeing if I'd be interested in doing a painting project in collaboration with them, I knew this was the perfect time to finally finish my living room!  I love how it turned out!  It's clean and neat, and a statement but not visually overwhelming.  I picked some muted, pastel Behr® paint colors so it wasn't too bold.  I'd already painted the door bright yellow so I wasn't sure if the muted colors would clash, but I love how the door stands out and is still in the same color family as the yellow hexagons.
hexagon painted wall design

MATERIALS NEEDED:
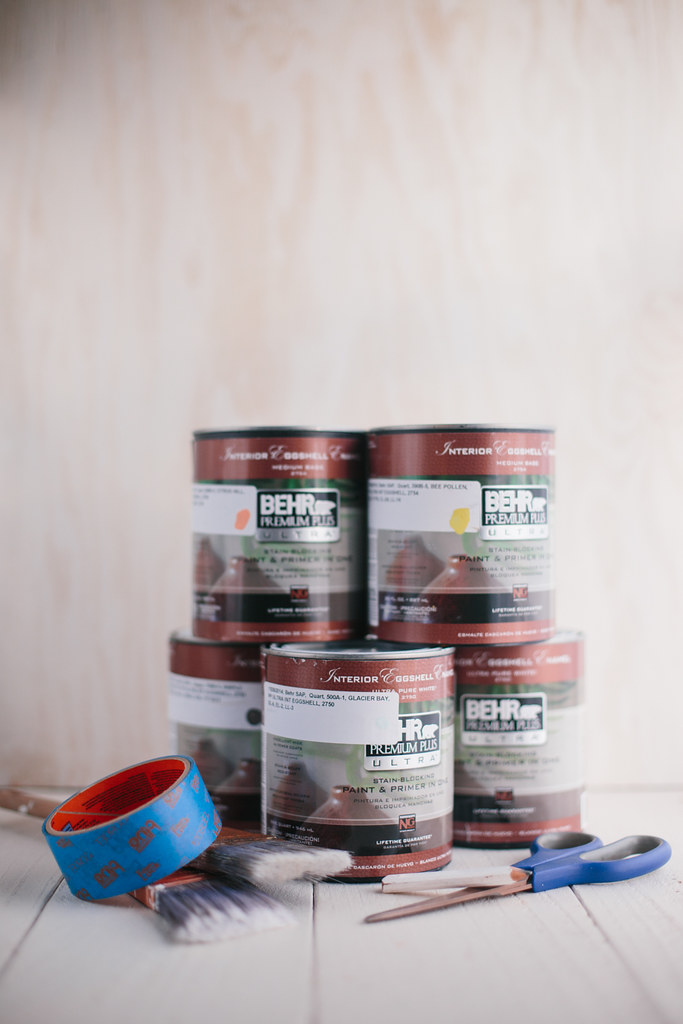
ScotchBlue™ Painter’s Tape
Behr® Premium Plus Ultra™ Paint
- I used: I used: Glacier Bay #500A-1, Citrus Hill #200B-4, Bee Pollen #390B-5, Chocolate Froth #720C-2, and Simple Silhouette #790B-5
Wooster® Pro brush
Scissors
Pencil
Cardboard
hexagon painted wall design

DIRECTIONS:
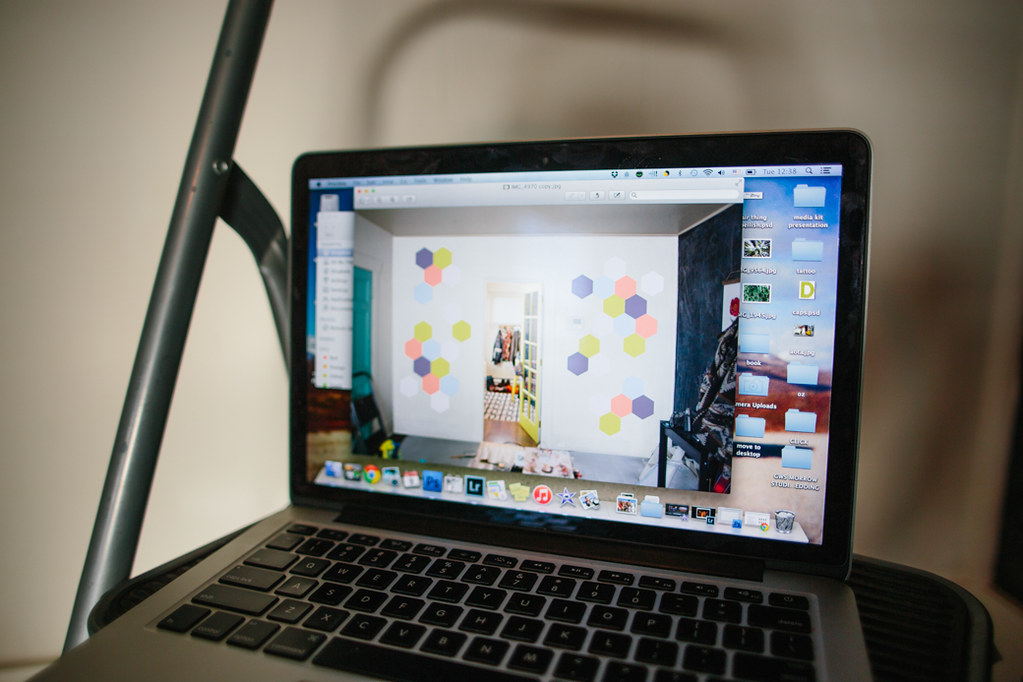
1. Decide on your pattern.  I used photoshop to mock up how I wanted my design to look on the wall and which colors would go in each hexagon.  This also helped determine how big I wanted to make my hexagon template.

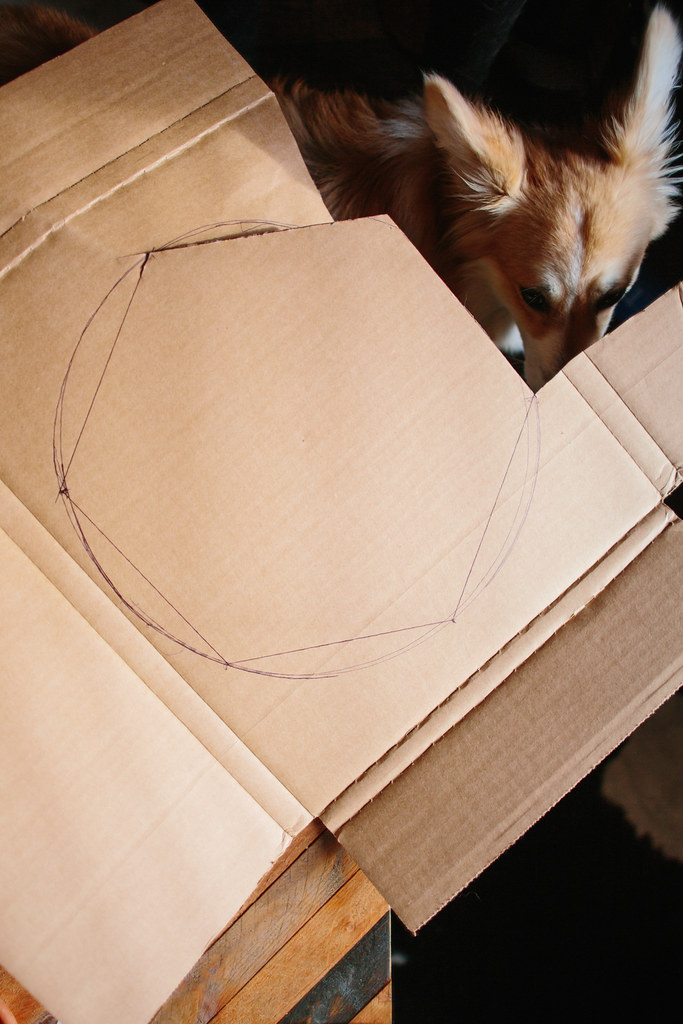
2. Create your hexagon template.  It's pretty easy to make a hexagon, but you'll want to make sure it's pretty close to perfect so that your pattern doesn't get wonky.  I used this super easy little tutorial with a makeshift compass.  My hexagon ended up being 13 inches from tip to opposite tip (diameter of the original circle drawn). Cut the template out of some cardboard or other sturdy material to trace around.

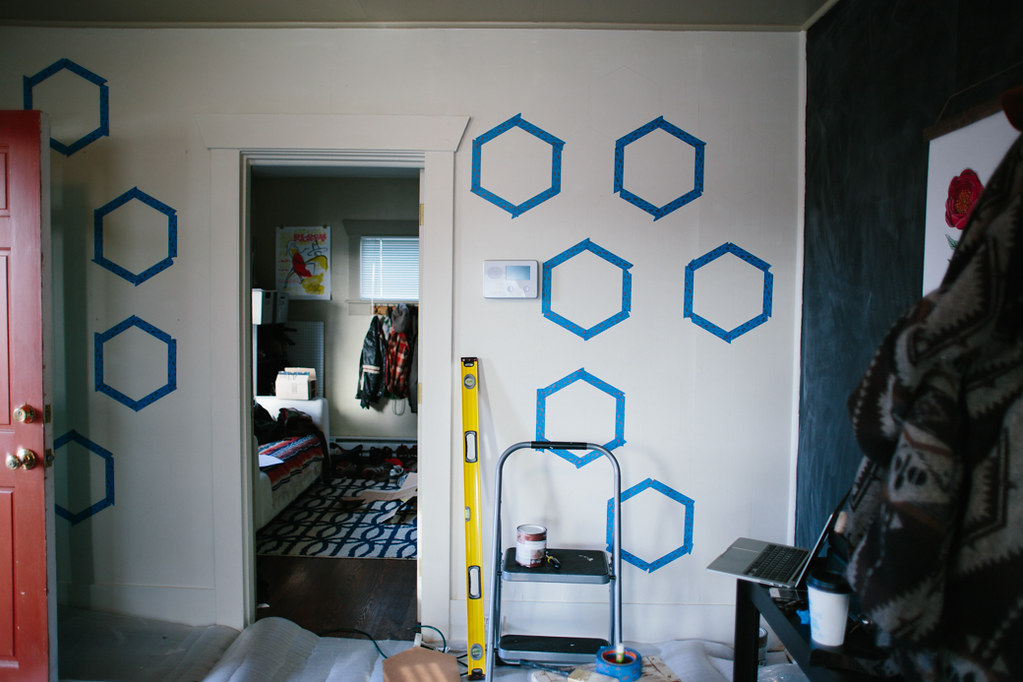
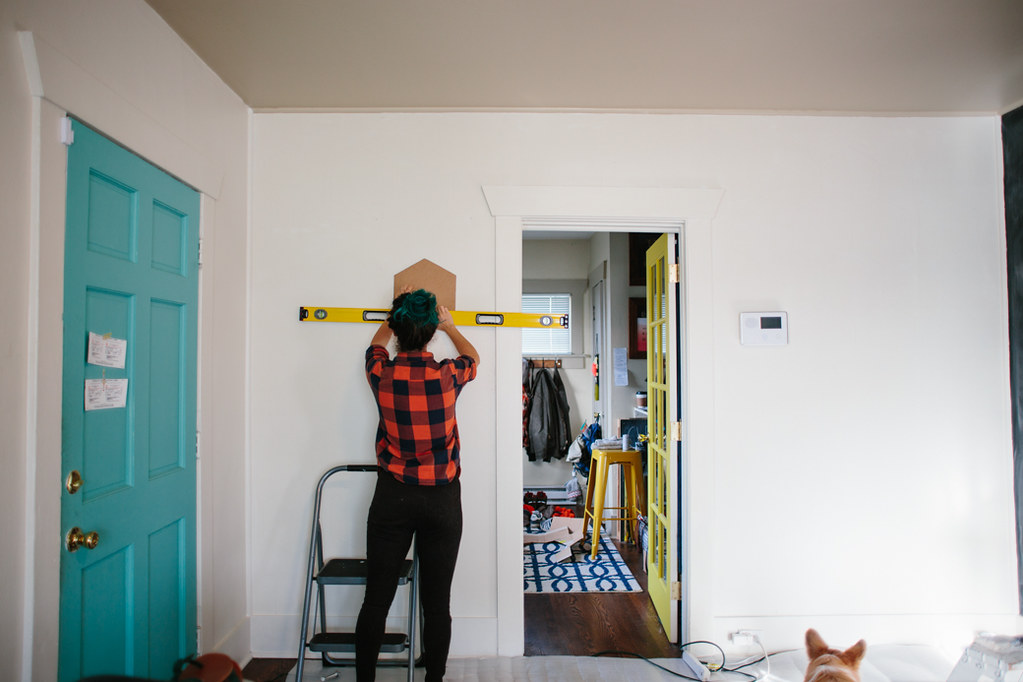
3. Draw the outlines to the hexagons using a pencil.  Make sure your hexagons are level.  I leveled the first one and then outlined about 4 or 5 and checked the level again, just to make sure I wasn't getting off level.  In each hexagon I lightly wrote the color that would be painted inside.
hexagon painted wall design

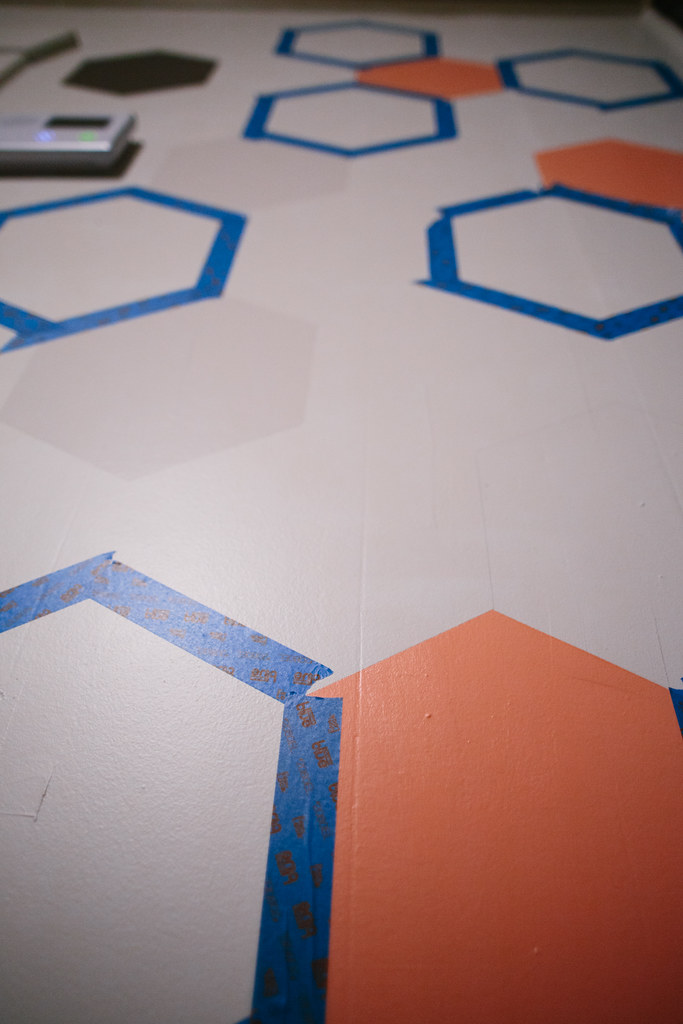
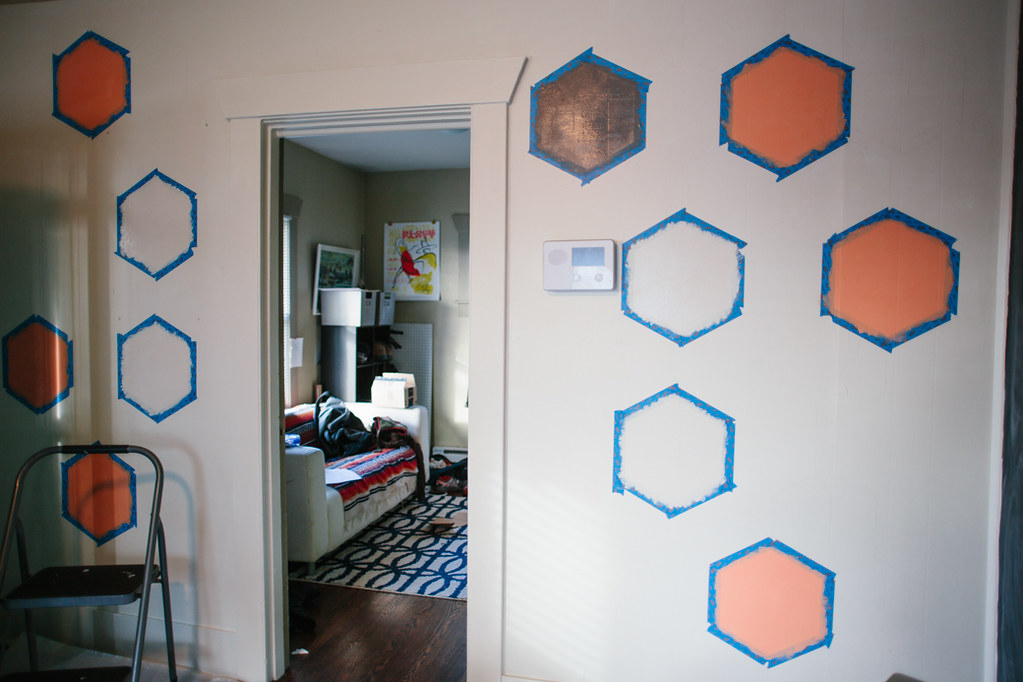
4. Using your  ScotchBlue™ Painter’s Tape, outline the hexagons that aren't directly next to each other.  Since these hexagons are directly butting up against each other, you'll have to wait for the paint to dry so you can mask off the one next to it.  I masked as many hexagons as possible and painted the color that was written inside using my Behr paint.  Each hexagon got two coats of paint.

5.  Because I had to wait for each hexagon to dry before taping the one next to it, this project took a little longer, but I'm super happy with how it looks.  As soon as I painted the second coat on a hexagon I'd remove the tape and allow it to dry.  This project took three days to complete with the time required to wait for paint to dry.  I let the paint dry about 2 hours between coats, as recommended by Behr®.
hexagon painted wall design

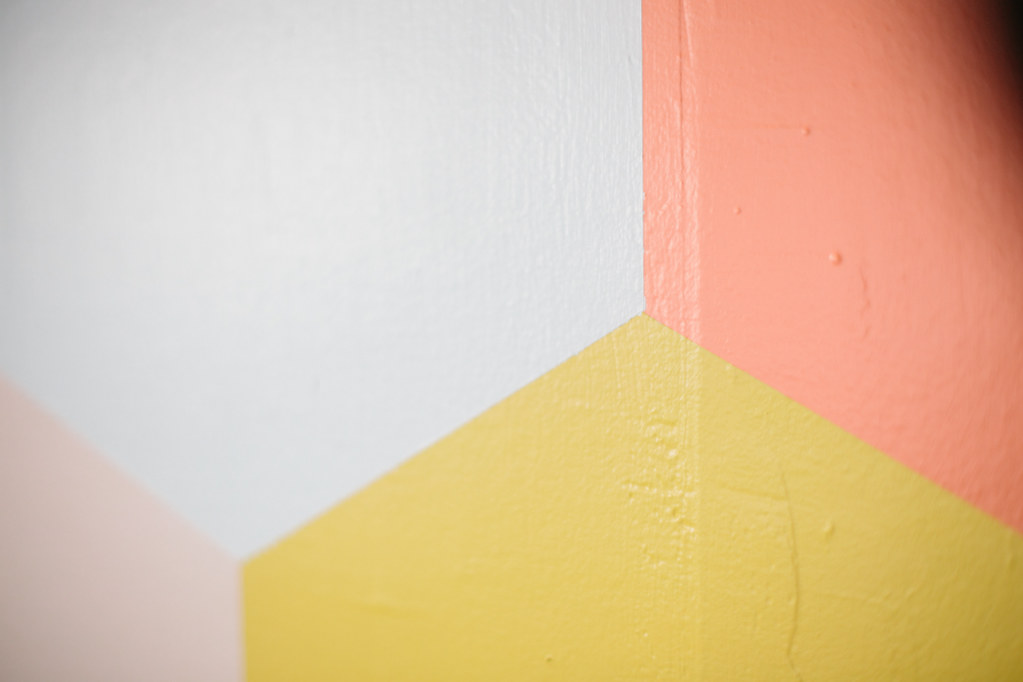
I have to say I was skeptical about how good the Edgelock tape would really be in comparison to the regular painters tape I usually use, but I was super happy with how precise my edges were.  I didn't have to fix any leaks and the edges were so sharp and clean.  I used the Delicate Surface Painter's Tape, but ScotchBlue™ Painter’s Tape has a guide that can help pick the right tape for your project surface.
hexagon painted wall design

I am proud to be a 3M, Behr®, and Wooster® - sponsored blogger, and, as part of my responsibilities, I get the opportunity to evaluate products. Opinions are my own and additional product used in the project were selected by me. Thanks for supporting those companies that keep Delightfully Tacky alive and kicking!


Pin It!

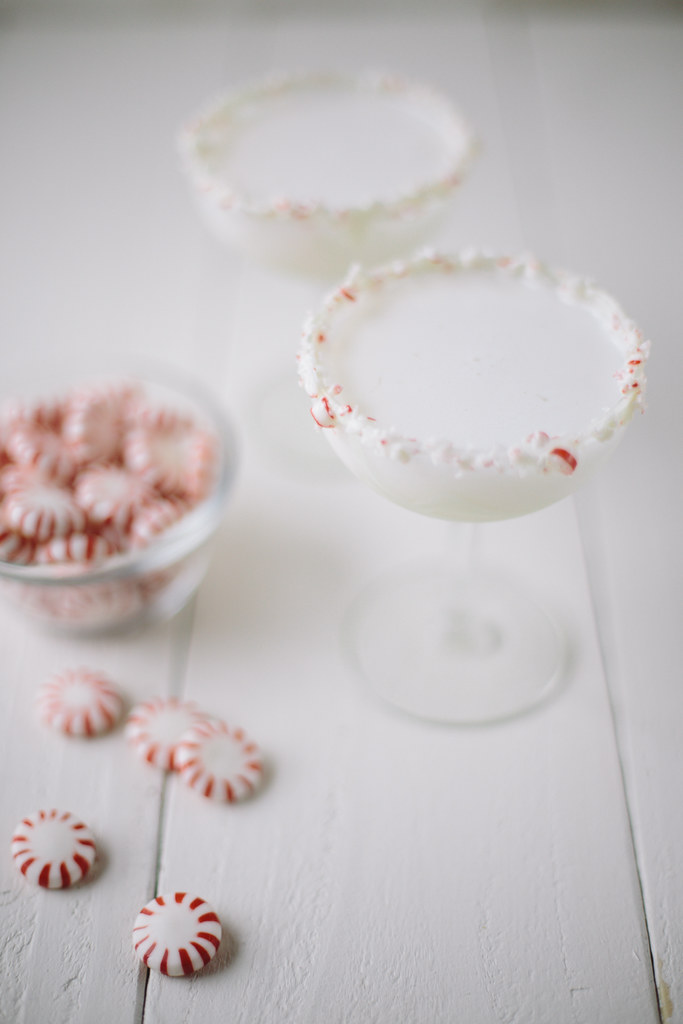
peppermint white chocolate cocktail


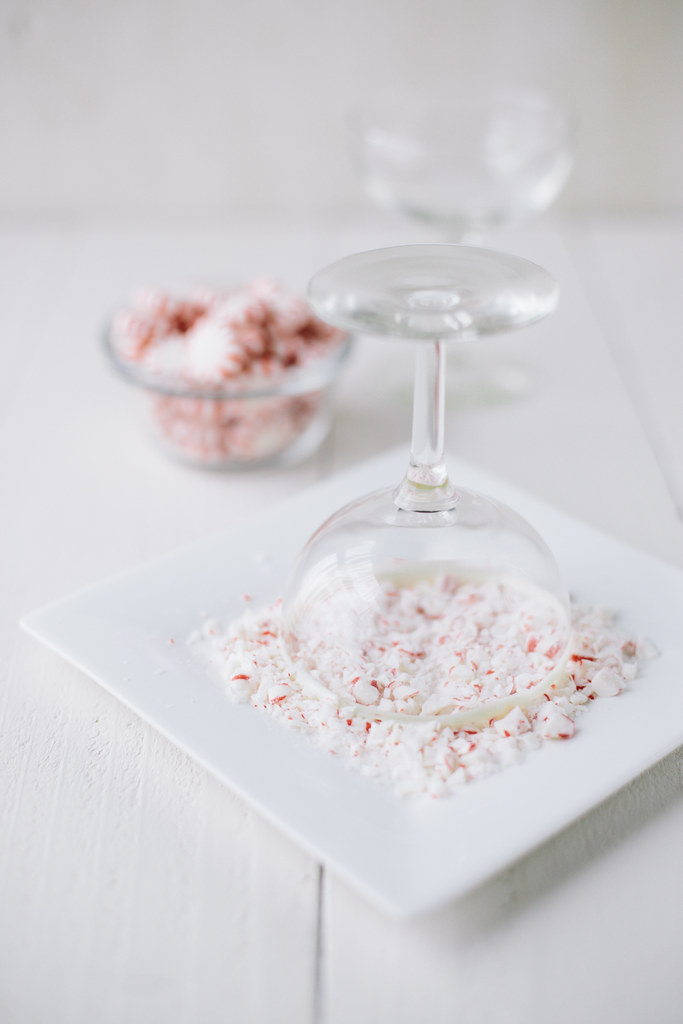
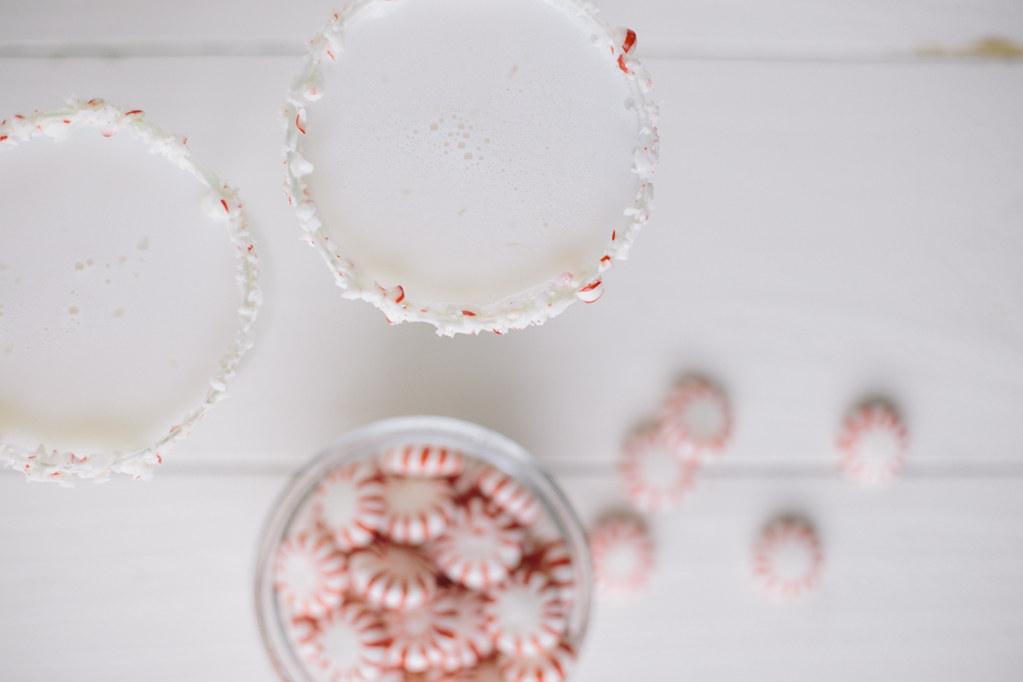
o, speaking of holiday treats, I wanted to share a little holiday cocktail recipe with you guys!  I put together this super easy Peppermint White Chocolate cocktail recipe for South Sound Magazine, so go check it out!  Really easy, only three ingredients and it's a really decadent little boozy drink, perfect for holiday parties.  And it looks pretty fancy with the peppermint encrusted rim!  Throw one of those baby candy canes over the rim too, for extra holiday points.  Head over to South Sound Magazine for the recipe!


Pin It!

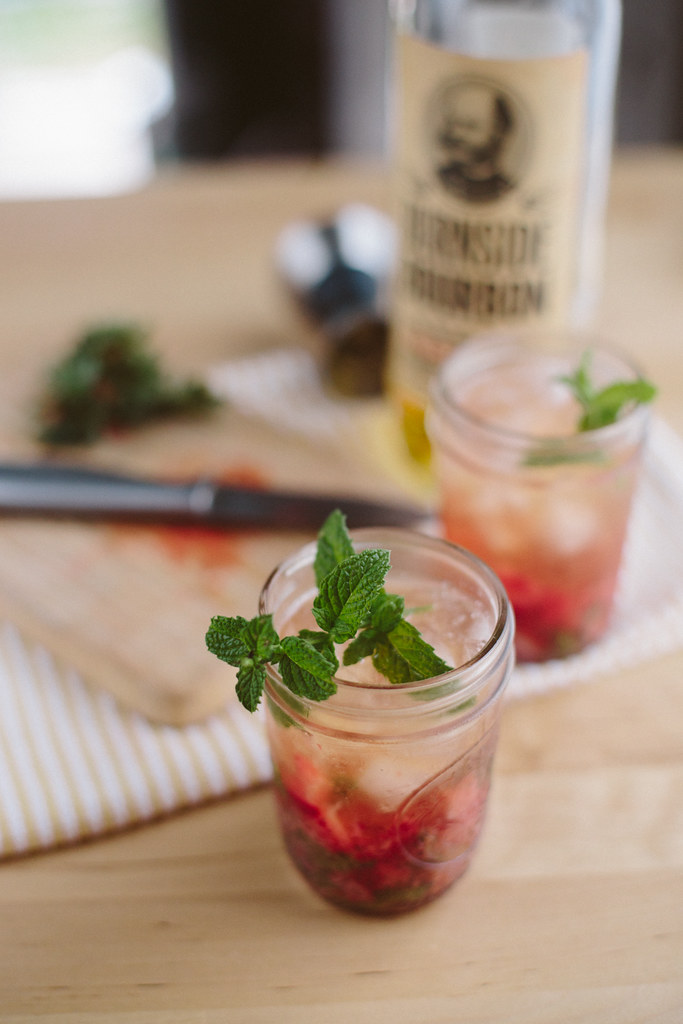
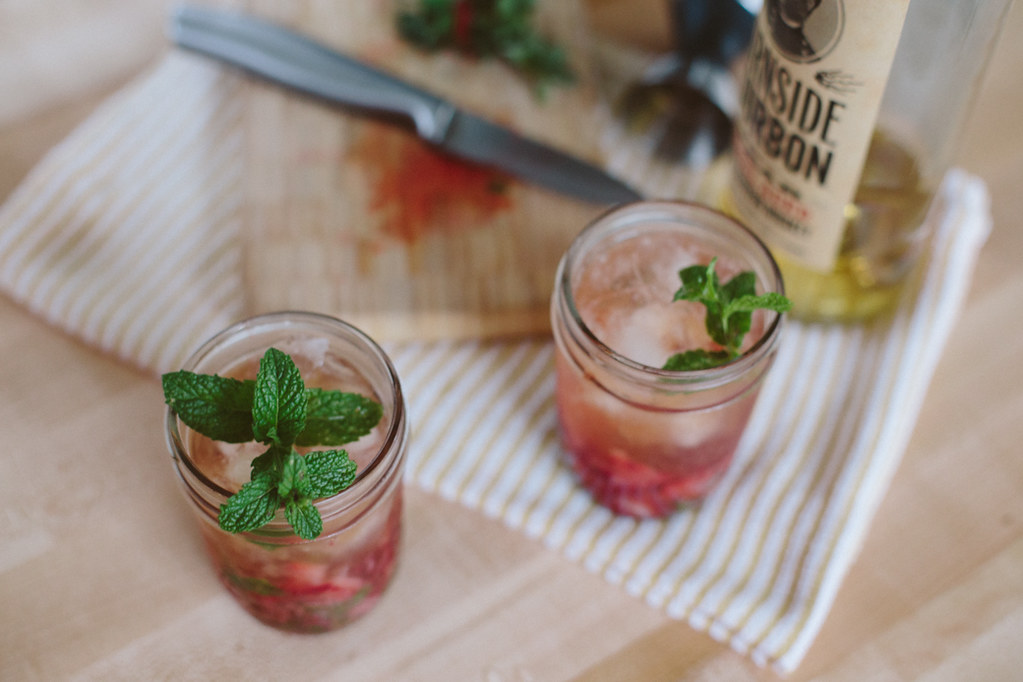
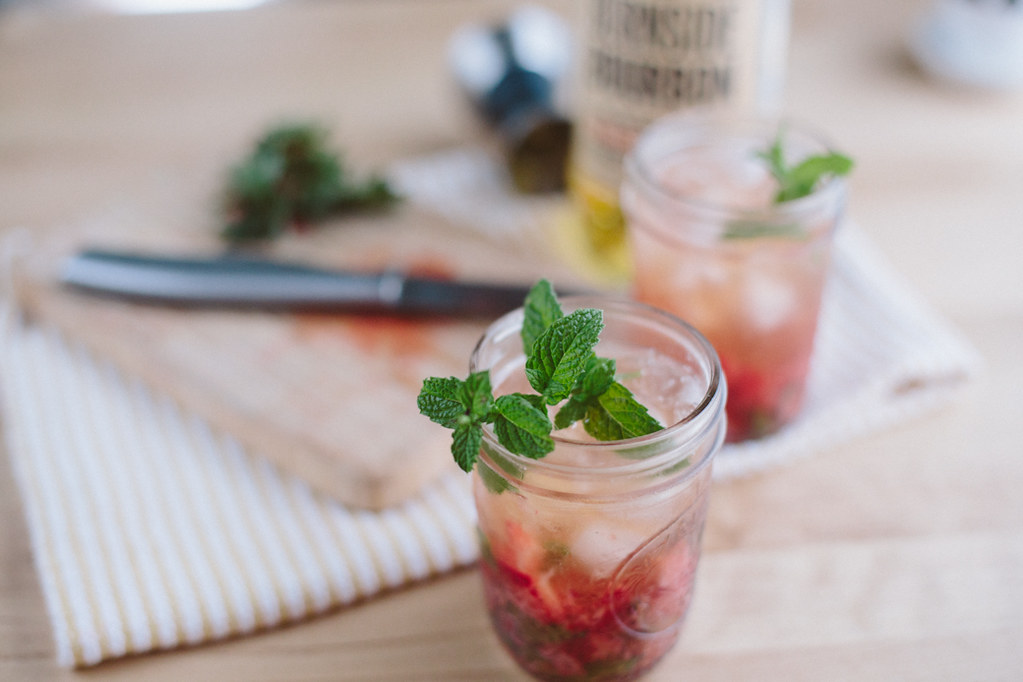
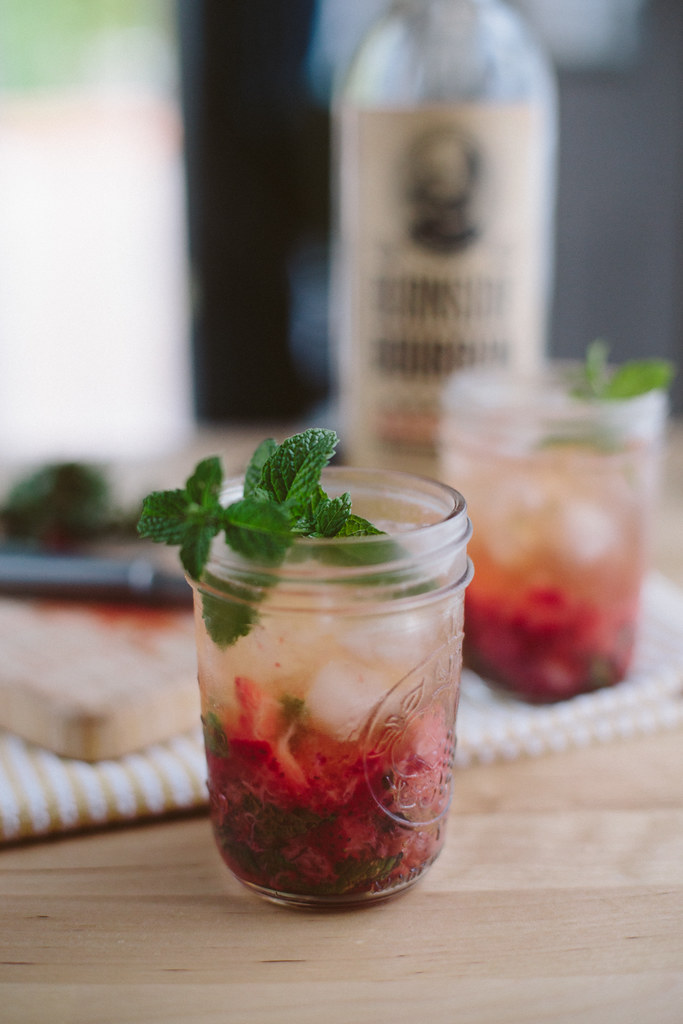
strawberry bourbon julep


ummer seems like it might be starting to wind down, though it pains me to say.  Still, I'm not giving up without a fight, and a fruity cocktail sounds like the perfect way to ignore the impending season change.  I'm a firm believer that we shouldn't start thinking about fall until September at the earliest, and that's over two weeks away, so I'll be over here in summerland until then.

Still, September is still pretty summery in my mind.  I've been wanting to take a little road trip lately and my options are south or east (I still haven't updated my passport to my new married last name, so Canada is off the table), and south seems most interesting to me.  I haven't been down 101 since I drove down in the Winne and, while 101 is gorgeous, some of those twisty roads just aren't ideal in a 20 ft long 1973 Winnebago.  Little roadsters trying to zip along those roads were not my biggest fan.  Ever since I stopped in Mendocino in the Brave I've wanted to go back because the day I spent there it was totally socked in and rainy.  It'd be fun to be able to give it another try with (hopefully) better weather.  We'll see, though.  I feel like I booked myself solid until November, so it might be challenging to get out of town.  I've decided that I'm not booking anything in November, November is going to be my month.  Hopefully there'll be some fun for our third wedding anniversary and family time for Thanksgiving!


INGREDIENTS
4 hulled strawberries
2 tbsp mint leaves
1/4 oz simple syrup
2 oz bourbon
crushed ice
mint sprig

Muddle the strawberries and mint leaves in your glass and add the simple syrup.  Top with the bourbon and crushed ice and garnish with the mint sprig!  Enjoy!



Pin It!

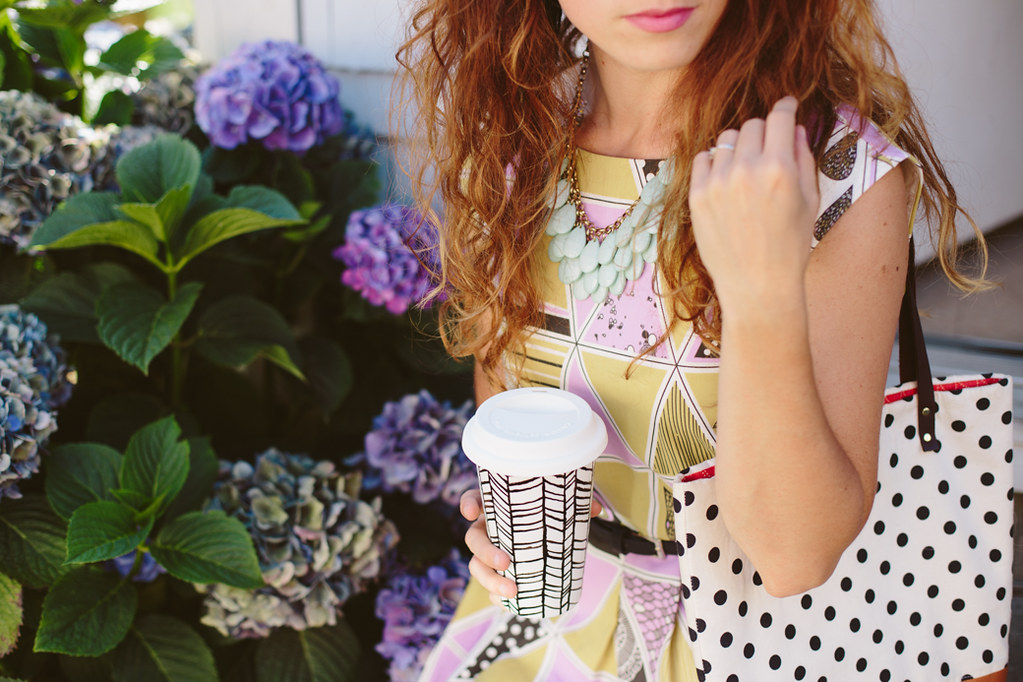
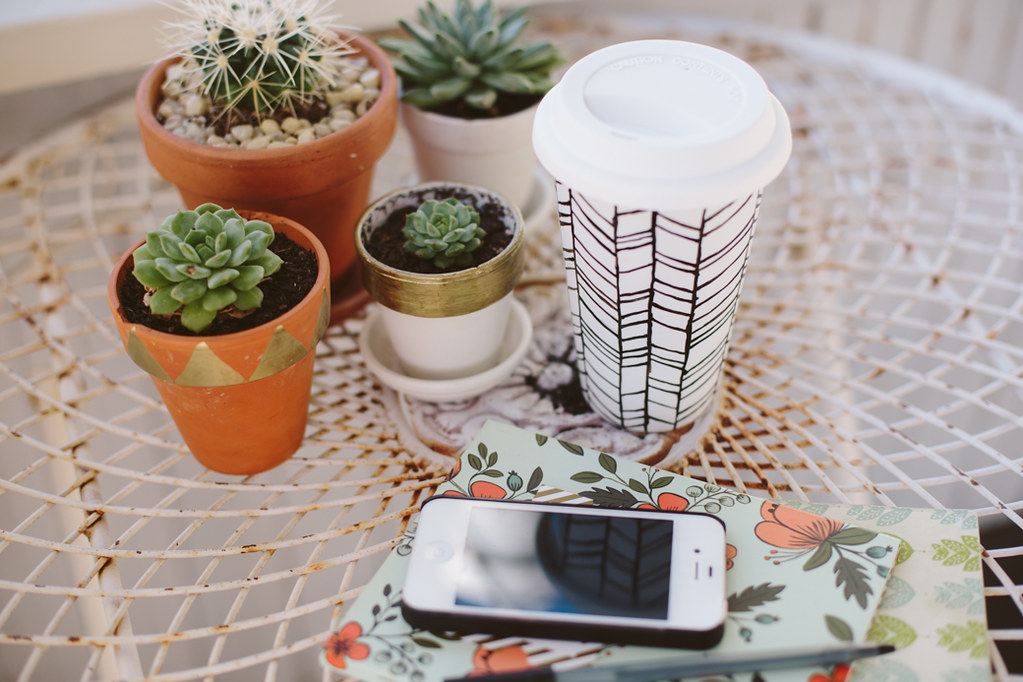
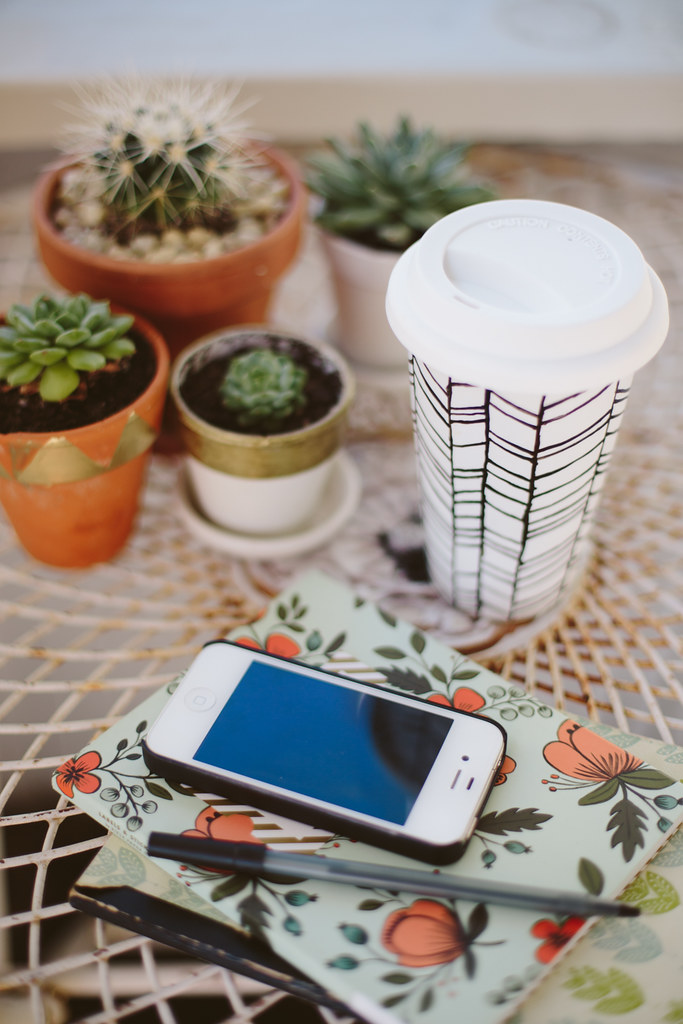
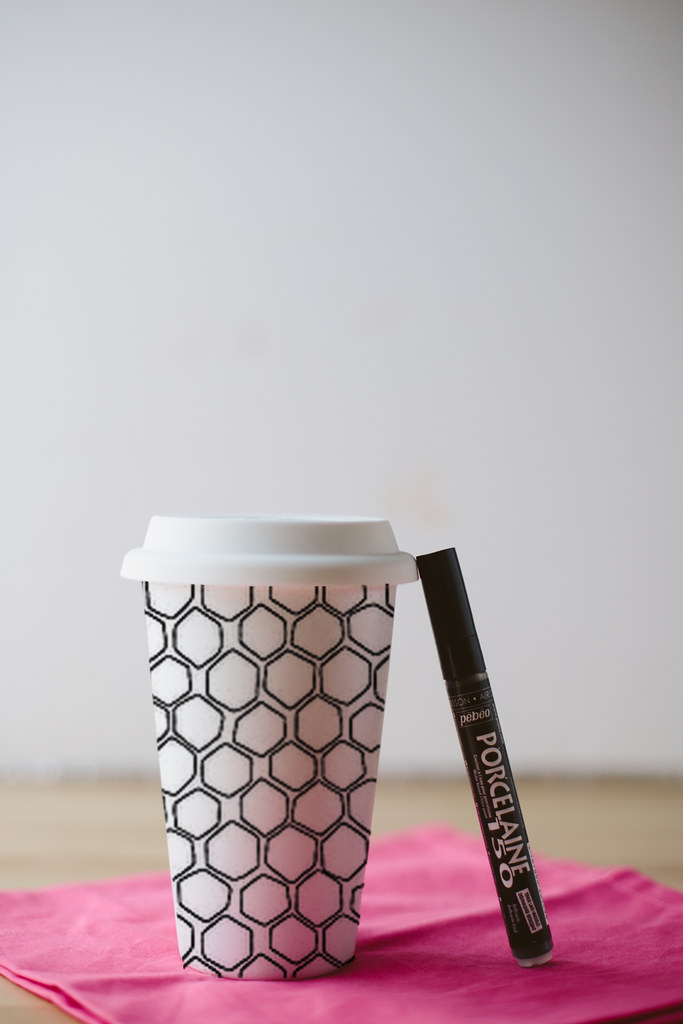
diy hand painted travel mug


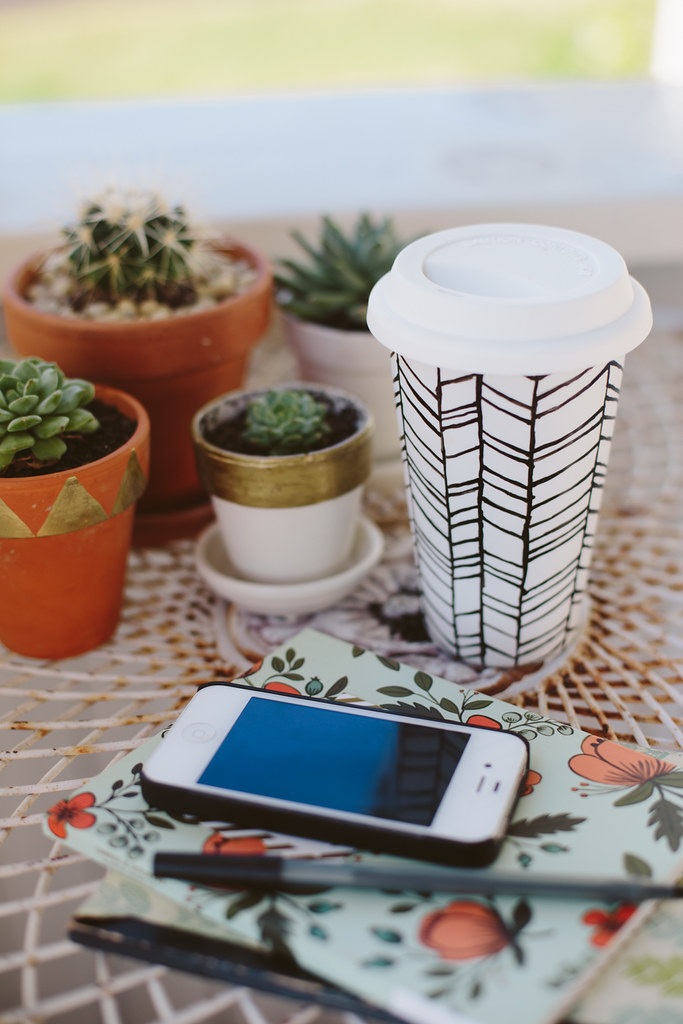
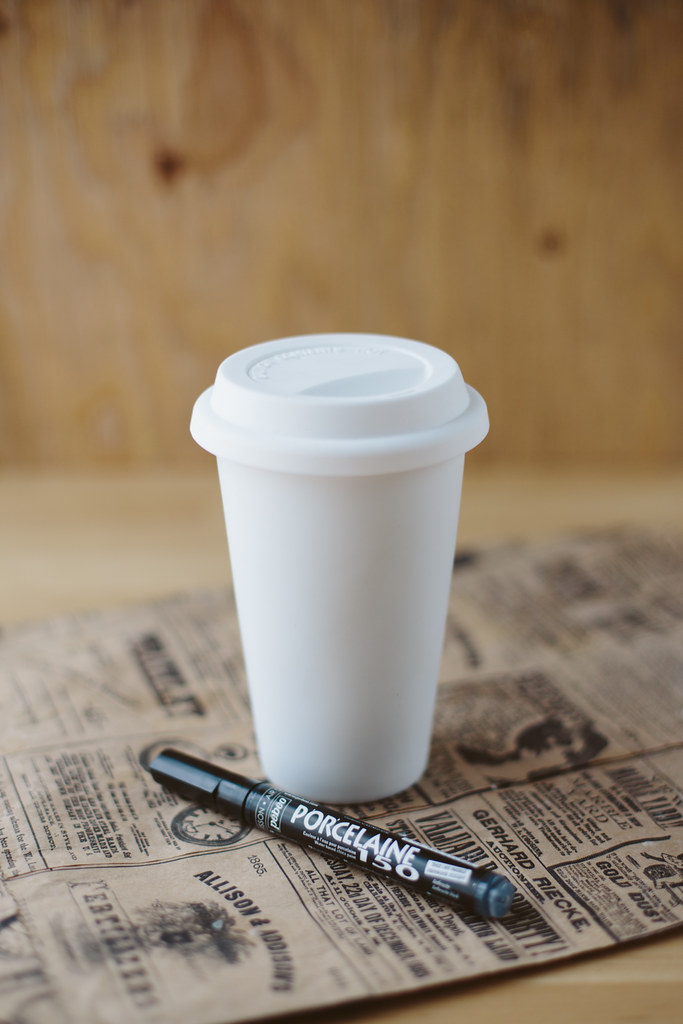
his DIY has been on my mind for over a year and recently, when I was cleaning out my studio, I found my porcelain paint pen and days later found a blank travel mug at the thrift store.  It seemed like it was meant to be.  I don't know about you guys but I see these little faux-paper cup travel mugs at thrift stores all the time.  Well, I see lots of travel mugs at thrift stores (maybe it's just us up here in coffeetown central, USA, aka the Pacific Northwest with our coffee addiction resulting in a surplus of travel mugs), but these seem relatively easy to come by at the thrift store.  So if you're a cheap-o like me, I'd check a local thrift shop first before dropping some bones for a new one.  I've noticed that people like to leave their empty paper coffee cups on random shelves at thrift stores too, though, so make sure you're not picking up the dregs of someone's old caramel macchiato.  Has anyone else noticed this?  I swear every time I thrift I find at least one old, empty Starbucks paper cup left on a shelf of knick knacks.  Us thrifters are well-caffeinated folks, I guess.  Also, forgetful?  Or lazy?  I'm not sure which.


What you'll need:
Porcelain Travel Mug
Pencil (optional)
Pebeo Porcelaine paint pen

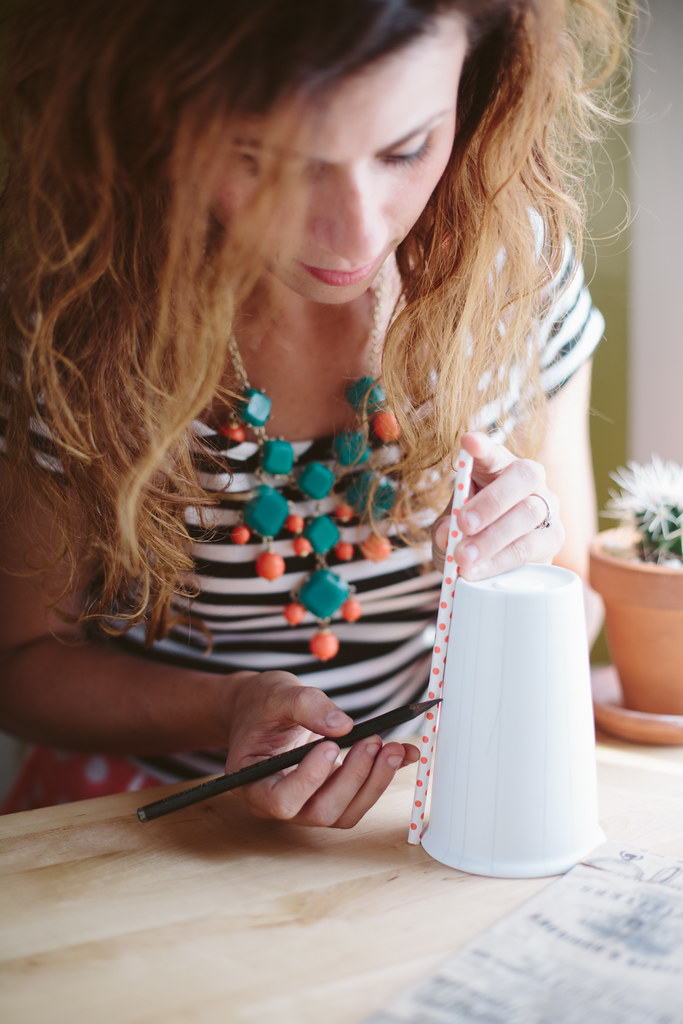
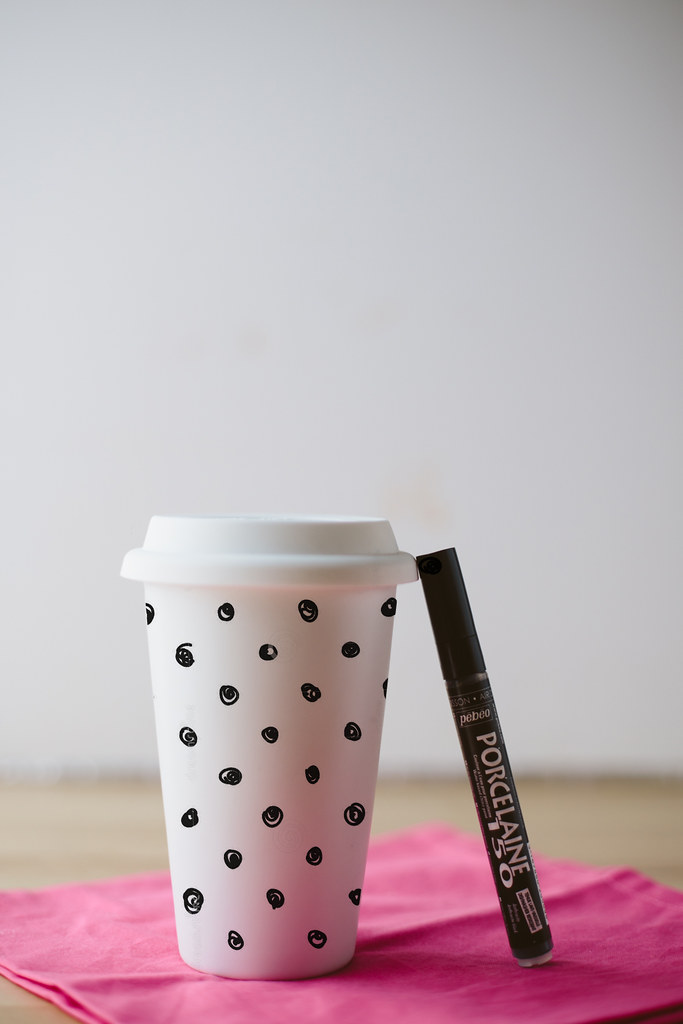
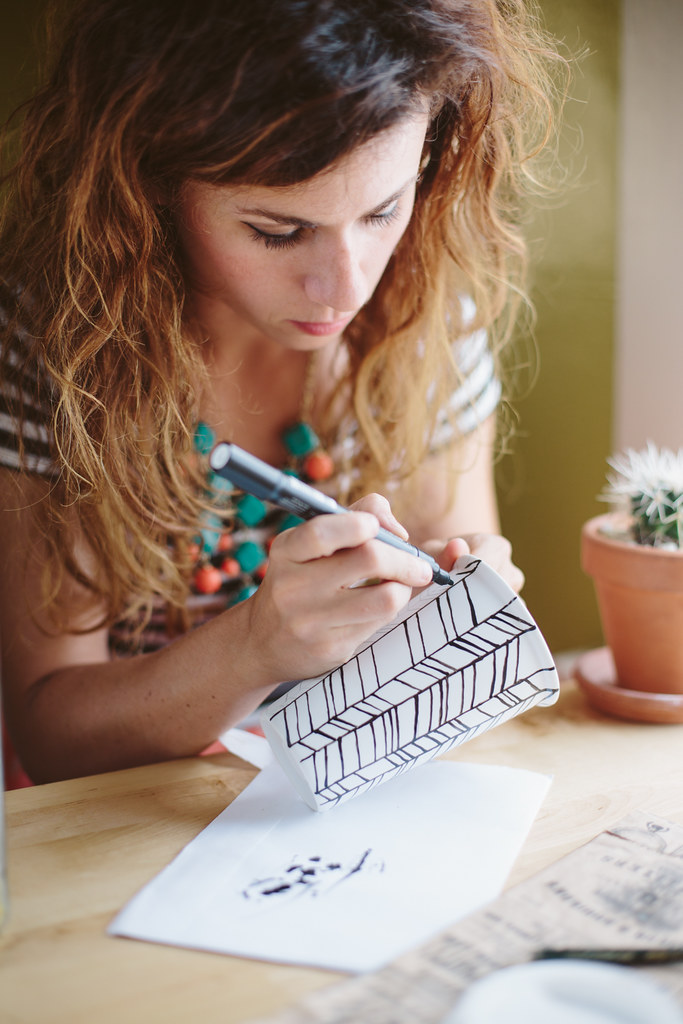
If you're making a more complex pattern, like the herringbone pattern I did, you can sketch it on there with a pencil first, to have some light lines to follow.  Something more simple, like polka dots, probably wouldn't require this, but I wanted to make sure everything fit right.  If you want to just jump right into painting, though, go ahead!  I used a straw to help guide my vertical pencil lines so they were parallel and straight.  Then I drew in the angled lines.  


Next, just follow your pencil template with the paint pen.  You'll have to push down on the pen tip to get the ink flowing.  I had to push down on mine pretty frequently to make sure the paint flowed freely.  Have a scrap piece of paper on hand to prime the pen when you need to.  Be careful not to smudge the wet paint.  

Set the mug aside and let it air dry for 72 hours.  If you want to make your design dishwasher safe, put the mug in the oven at 300ºF for 30 minutes to bake the paint on permanently.  Voila!  Fancy, custom, reusable travel mug!  Drink your hot beverages in style!

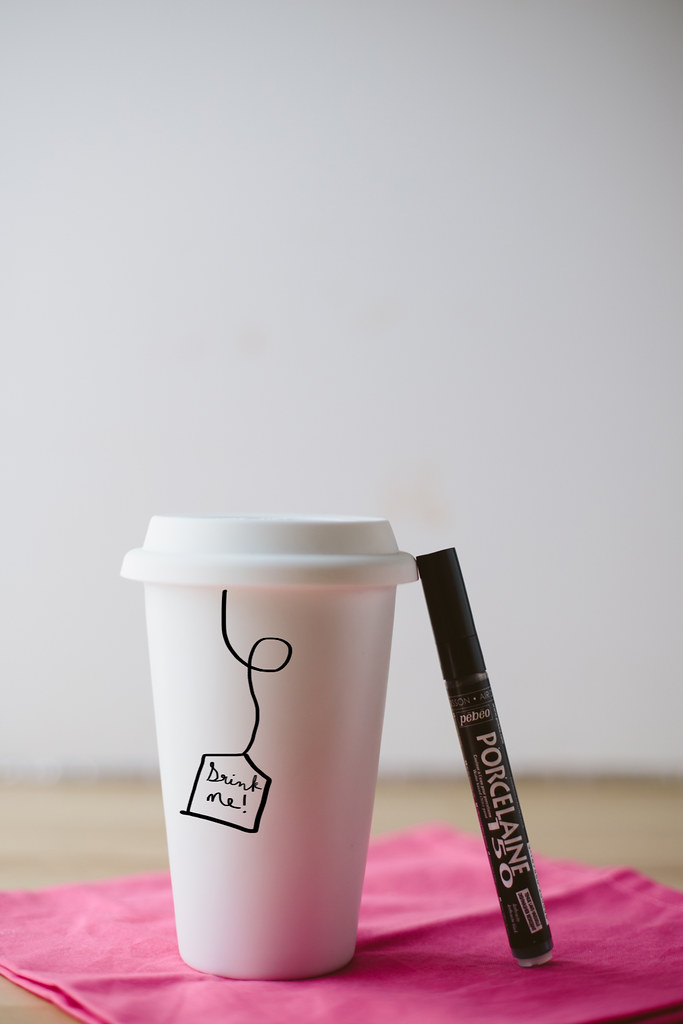
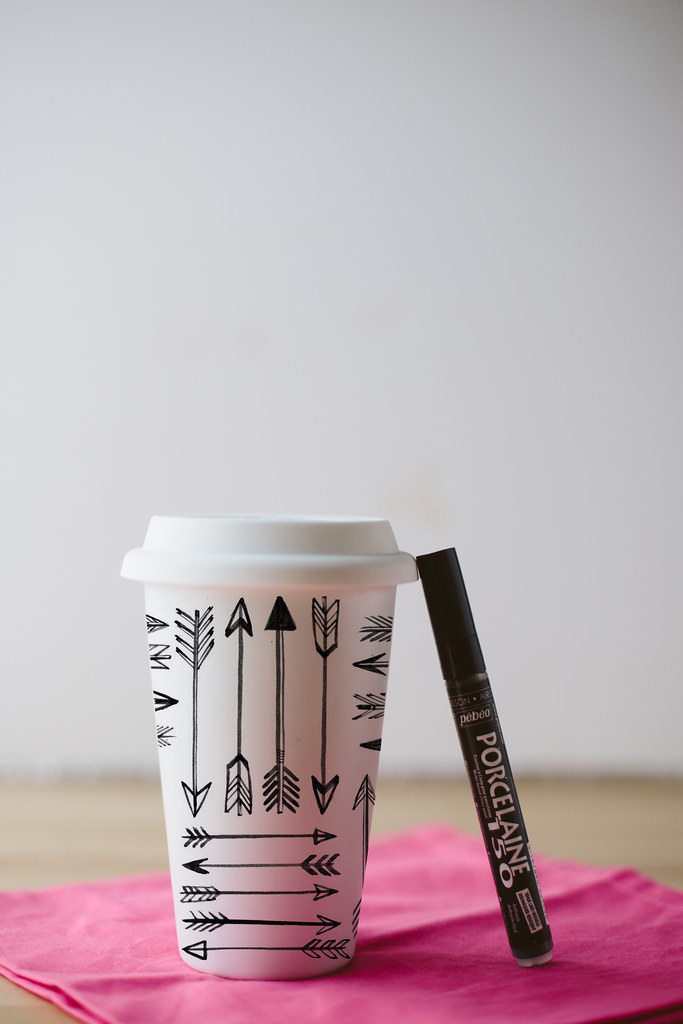
I used a white mug, but I know that they sell them in many different colors, so if you wanted a more colorful version, just buy a plain, colored mug instead of a white one and draw on your pattern.  At the bottom of the post I included some more fun pattern ideas if you're not into the herringbone.  The sky's the limit!


Pin It!