Showing posts with label how to. Show all posts

Hexagon Painted Wall Mural Tutorial

hexagon painted wall design

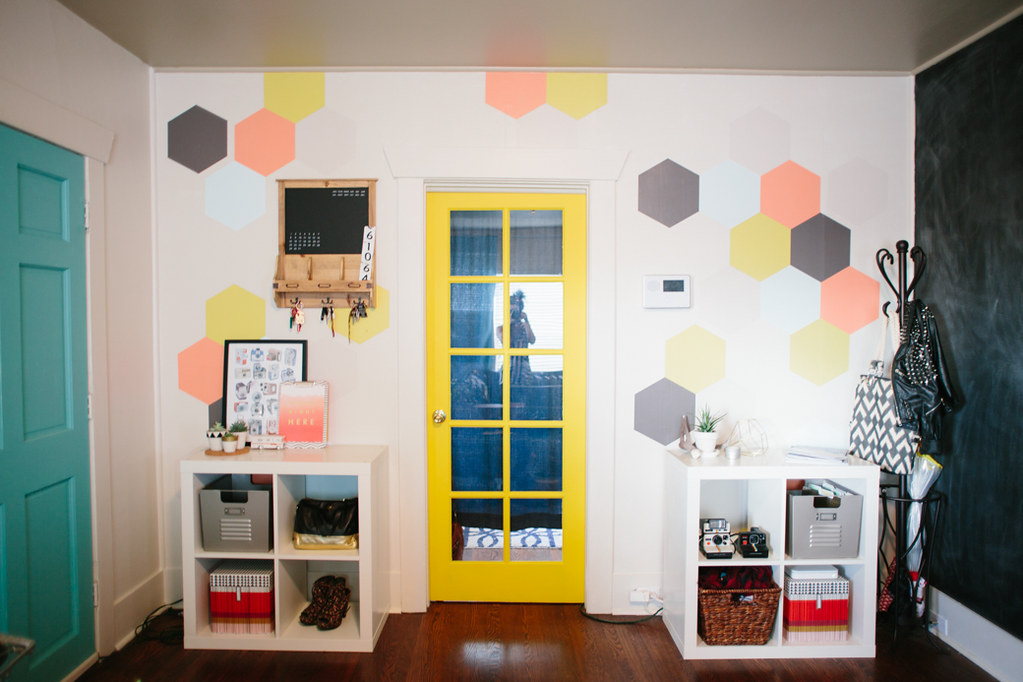
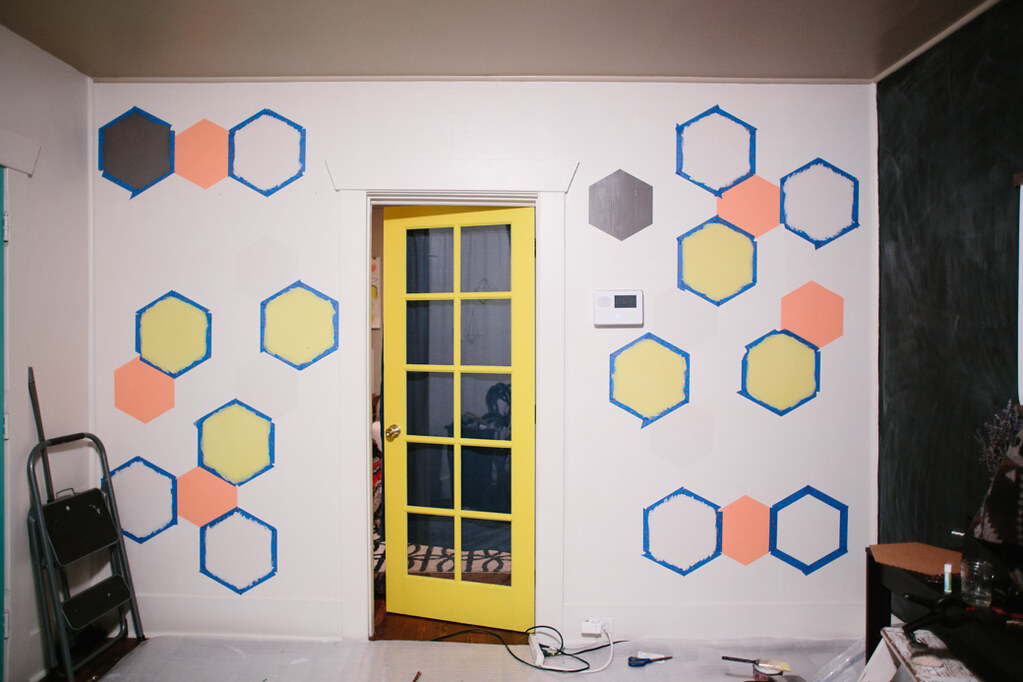
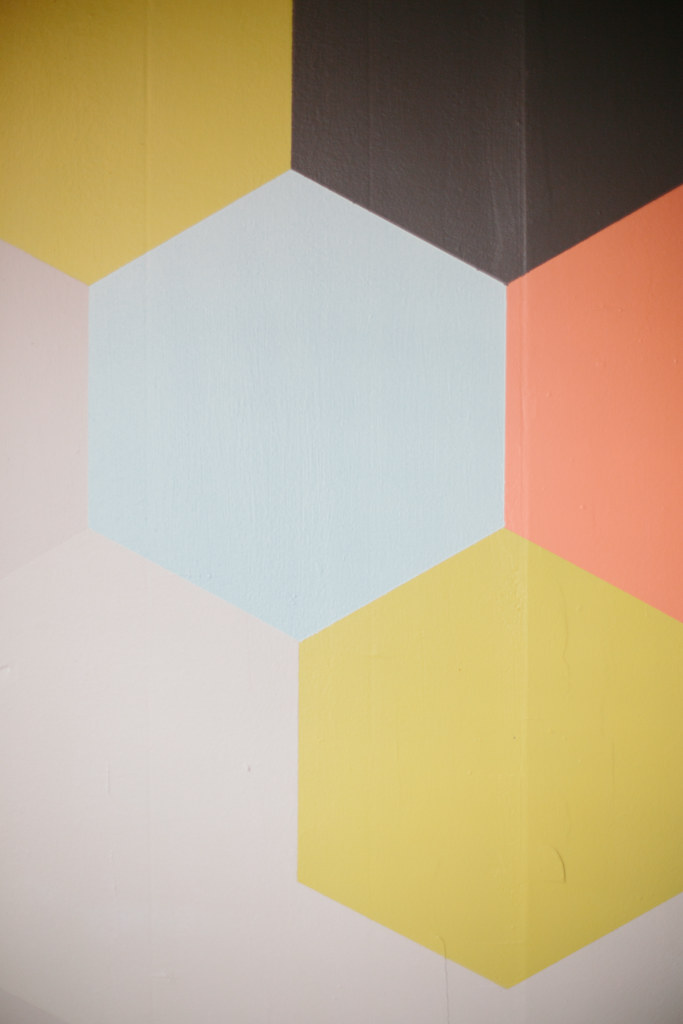
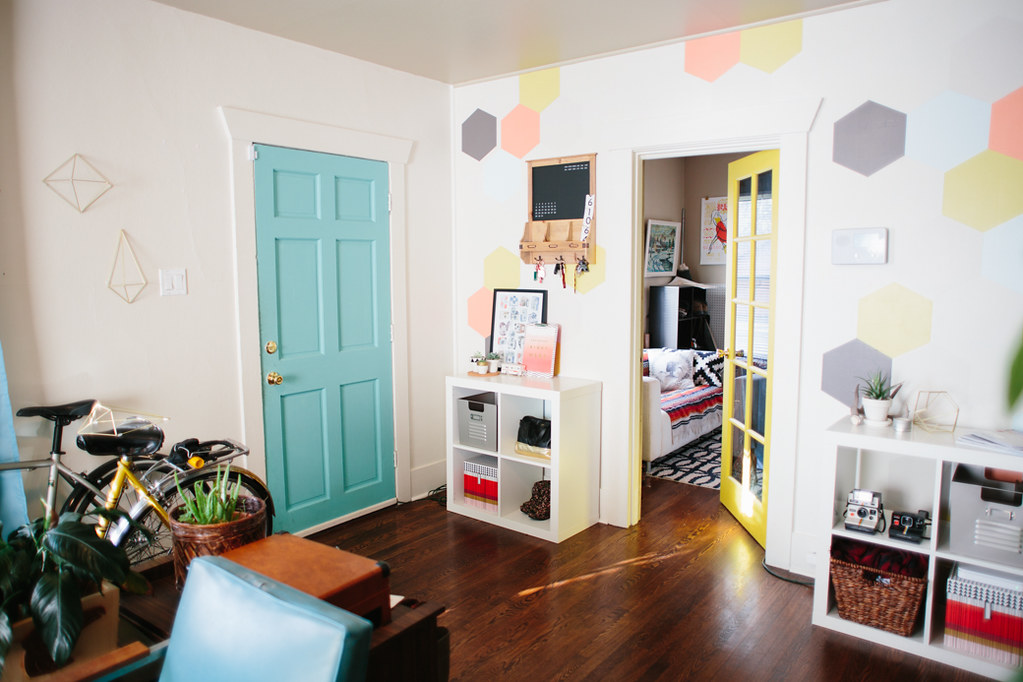
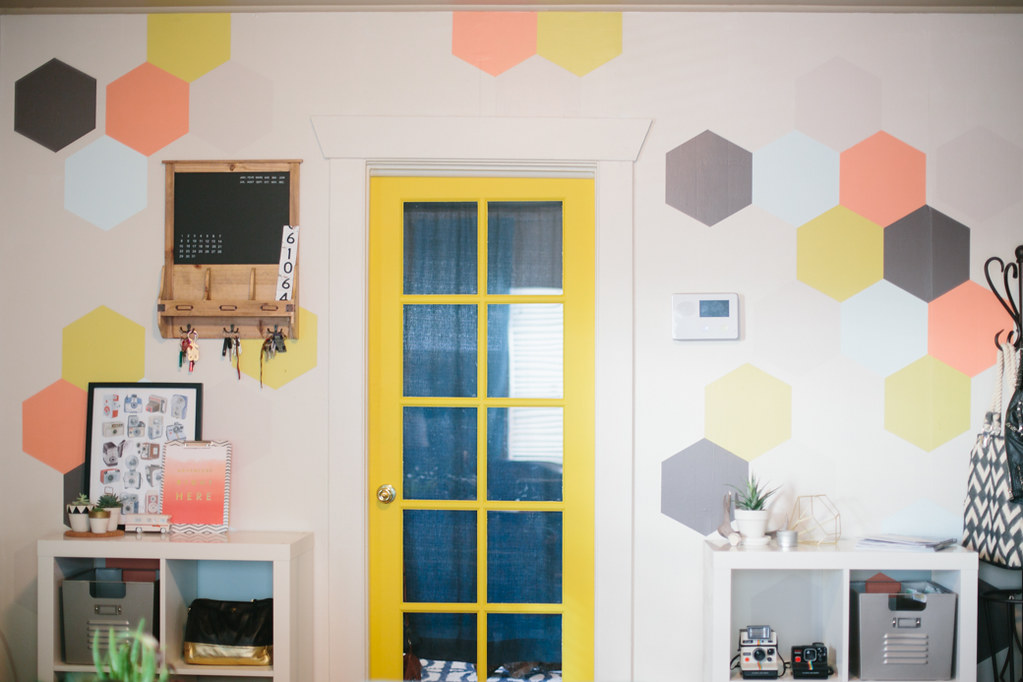
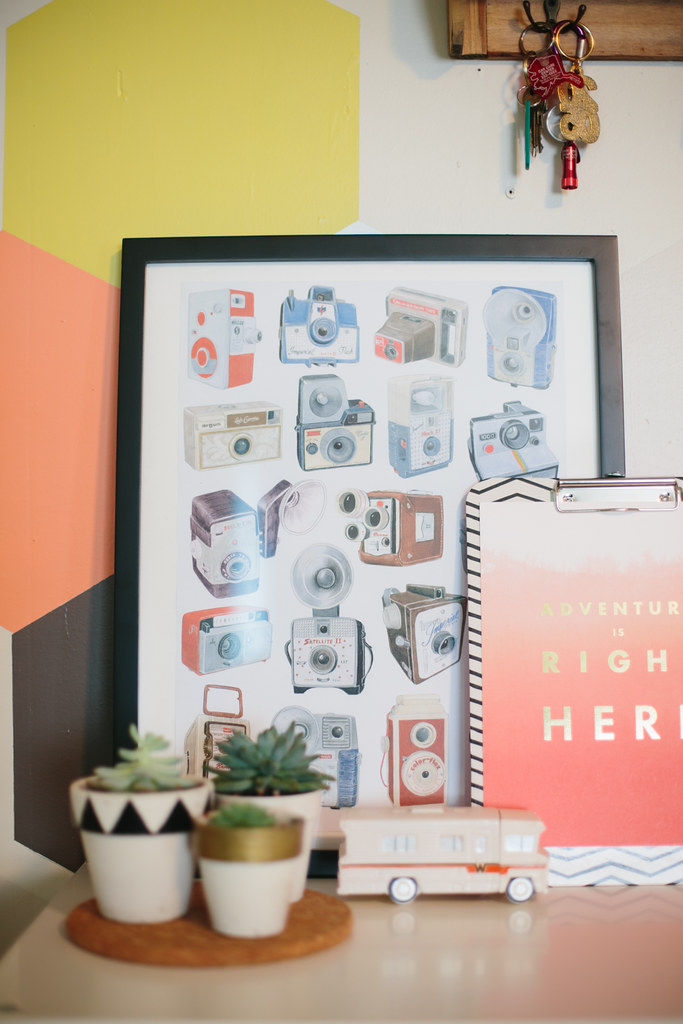
've been painting my living room slowly over the last year and a half.  The first thing I did was paint two of the walls white, then I painted my big chalkboard wall, but I still had one wall left.  It was still the boring, dingy beige that was there when we moved in.  I knew I wanted some kind of pattern or statement, but nothing too crazy because I already had a huge black wall.  When The Home Depot and ScotchBlue™ Painter’s Tape contacted me seeing if I'd be interested in doing a painting project in collaboration with them, I knew this was the perfect time to finally finish my living room!  I love how it turned out!  It's clean and neat, and a statement but not visually overwhelming.  I picked some muted, pastel Behr® paint colors so it wasn't too bold.  I'd already painted the door bright yellow so I wasn't sure if the muted colors would clash, but I love how the door stands out and is still in the same color family as the yellow hexagons.

hexagon painted wall design

MATERIALS NEEDED:
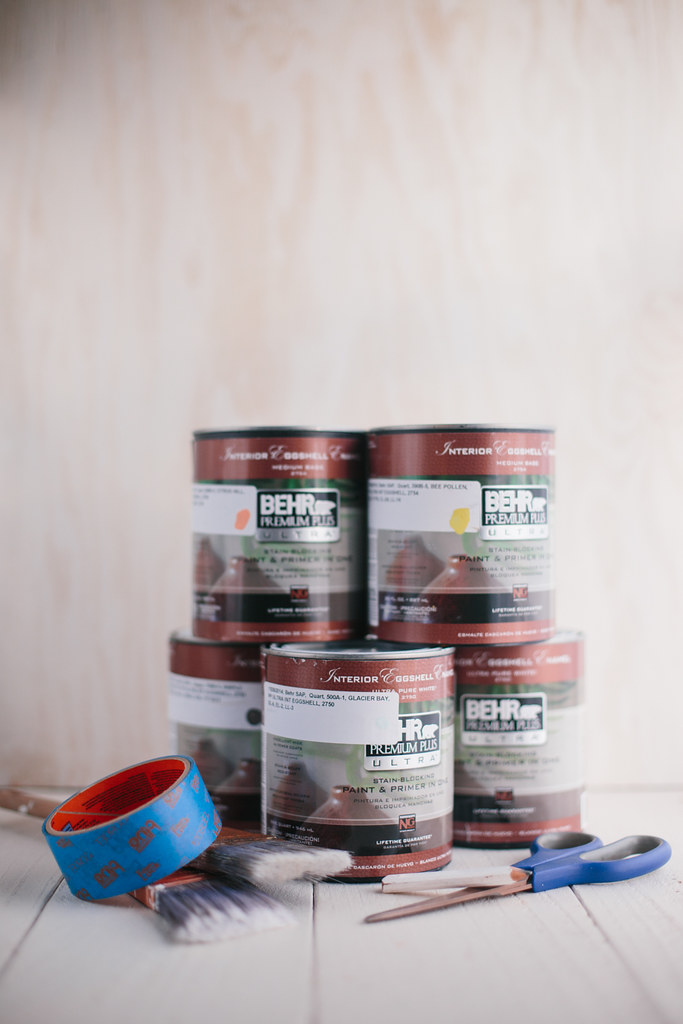
ScotchBlue™ Painter’s Tape
Behr® Premium Plus Ultra™ Paint
- I used: I used: Glacier Bay #500A-1, Citrus Hill #200B-4, Bee Pollen #390B-5, Chocolate Froth #720C-2, and Simple Silhouette #790B-5
Wooster® Pro brush
Scissors
Pencil
Cardboard

hexagon painted wall design

DIRECTIONS:
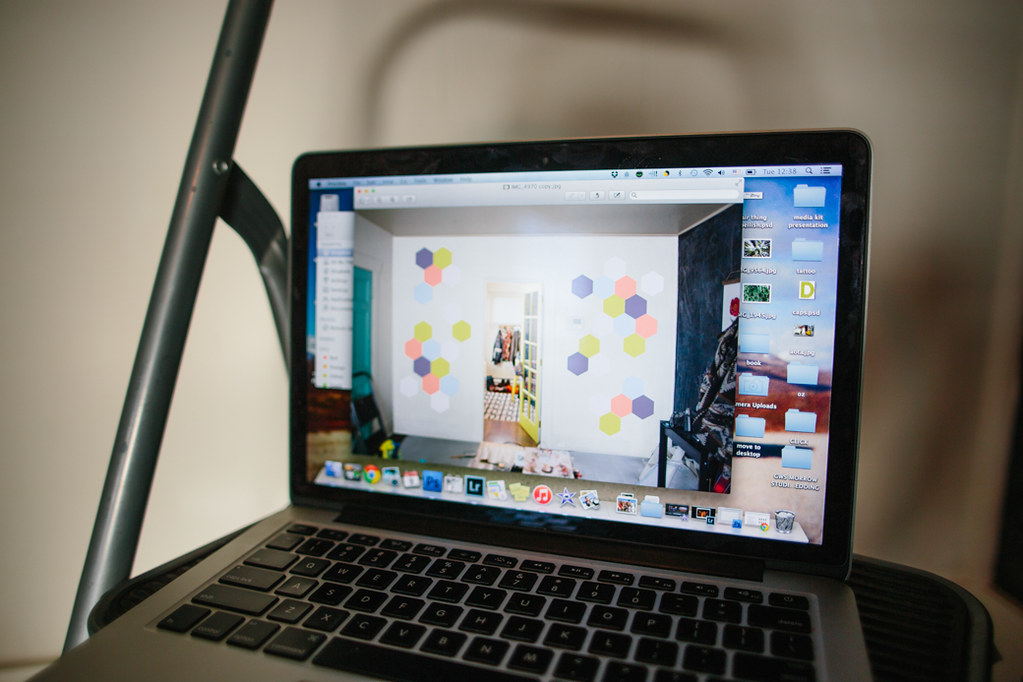
1. Decide on your pattern.  I used photoshop to mock up how I wanted my design to look on the wall and which colors would go in each hexagon.  This also helped determine how big I wanted to make my hexagon template.

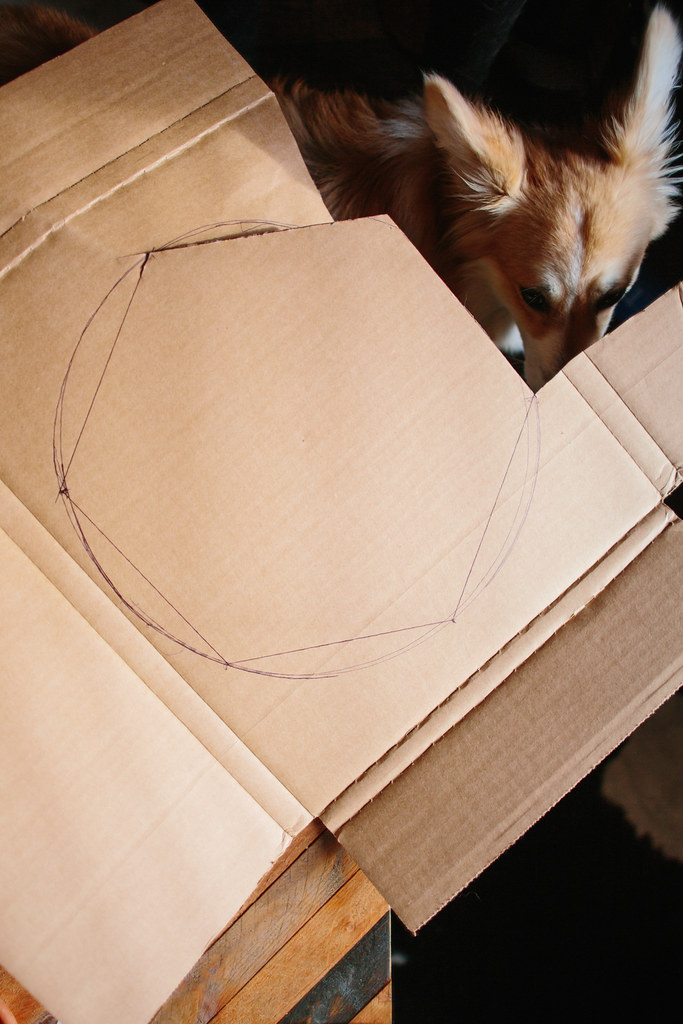
2. Create your hexagon template.  It's pretty easy to make a hexagon, but you'll want to make sure it's pretty close to perfect so that your pattern doesn't get wonky.  I used this super easy little tutorial with a makeshift compass.  My hexagon ended up being 13 inches from tip to opposite tip (diameter of the original circle drawn). Cut the template out of some cardboard or other sturdy material to trace around.

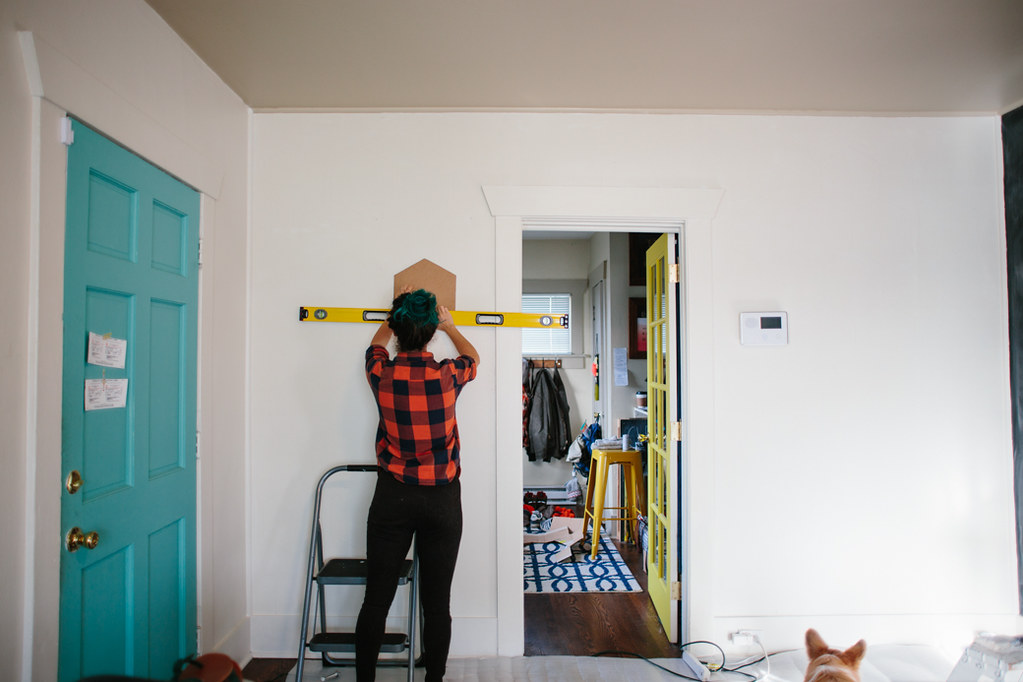
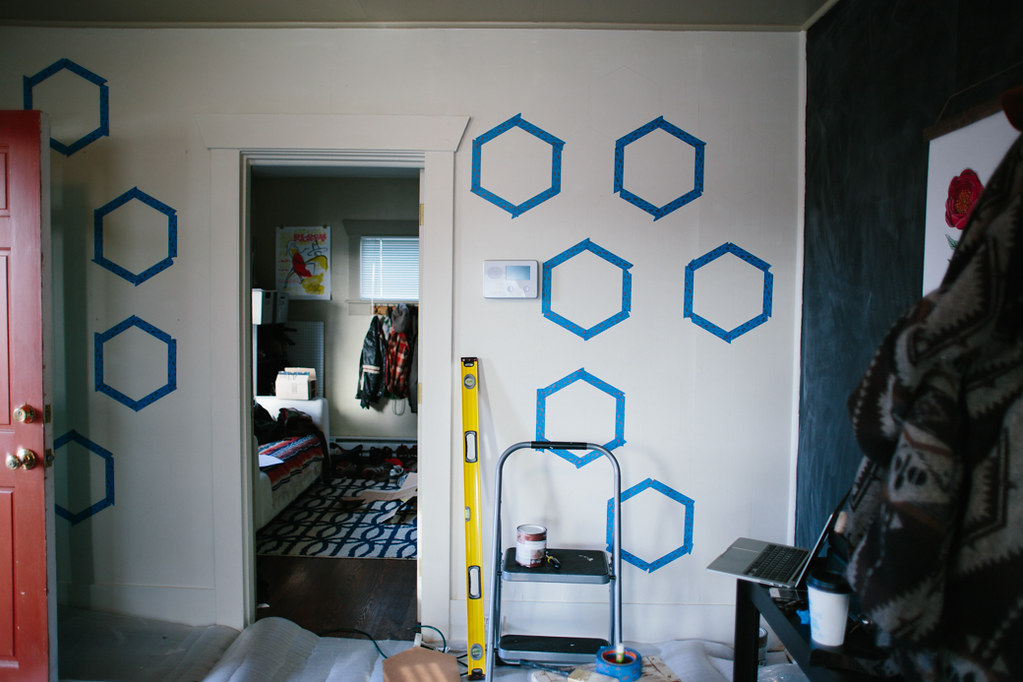
3. Draw the outlines to the hexagons using a pencil.  Make sure your hexagons are level.  I leveled the first one and then outlined about 4 or 5 and checked the level again, just to make sure I wasn't getting off level.  In each hexagon I lightly wrote the color that would be painted inside.

hexagon painted wall design

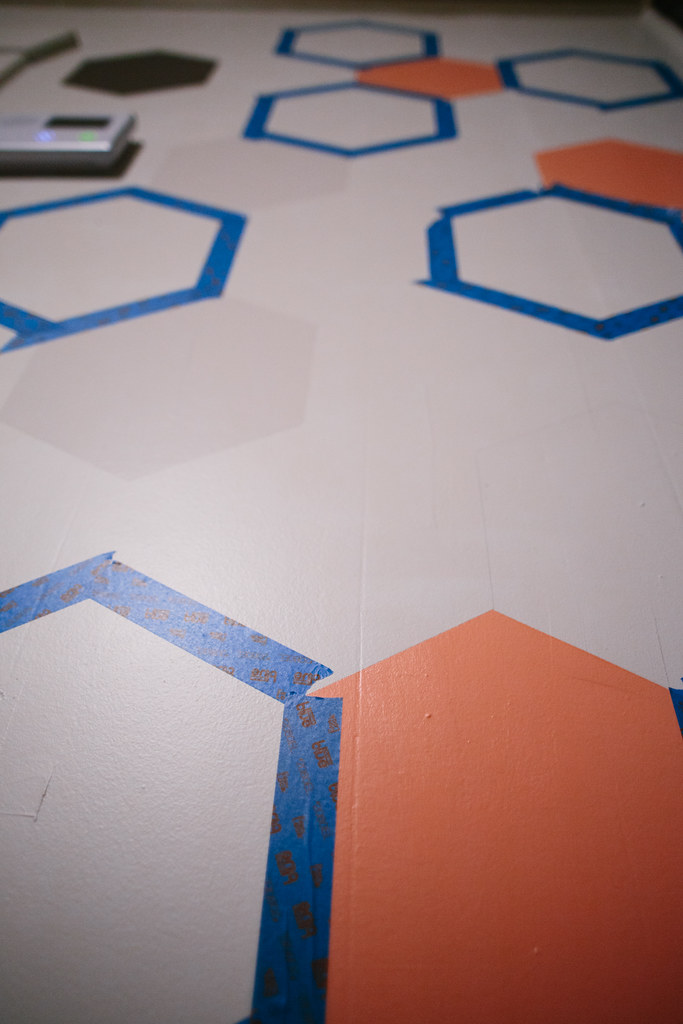
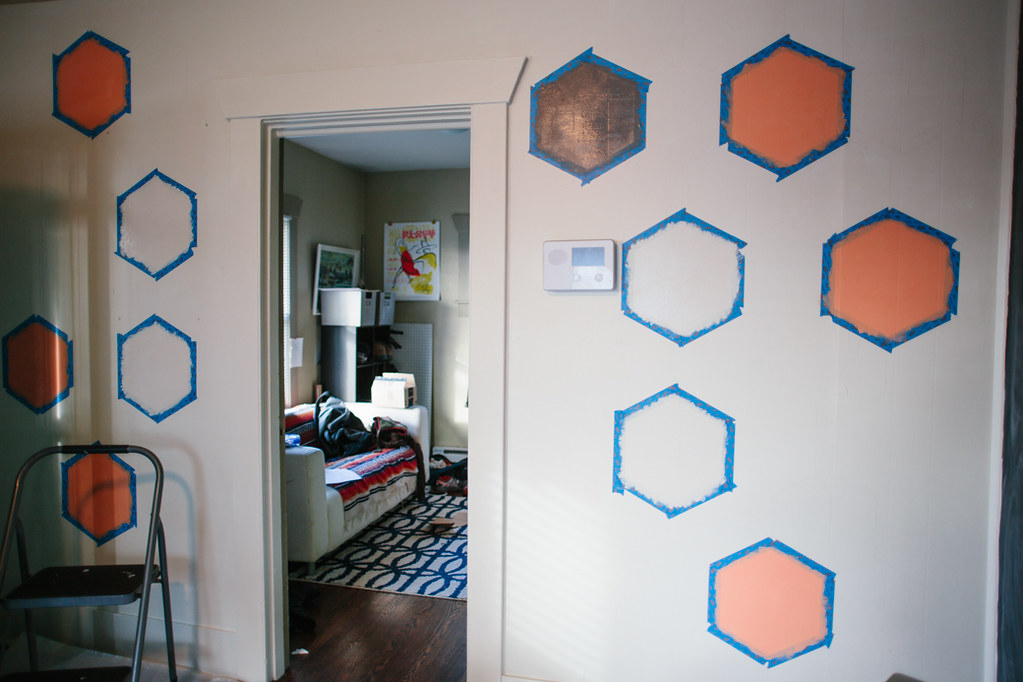
4. Using your  ScotchBlue™ Painter’s Tape, outline the hexagons that aren't directly next to each other.  Since these hexagons are directly butting up against each other, you'll have to wait for the paint to dry so you can mask off the one next to it.  I masked as many hexagons as possible and painted the color that was written inside using my Behr paint.  Each hexagon got two coats of paint.

5.  Because I had to wait for each hexagon to dry before taping the one next to it, this project took a little longer, but I'm super happy with how it looks.  As soon as I painted the second coat on a hexagon I'd remove the tape and allow it to dry.  This project took three days to complete with the time required to wait for paint to dry.  I let the paint dry about 2 hours between coats, as recommended by Behr®.

hexagon painted wall design

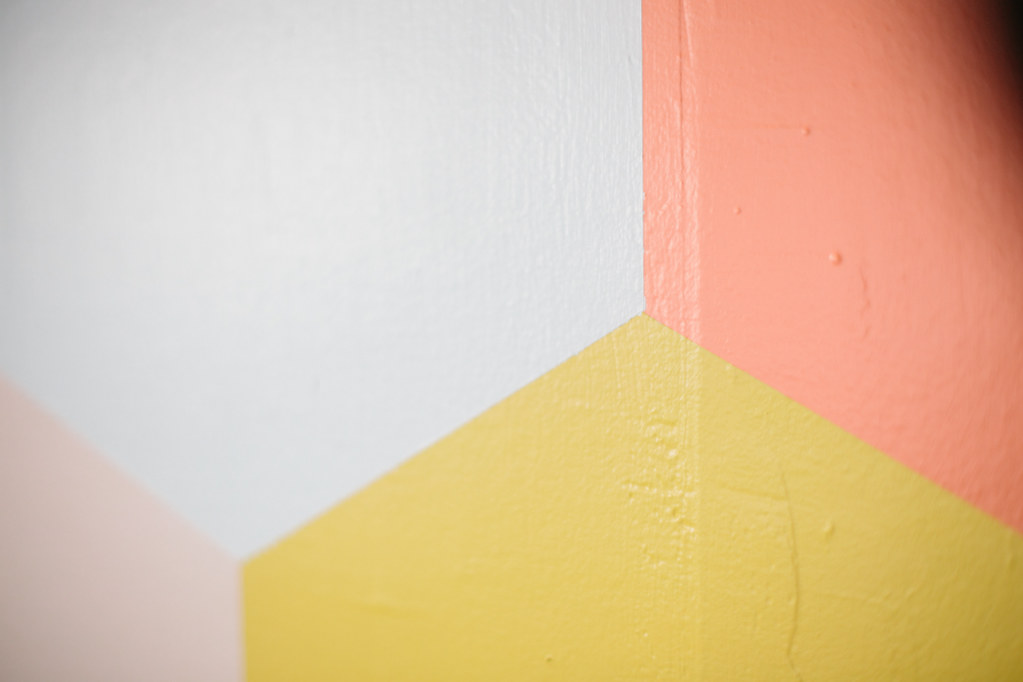
I have to say I was skeptical about how good the Edgelock tape would really be in comparison to the regular painters tape I usually use, but I was super happy with how precise my edges were.  I didn't have to fix any leaks and the edges were so sharp and clean.  I used the Delicate Surface Painter's Tape, but ScotchBlue™ Painter’s Tape has a guide that can help pick the right tape for your project surface.

hexagon painted wall design

I am proud to be a 3M, Behr®, and Wooster® - sponsored blogger, and, as part of my responsibilities, I get the opportunity to evaluate products. Opinions are my own and additional product used in the project were selected by me. Thanks for supporting those companies that keep Delightfully Tacky alive and kicking!


Pin It!

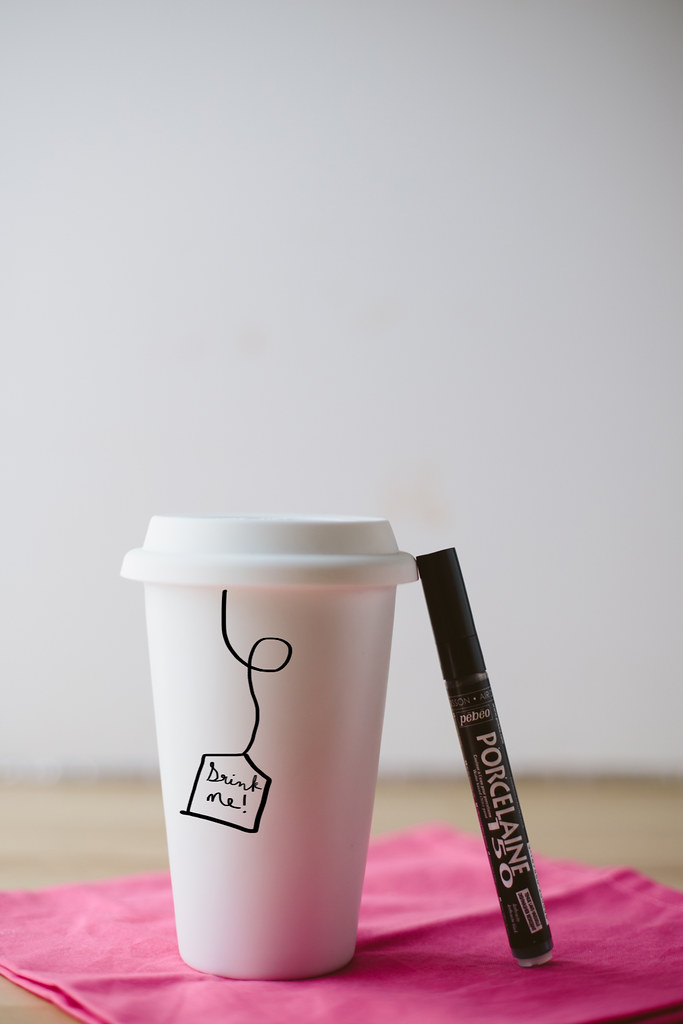
diy hand painted travel mug


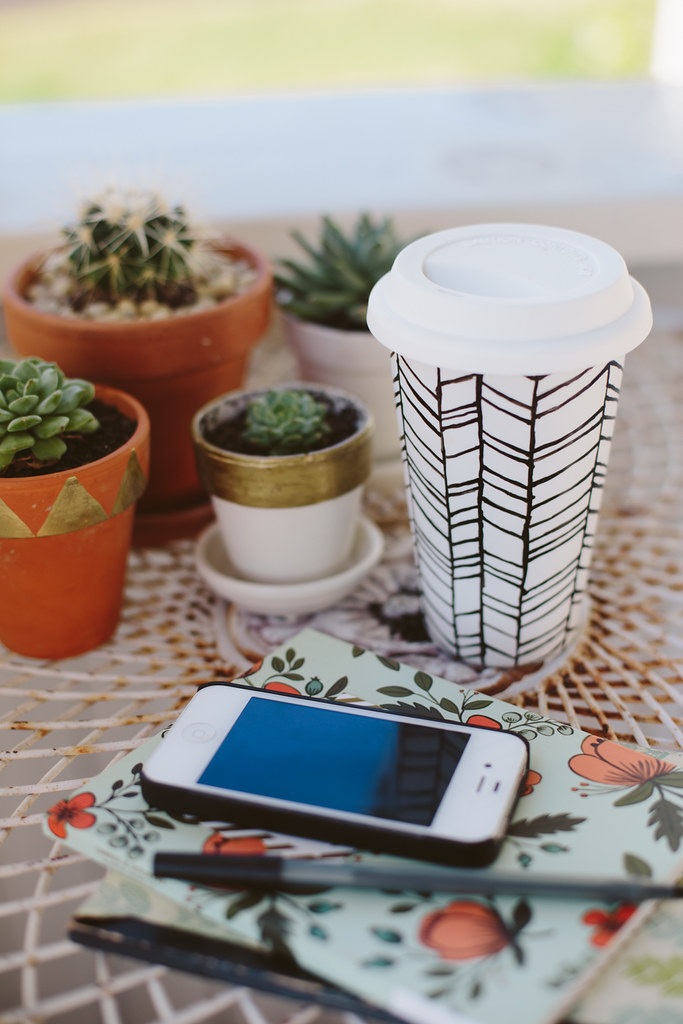
his DIY has been on my mind for over a year and recently, when I was cleaning out my studio, I found my porcelain paint pen and days later found a blank travel mug at the thrift store.  It seemed like it was meant to be.  I don't know about you guys but I see these little faux-paper cup travel mugs at thrift stores all the time.  Well, I see lots of travel mugs at thrift stores (maybe it's just us up here in coffeetown central, USA, aka the Pacific Northwest with our coffee addiction resulting in a surplus of travel mugs), but these seem relatively easy to come by at the thrift store.  So if you're a cheap-o like me, I'd check a local thrift shop first before dropping some bones for a new one.  I've noticed that people like to leave their empty paper coffee cups on random shelves at thrift stores too, though, so make sure you're not picking up the dregs of someone's old caramel macchiato.  Has anyone else noticed this?  I swear every time I thrift I find at least one old, empty Starbucks paper cup left on a shelf of knick knacks.  Us thrifters are well-caffeinated folks, I guess.  Also, forgetful?  Or lazy?  I'm not sure which.


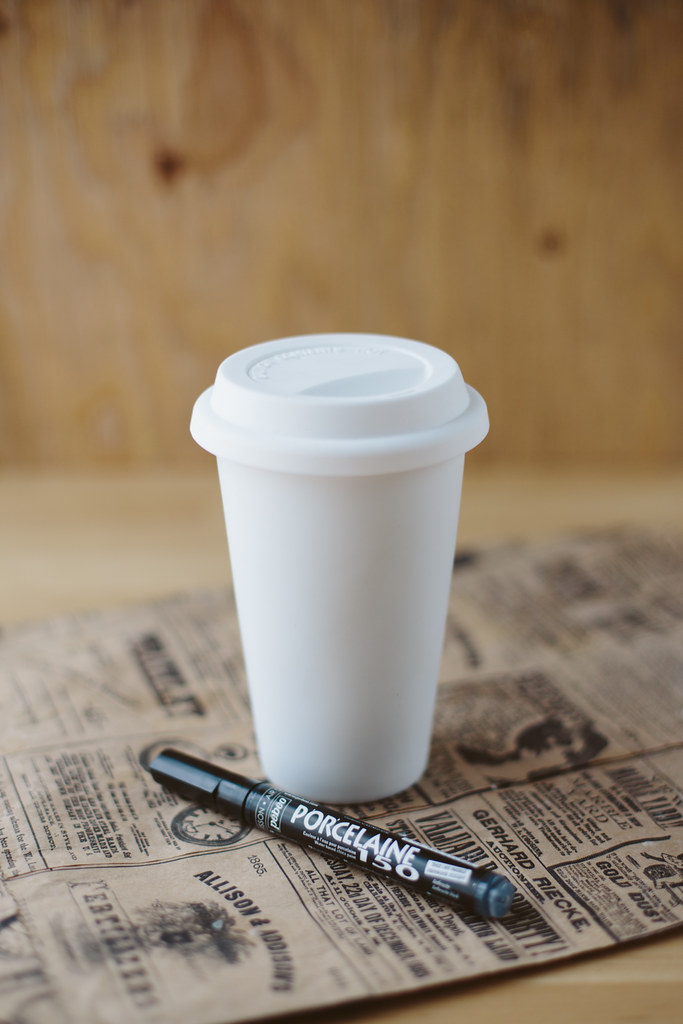
What you'll need:
Porcelain Travel Mug
Pencil (optional)
Pebeo Porcelaine paint pen

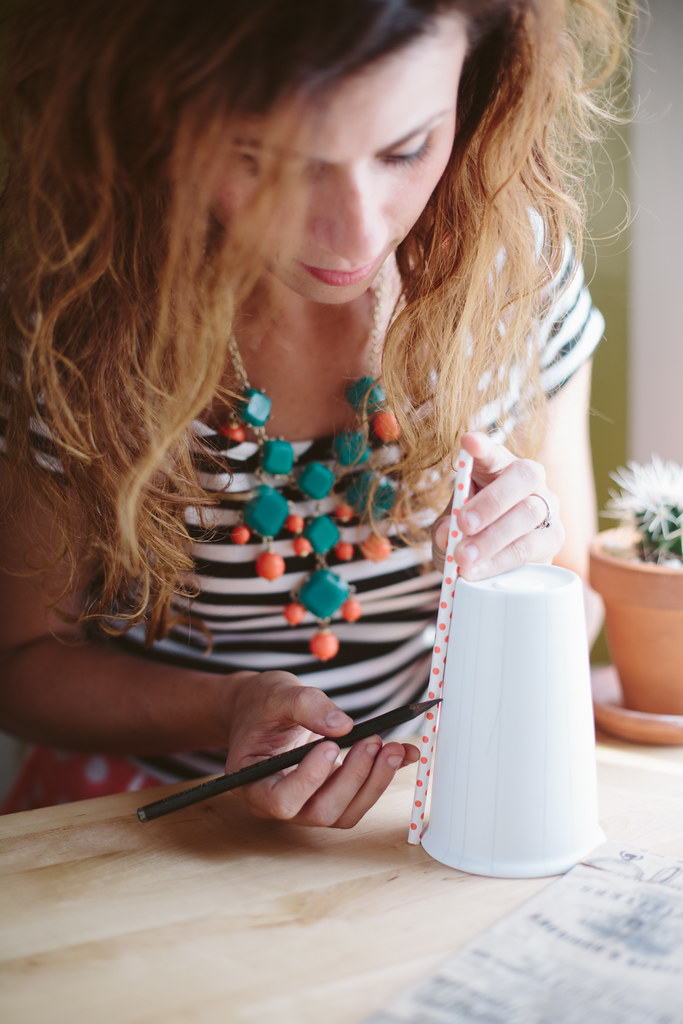
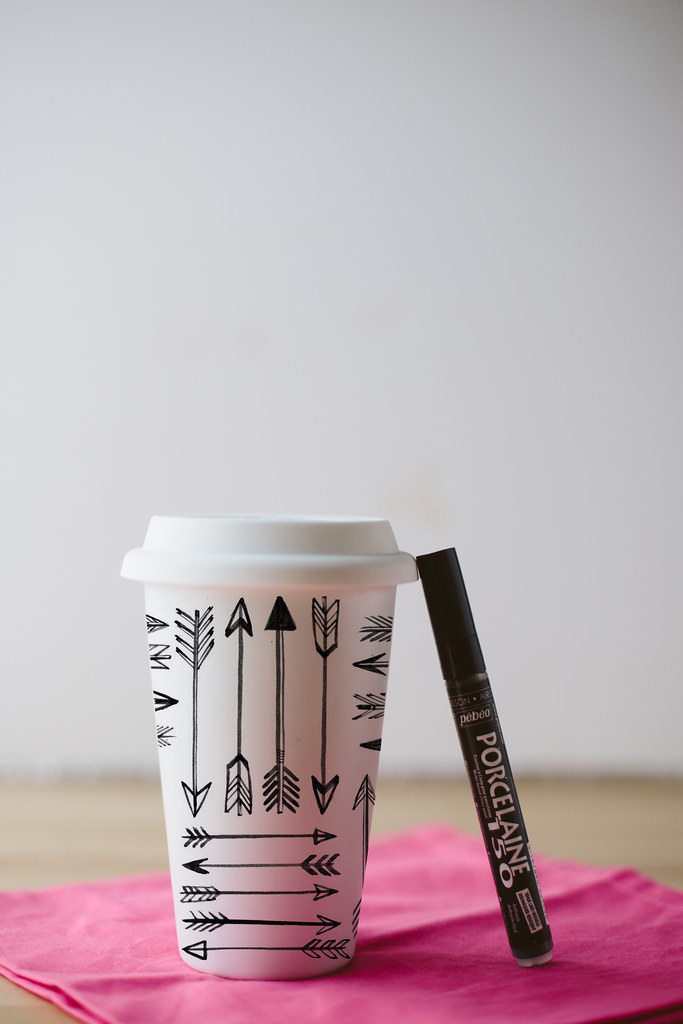
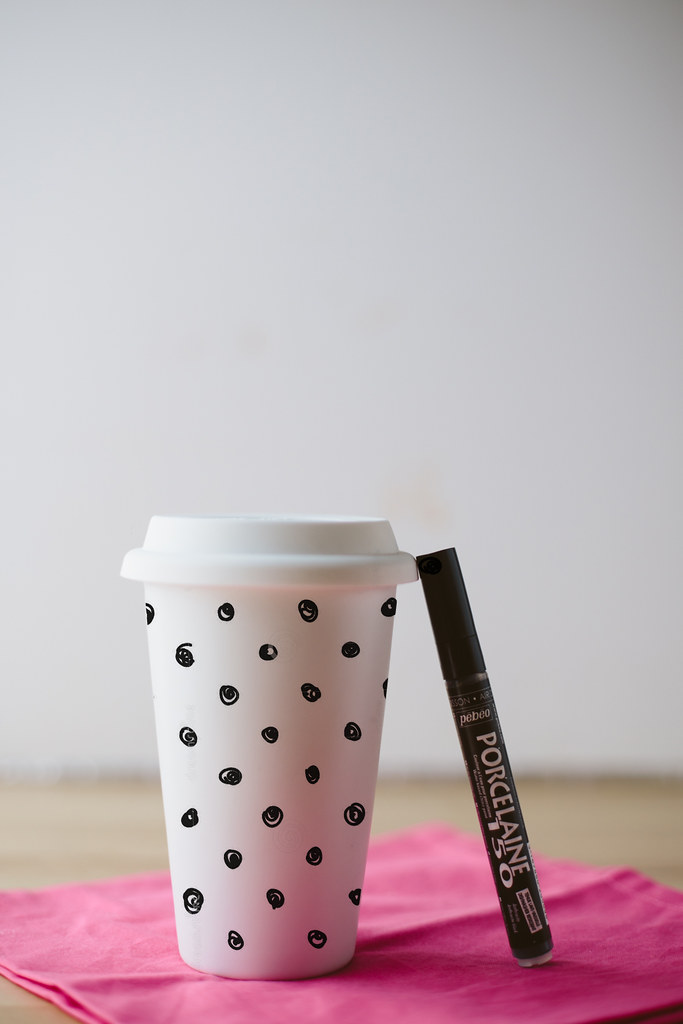
If you're making a more complex pattern, like the herringbone pattern I did, you can sketch it on there with a pencil first, to have some light lines to follow.  Something more simple, like polka dots, probably wouldn't require this, but I wanted to make sure everything fit right.  If you want to just jump right into painting, though, go ahead!  I used a straw to help guide my vertical pencil lines so they were parallel and straight.  Then I drew in the angled lines.  


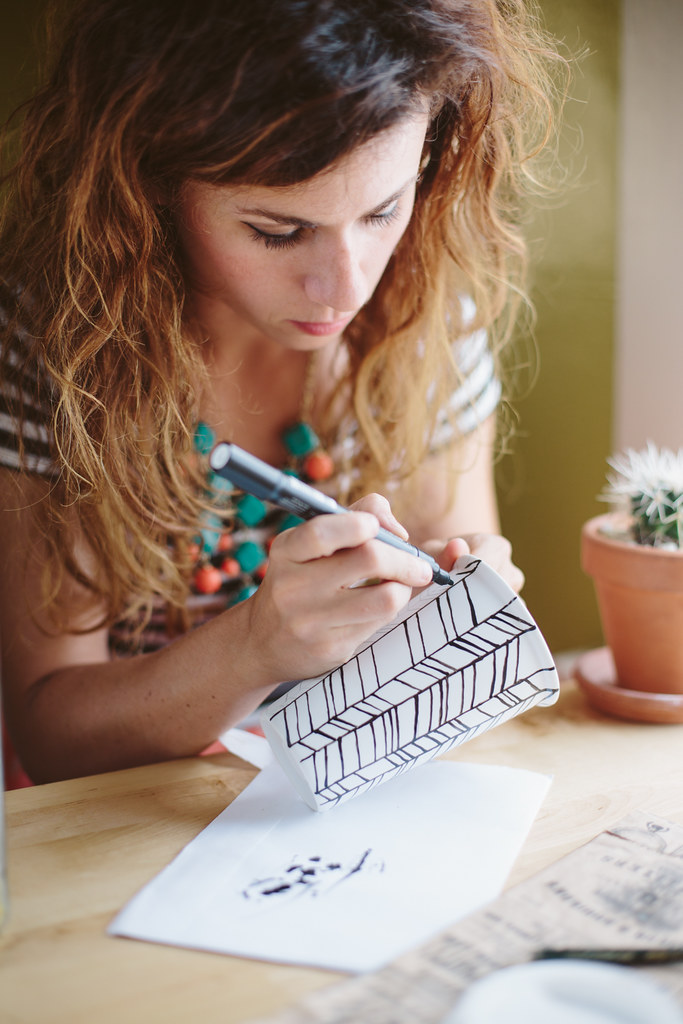
Next, just follow your pencil template with the paint pen.  You'll have to push down on the pen tip to get the ink flowing.  I had to push down on mine pretty frequently to make sure the paint flowed freely.  Have a scrap piece of paper on hand to prime the pen when you need to.  Be careful not to smudge the wet paint.  

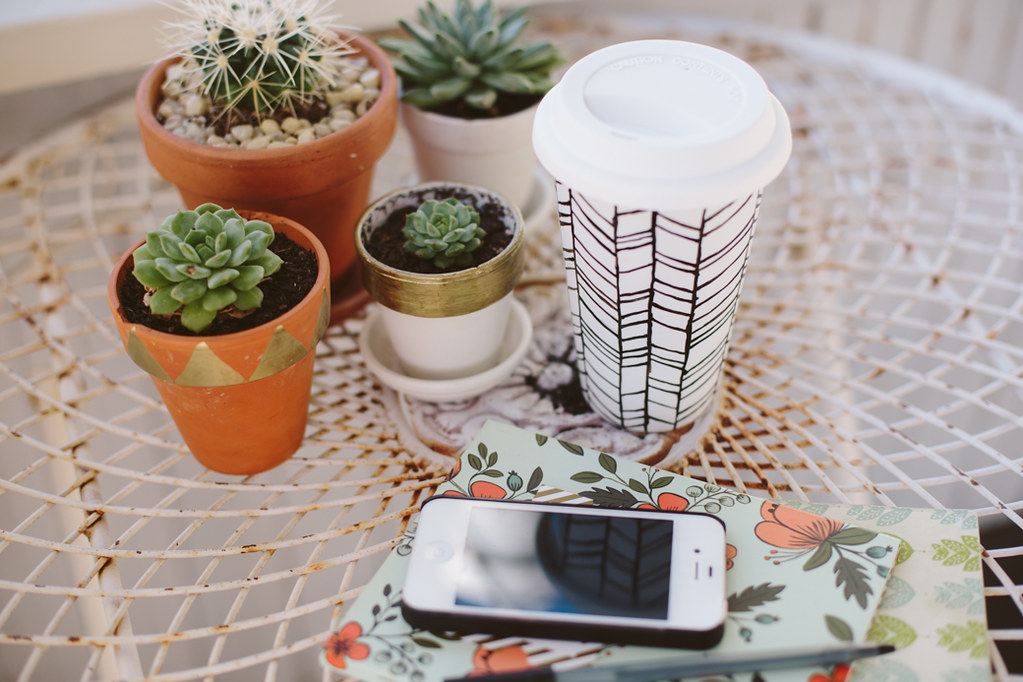
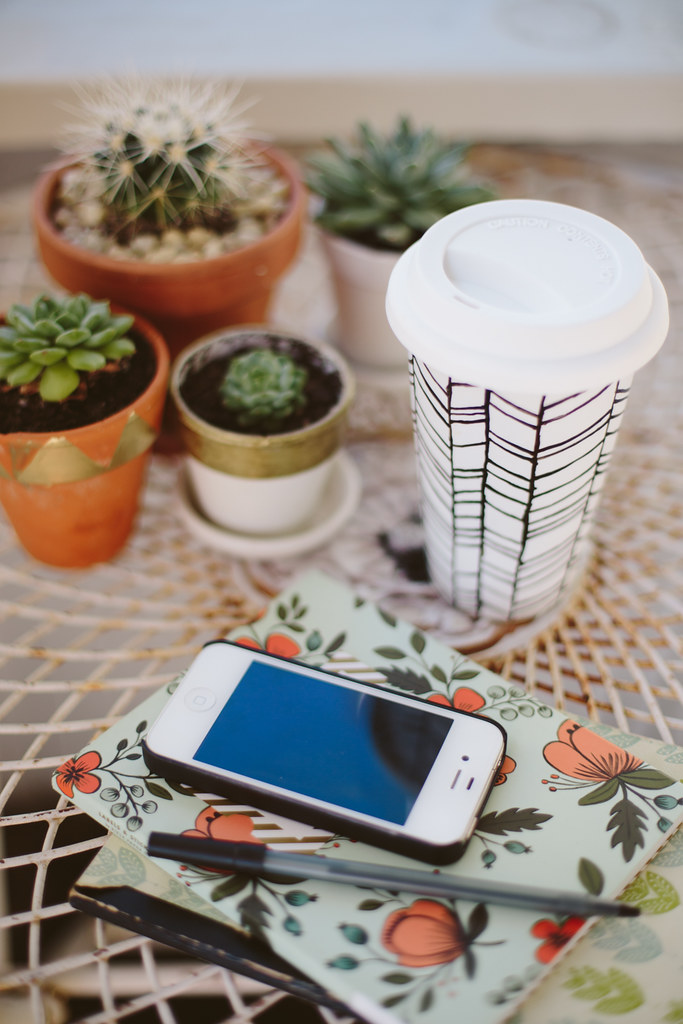
Set the mug aside and let it air dry for 72 hours.  If you want to make your design dishwasher safe, put the mug in the oven at 300ºF for 30 minutes to bake the paint on permanently.  Voila!  Fancy, custom, reusable travel mug!  Drink your hot beverages in style!

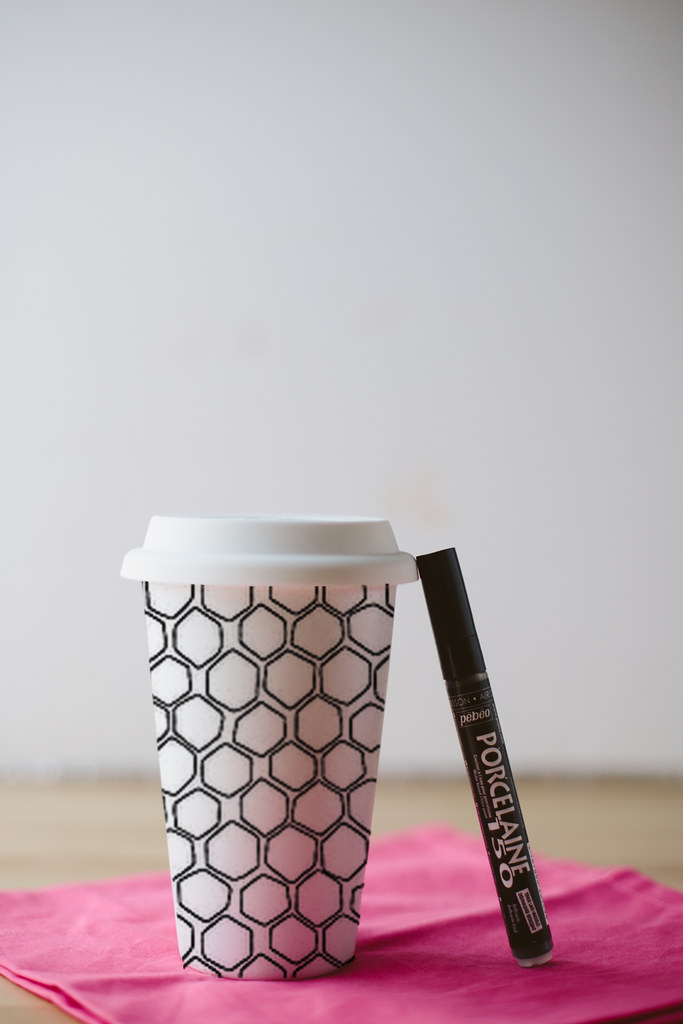
I used a white mug, but I know that they sell them in many different colors, so if you wanted a more colorful version, just buy a plain, colored mug instead of a white one and draw on your pattern.  At the bottom of the post I included some more fun pattern ideas if you're not into the herringbone.  The sky's the limit!


Pin It!

diy rolling island


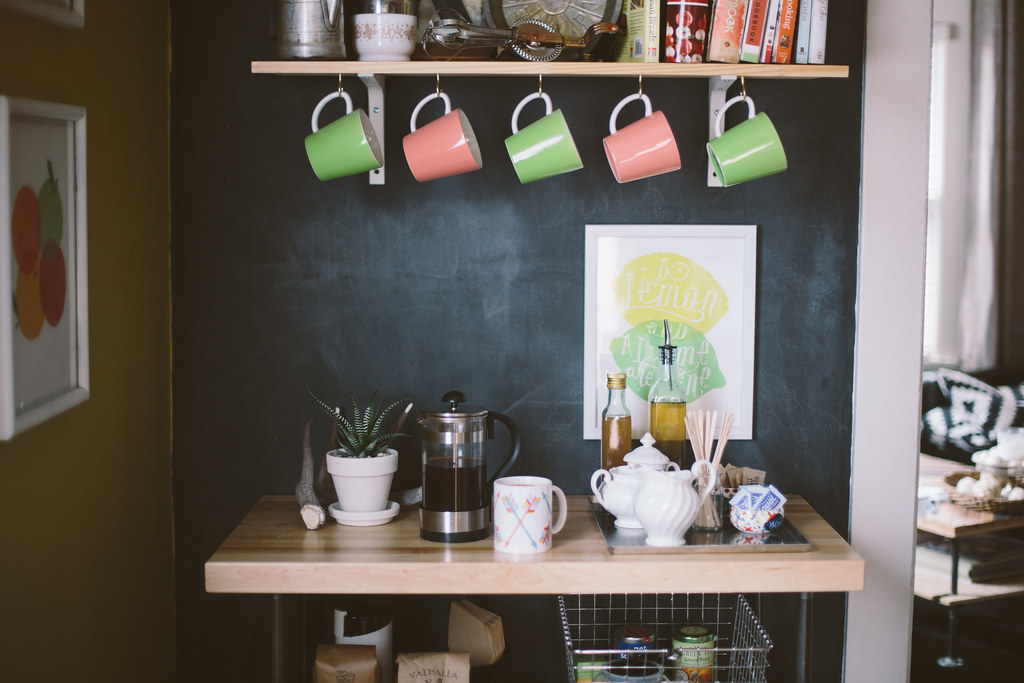
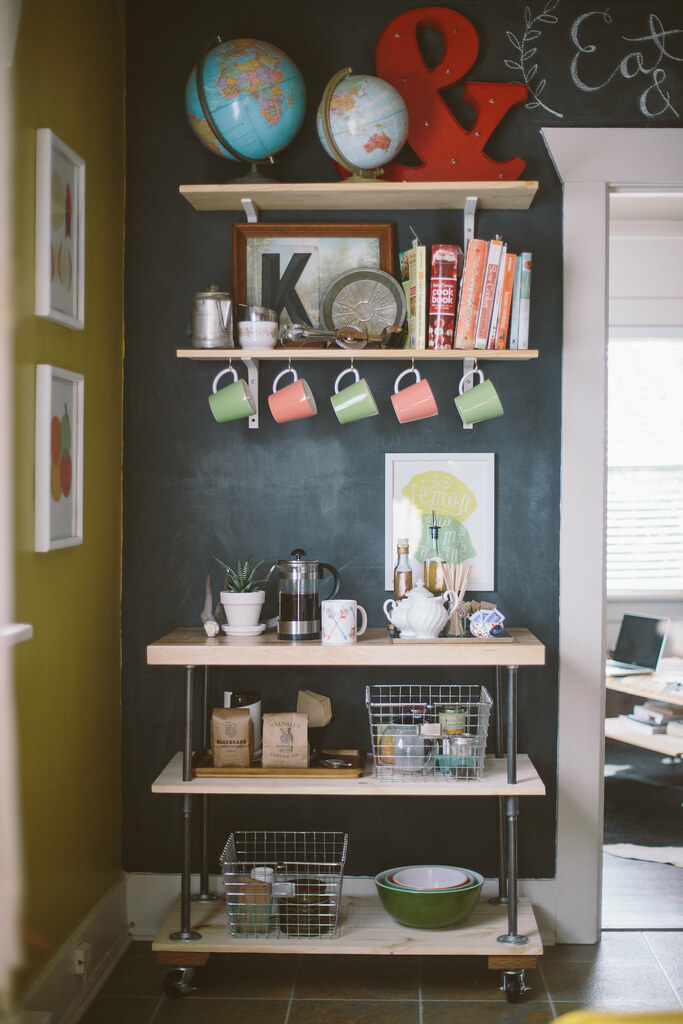
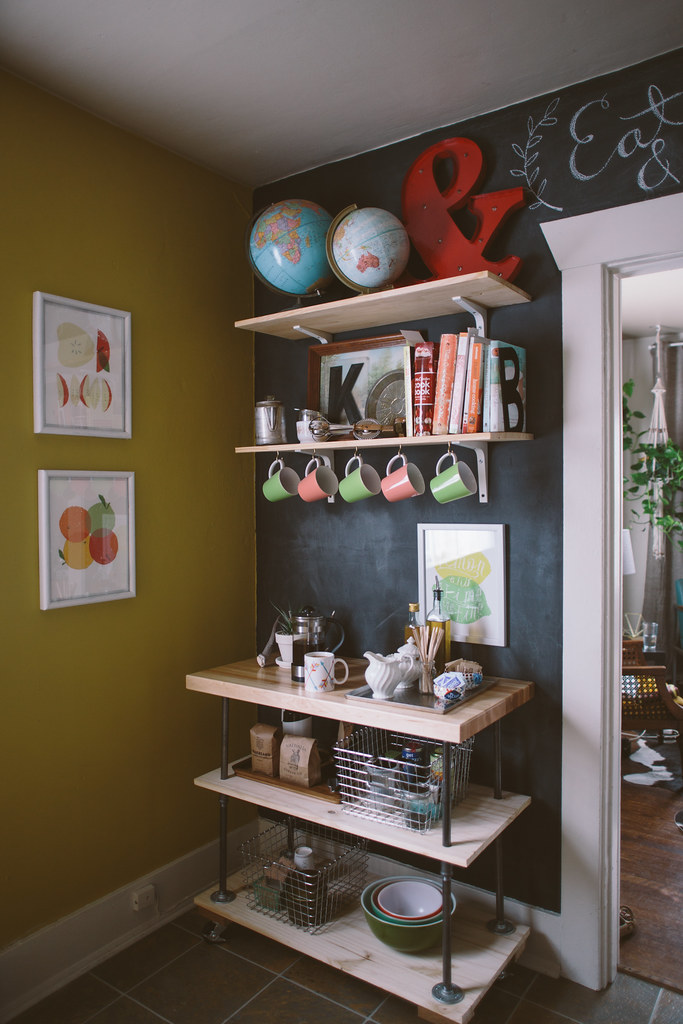
he kitchen is probably my favorite room in the house.  No matter how nice the living room is, it always seems like people congregate in the kitchen. Compared to our last house we’ve got a palatial kitchen, but we still find that we’d like a bit more counter space for cooking and entertaining. I figured a rolling island would be the perfect solution and decided that instead of going out and buying one, I’d like to make one myself!  I had made our living-room coffee table using pipe and wood, so I wanted to match that aesthetic, plus I was familiar with the process of building that way. I absolutely love the way it turned out, and it’s the perfect space for storing our coffee and tea accoutrements.  Whenever we need to use it for extra counter space, we just roll it to where we’re working and it’s ready to go. I got caster wheels with locks so we can keep the island from rolling away when we’re chopping veggies and doing other work.

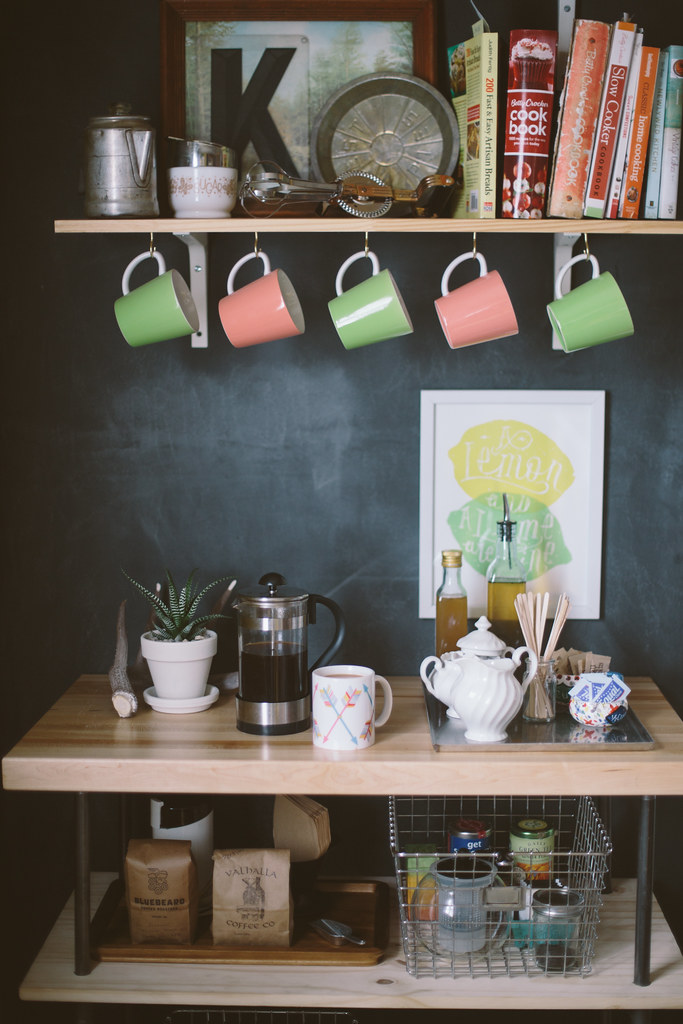
All of our coffee-making things — grinder, French press, pour over and filters — are included on the first shelf to keep the top shelf from getting too cluttered. There aren’t enough of us in my household to justify a drip coffee maker, but there’s plenty of room to store a coffee maker as well. We’ve also started getting into drinking tea, so I made a basket of our tea bags, loose leaf and tea pots as well.

This DIY came to around $350, but I was on a time crunch and Ikea was all sold out of their butcher block so I had to spend about $100 more on the butcher block top by buying it elsewhere, but Ikea's Numerar Beech countertop is much cheaper.  I ended up getting the countertop I wanted for this DIY later on when I was redoing the Winne's kitchen and Ikea is definitely one of the most inexpensive places to get a butcher block countertop.  They're about $130, and I like it because it's wood and therefore really easy to cut to size, depending on your size needs.  I was also thinking of getting the Ikea Sanfrid stainless steel table top and using that as the top, and it's even cheaper, at $99.  It also has an industrial look, so it'd go well with this DIY too.

What you’ll need:

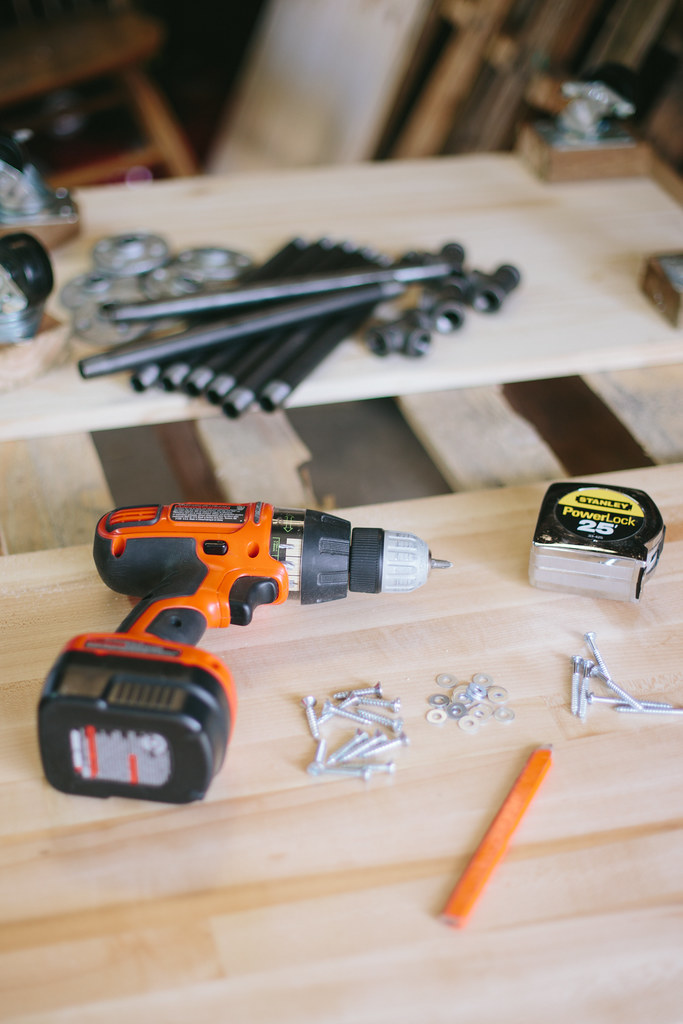
8 12-inch-long, ½-inch diameter black pipe nipples
8 1/2 inch floor flanges
4 1/2 inch Ts
32 1 1/4 inch #12 flathead screws
16 2 inch #10 roundhead screws
16 #10 flat washers
4 caster wheels (if you want to keep your cart from rolling, get ones with wheel locks)
4 2×4 blocks (4 inches long)
1 73-inch x 18 inch pine board (cut in half to create two 36-inch long pieces)
1 36-inch x 19 inch butcher block (mine is 1 1/2 inches thick; you can
find inexpensive butcher block countertop IKEA)

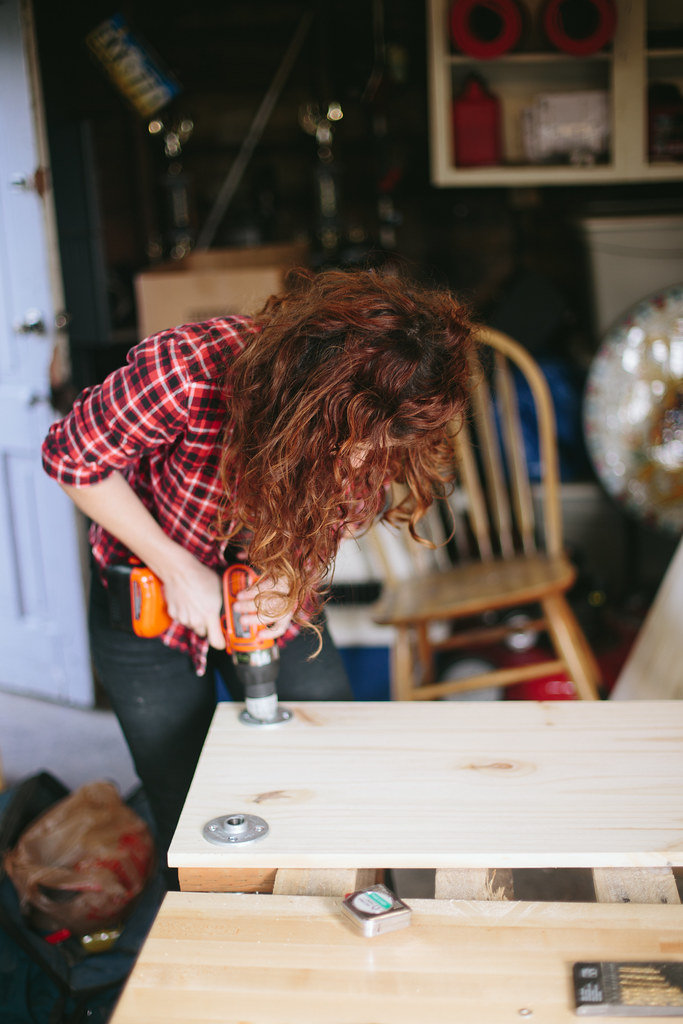
1. First put the caster wheels on the bottom of the bottom shelf. Pre-drill holes in the 4 inch 2×4 blocks. Make sure the holes for the screws are 1 1/4 inches from the edges of the pine board, so place the blocks on your bottom shelf to measure from the edges. The screws will be long enough to attach the 2x4s to the bottom shelf. Once all your holes are drilled, position the 2×4 blocks on the pine board bottom shelf and place the caster wheels lined up with your pre-drilled holes. Put the #10 washers on and screw the wheels on using the #10 roundhead screws.
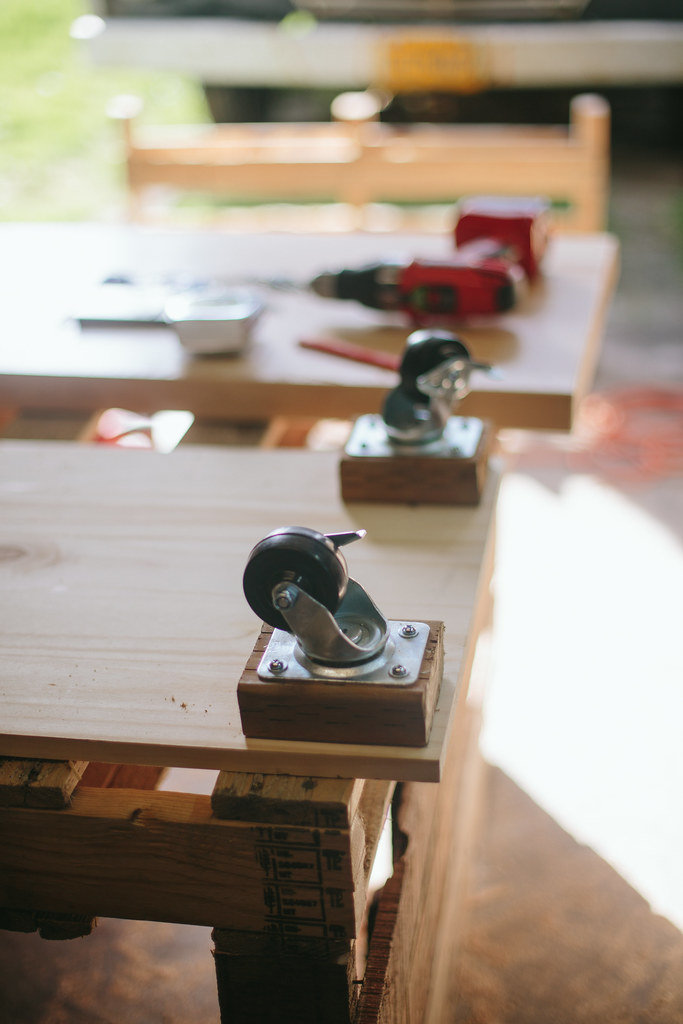
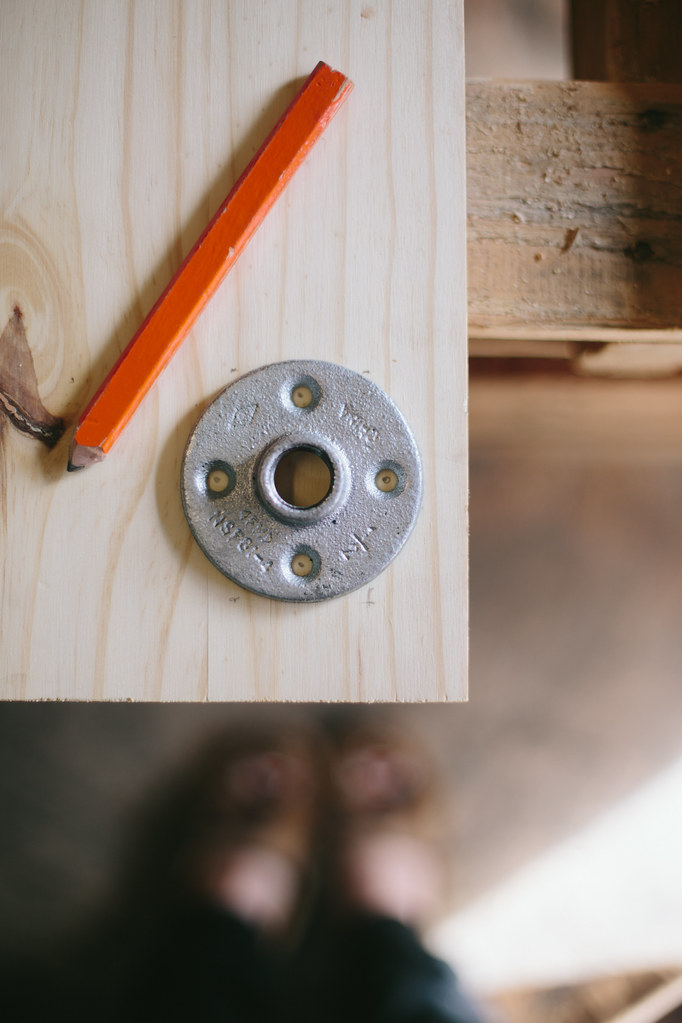
 
2. Now, flip the bottom shelf so the wheels are facing down. Place your four floor flanges on the bottom shelf directly over the 2×4 blocks and rotate the flange so its 4 holes aren’t directly over the screws you just put in for the wheels. Mark where the holes are with a pencil and drill holes for the screws. These screws will also go through the board and into the 2×4 to further secure the 2×4. Screw the flanges on with the #12 flathead screws.

3. Take your first four 12 inch nipples and screw them into the floor flanges. Screw the Ts on to the top of the nipples and then put the last four 12-inch nipples on top of the Ts.
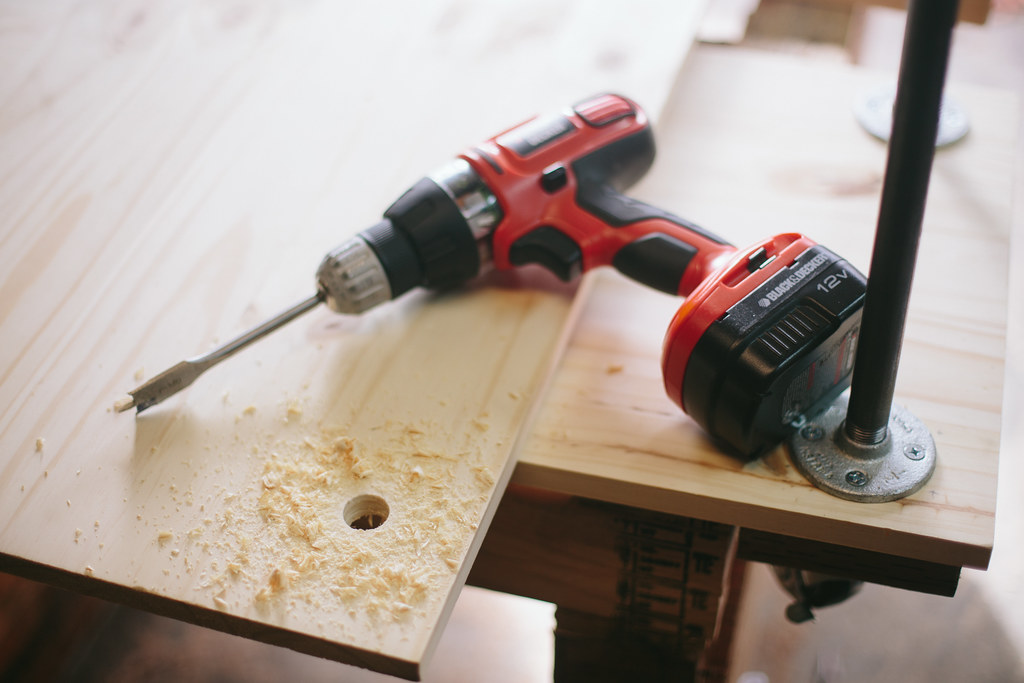
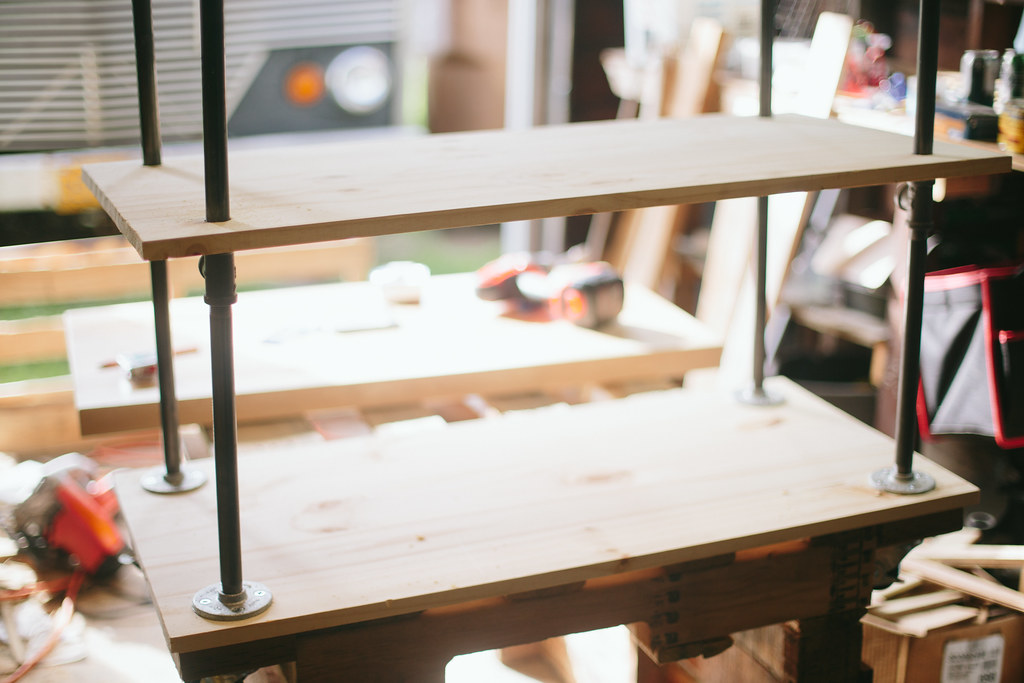
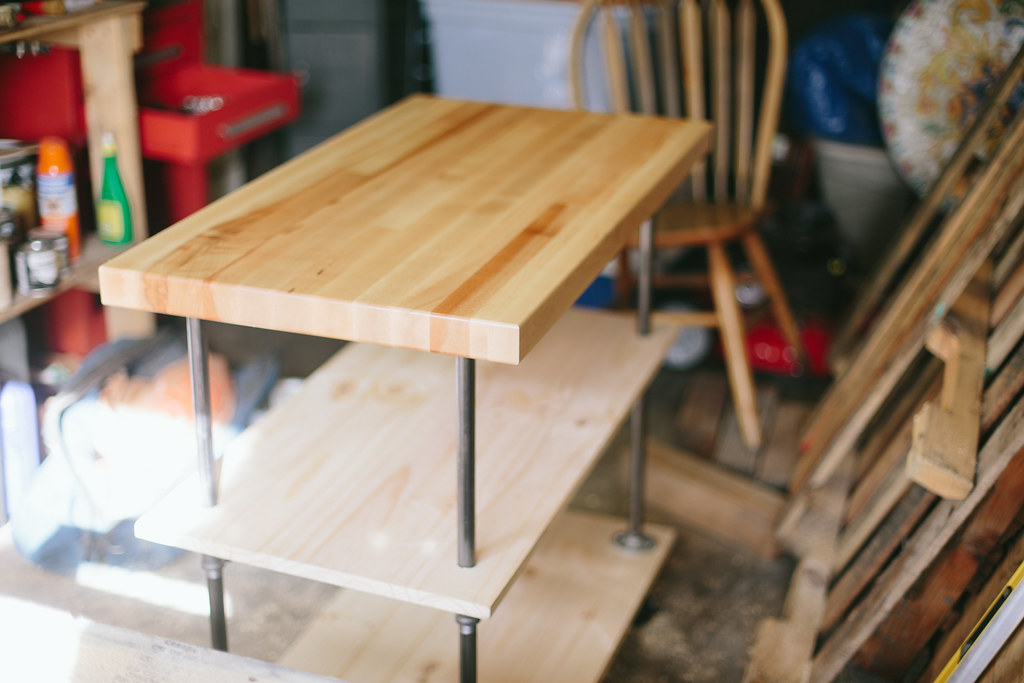

4. Grab the second pine board shelf and place it on top the 12-inch nipples. Position it so it’s directly over the bottom shelf (if you want to measure where the center of the pipe hits on the bottom shelf to get the top shelf exactly matched, you can do that, or you can eyeball it). Draw a circle around the edge of the pipe on the bottom of the board, so you know where to drill the hole so it can slide down to rest on the T. Once you have your circles drawn, take a 7/8ths spade drill bit and drill the holes you just drew. Now you can slide the second shelf onto the 12-inch nipples and they’ll slide down to rest on the Ts.

5. Put the last four floor flanges onto the top of the nipples; make sure they’re tight. Put your butcher block on top of them, and again you can measure everything to make sure it’s centered, or you can eyeball it. Mark with a pencil where the floor flange holes are, pre-drill holes and then screw the top on with the #12 flat head screws. You’re done!

Pin It!