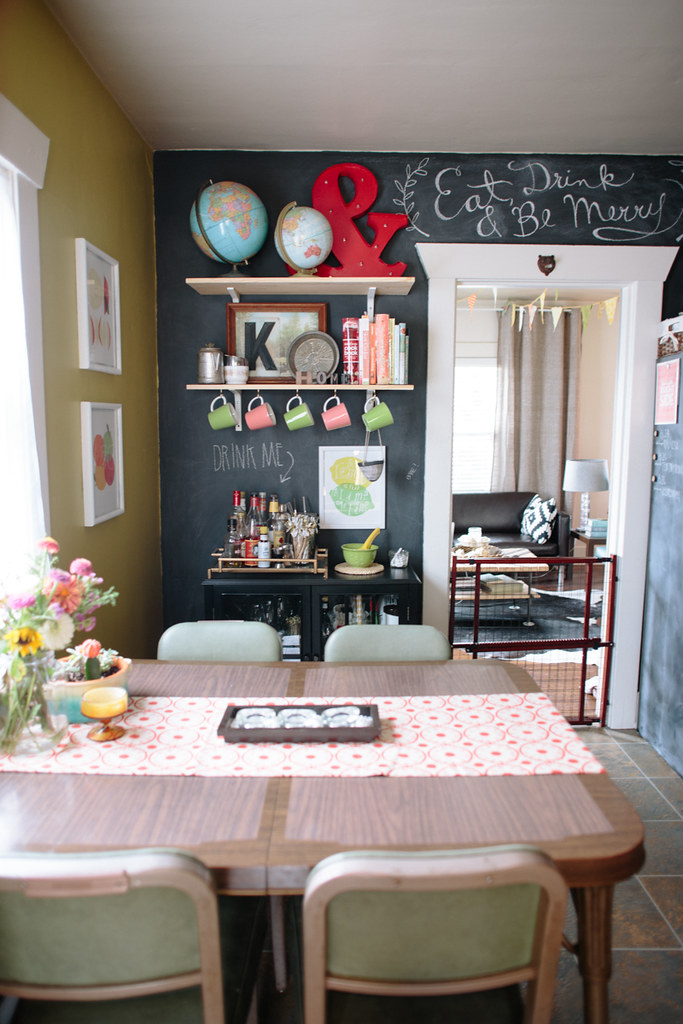
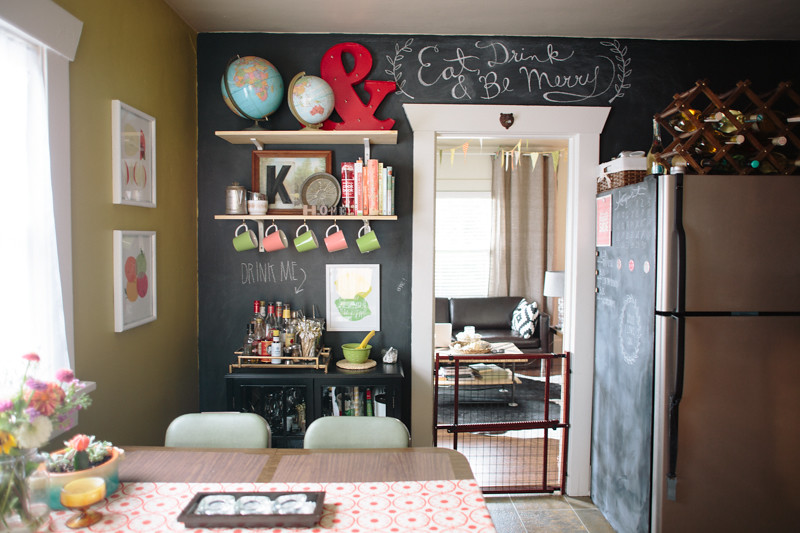
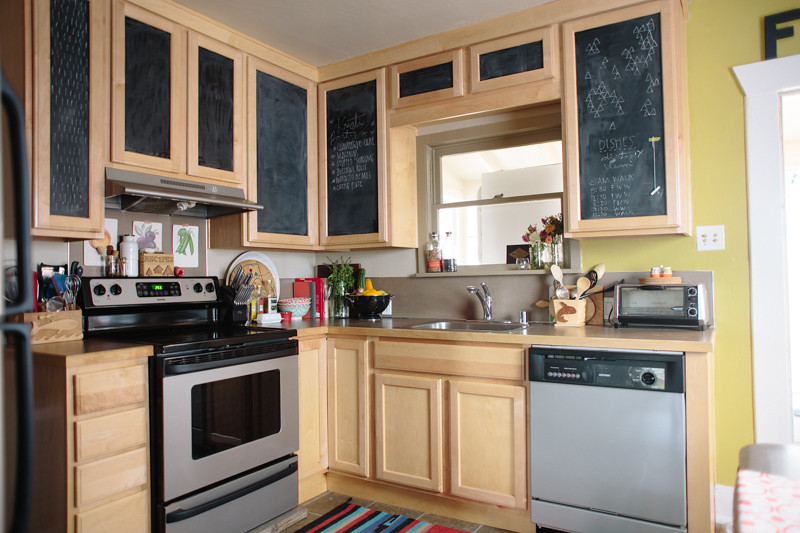
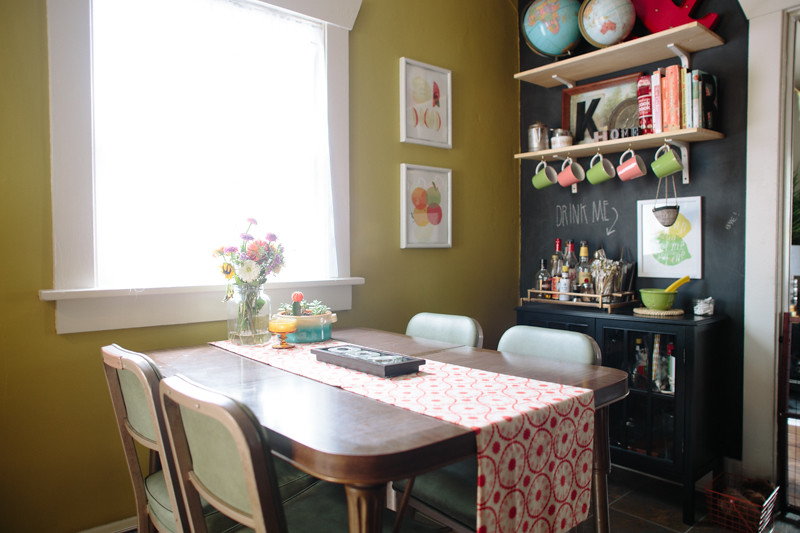
The kitchen was the room I worked on first when we moved in. For me, the kitchen is where I spend most of my time, simply because it's the hub of activity in our home. In the morning we hang out and make breakfast and I work on my computer, I work out in the kitchen, Dusty currently spends most of her time in the kitchen (while we housebreak on the linoleum), it's just the room we all gravitate towards. I hated that our whole house was painted in shades of beige, and was really eager to get something more bold and bright in there. Since chartreuse is kind of my current color obsession I couldn't resist painting it chartreuse. And I've always wanted to have a chalkboard wall in my house, so I painted a whole wall in chalkboard too. It's not a very accessible wall, since the fridge and the cabinet and shelves cover most of it, but the texture and boldness perfectly balance the chartreuse. I painted the trim white to a make it pop. I love the trim in old craftsman homes, and it kind of disappeared when it was beige. Our friend thought we'd put up new trim after we painted it because it looked so different!
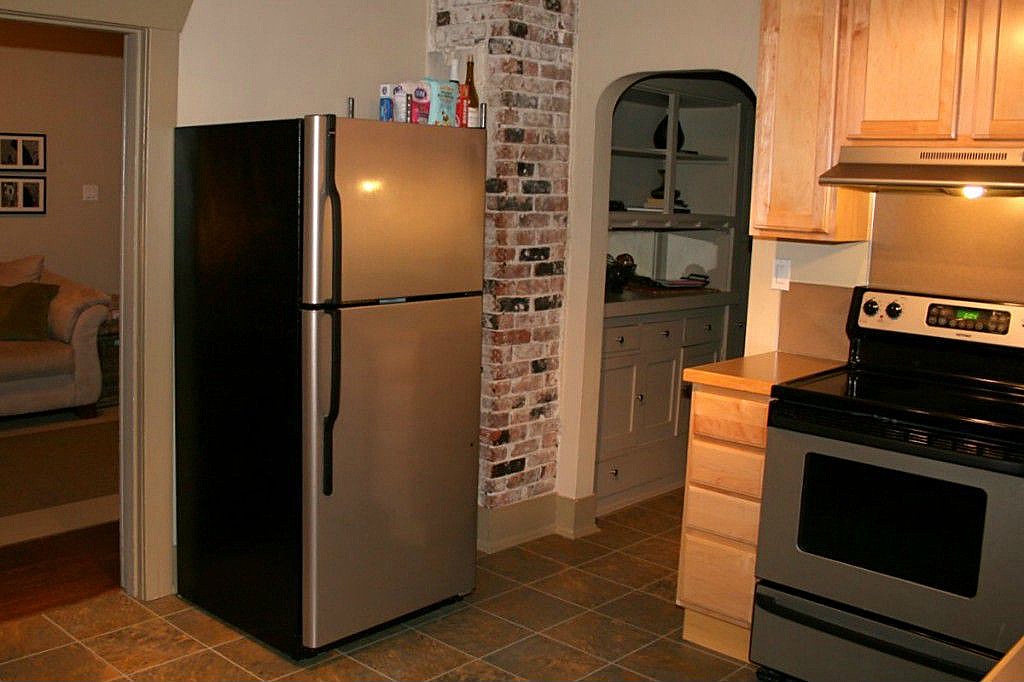
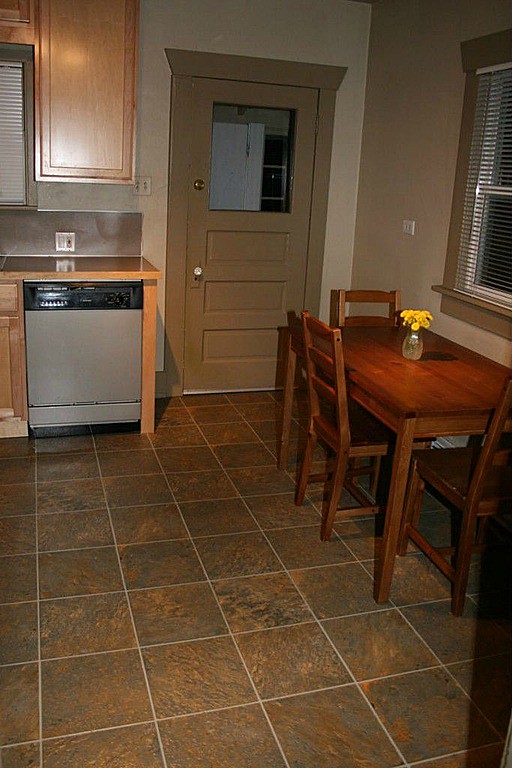
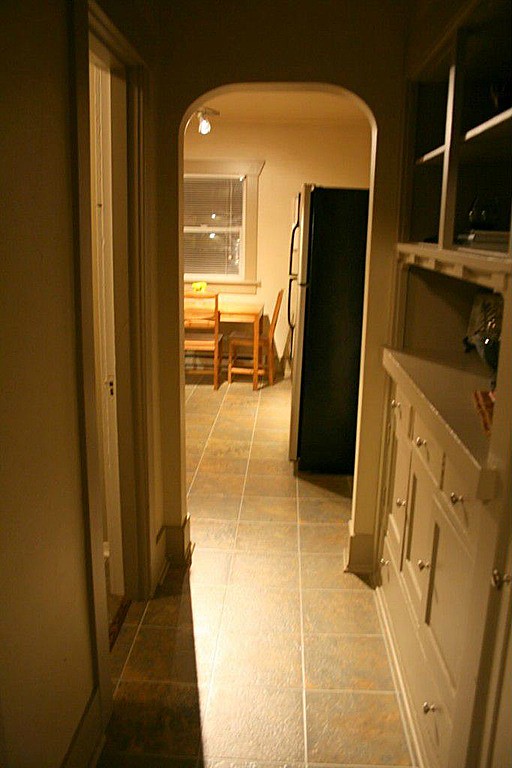
I'll start off with some before photos. These are photos from before we bought it, just taken off the listing. Super basic and boring, but nice. The kitchen had clearly been re-done recently with new cabinetry and appliances, which was nice, but since they're new they don't need replacing with prettier, less boring ones. I really wanted to paint the cabinets bright white, but they have a coating on them that would be hard to strip and paint. If we end up staying here long enough we have big dreams for knocking down half the wall between the kitchen and living room to open things up, and if we do that I might replace the cabinets.
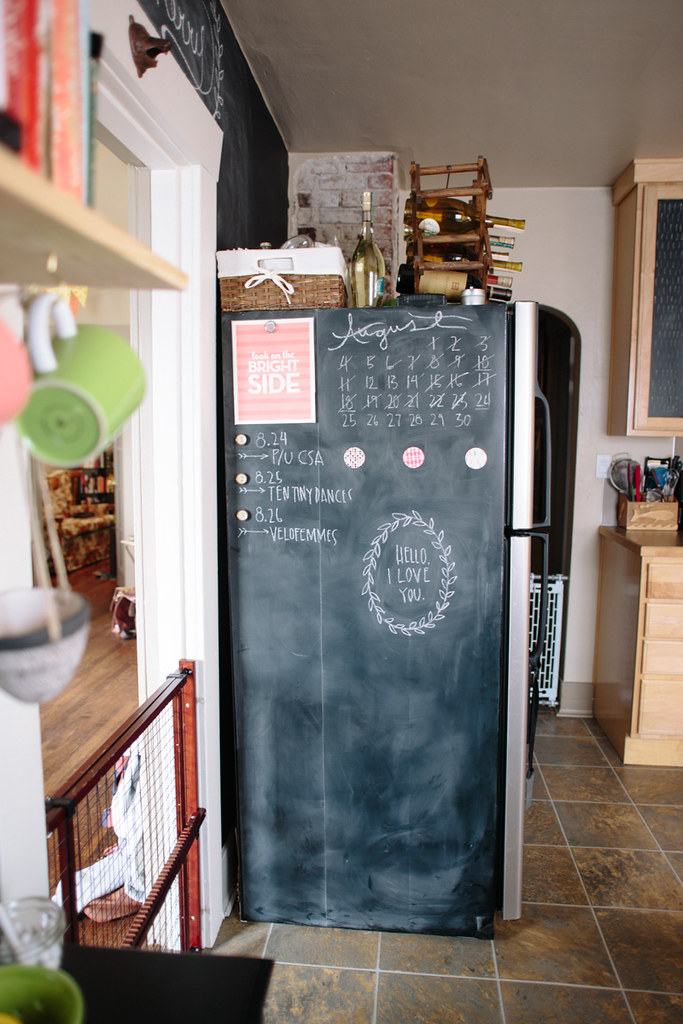
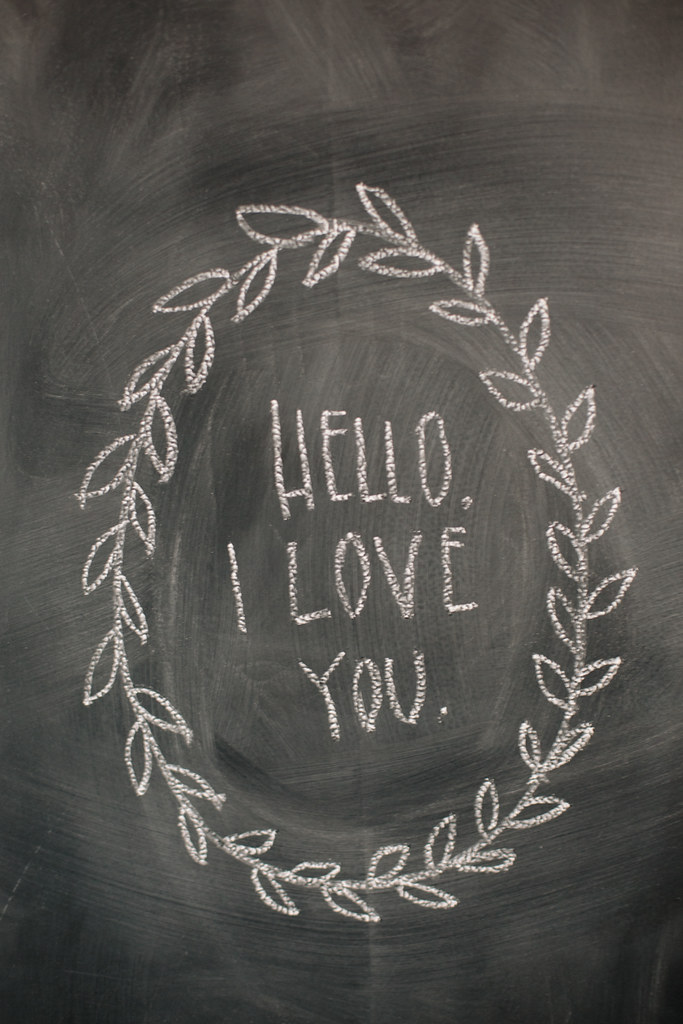
Because we didn't get a ton of space where we could actually use our chalkboard wall, I decided to put chalkboard contact paper on the side of our fridge, and I'm so glad I did! We use it all the time, and it's a great spot for our calendar since we spend most of our time in the kitchen. Also: love notes.
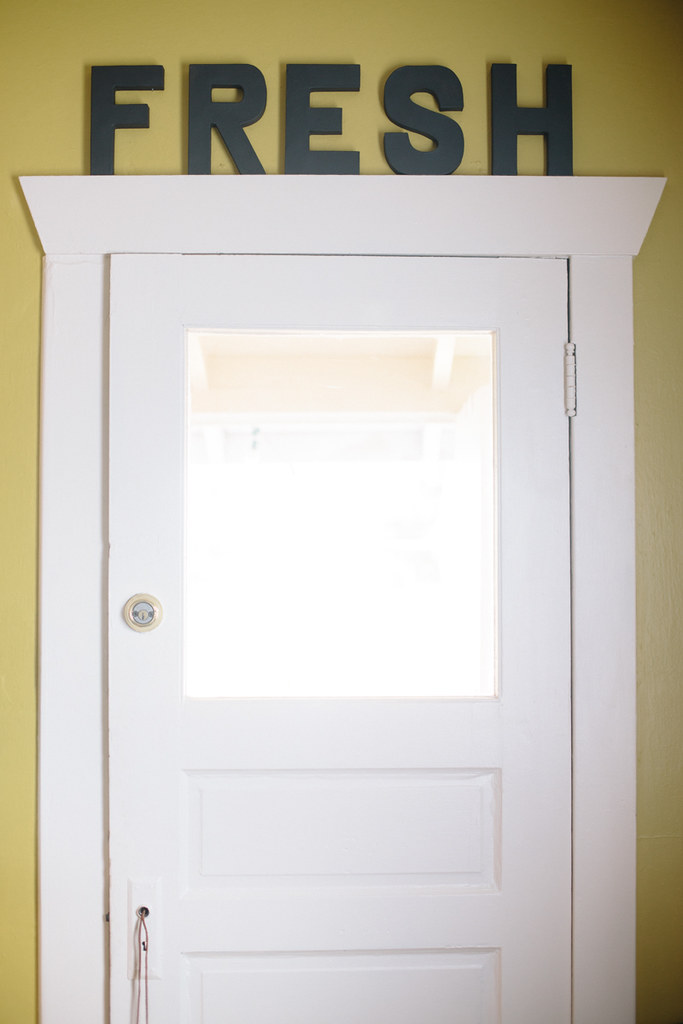
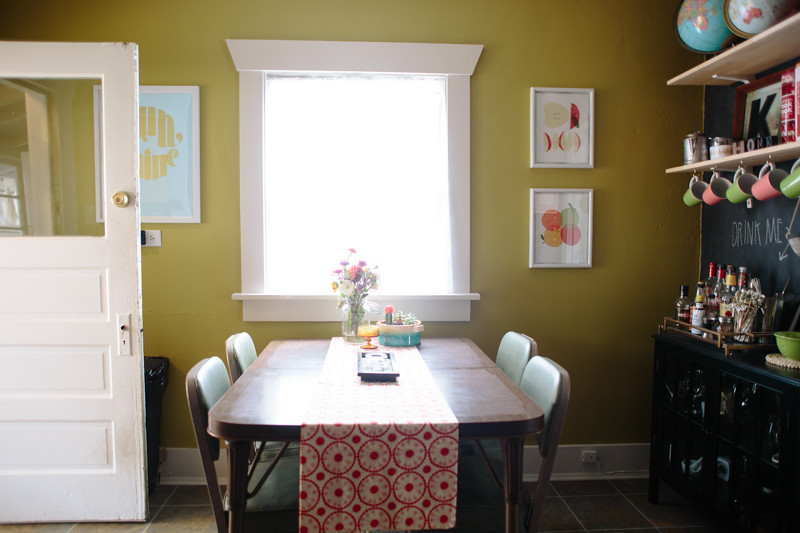
Above our back door there was a little space that was begging for something fun, so I went to Jo Ann's and got some of those cardboard 3D letters, painted them black with the leftover chalkboard paint and propped them up on the trim above the door. It was a super quick and easy little project but it's one of my favorite details from the room.

 I've become a little obsessed with collecting globes. I have two in my kitchen, two in my living room and two in my studio. Anytime I see a cool one at the thrift store I have to get it, especially because they're usually super cheap.
The black cabinet beneath our shelves was originally going to double as a coffee/liquor cart, but the liquor area took up too much space, so we moved the coffee accoutrements to inside the cabinet instead of on top. We just do pour-over coffee so it doesn't involve anything more that filters, beans, and a grinder. The prints in this corner of the room are another favorite detail. They're made by an amazing local print studio, Slide Sideways, and I got them at a craft fair where they had a booth earlier this year.
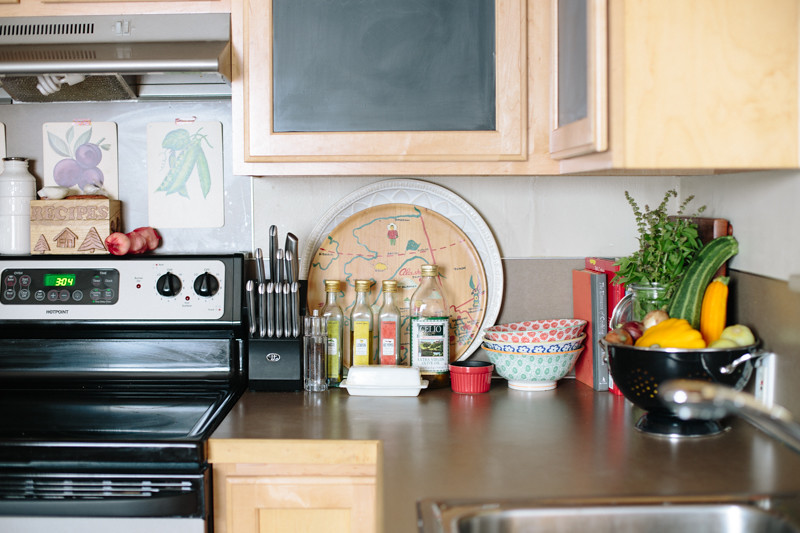
A little over a month ago, I was at the Fremont Market with Julie when she was in town visiting and I found some vintage food prints, and I love how they sort of match the Slide Sideways prints. I hung the vintage prints above my stove and they fit perfectly there!
Some of my favorite personal details in my kitchen are the Alaskan infusions. My grampa made all the little boxes on the counter. One holds my spoons, some of which he carved by hand, one holds my other kitchen tools, he made the recipe box and my grandma filled it with recipes, and then the wooden plate with the map of Alaska next to my stove is from their house. My grampa's carvings are some of my most precious items and I love having them out on the counter to enjoy.
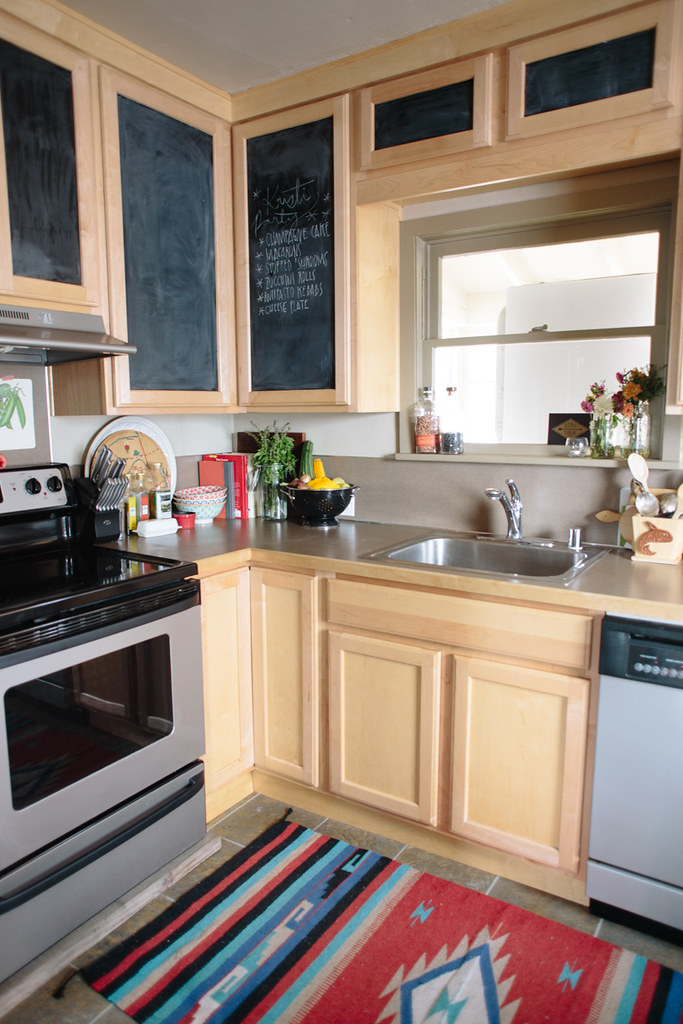
Since the cabinets are new and difficult to prep for painting, I opted to just put chalkboard contact paper on them instead of permanently altering them with paint. I love how it's a really quick and non-committal way to add a bold look to cabinets, plus it matches my other wall, which ties them together nicely. I can remove the contact paper whenever I want in order to change things up, too!

milk bottle measuring cups + floral painted bowls / anthropologie :: fruit prints / slide sideways
rug/roadside shop in WA :: chalkboard contact paper/amazon
ampersand + sun shine print/courtesy of modcloth :: globes/thrifted
chartreuse paint/Behr "lemongrass"
(if you guys have questions about where anything else came from let me know and I can add it)

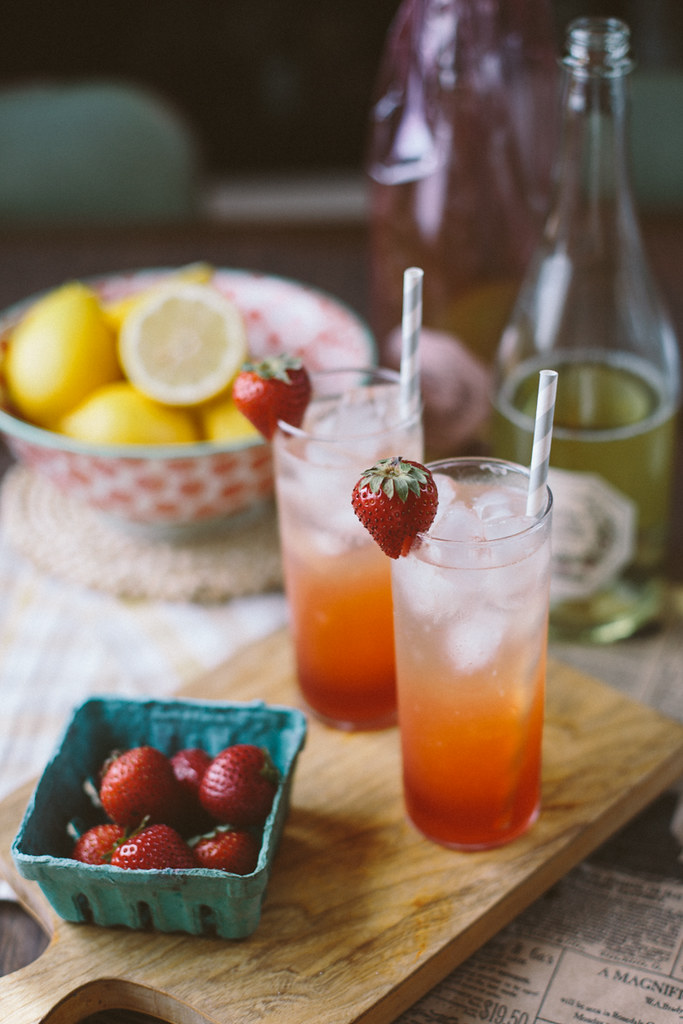
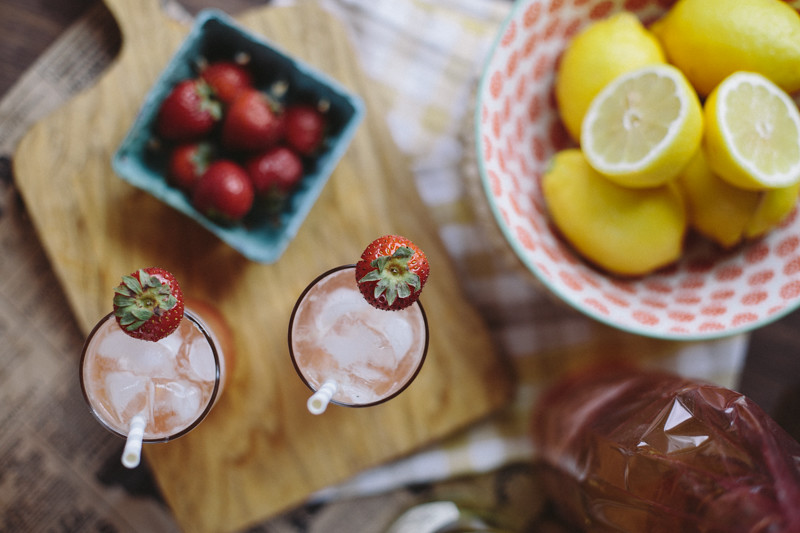
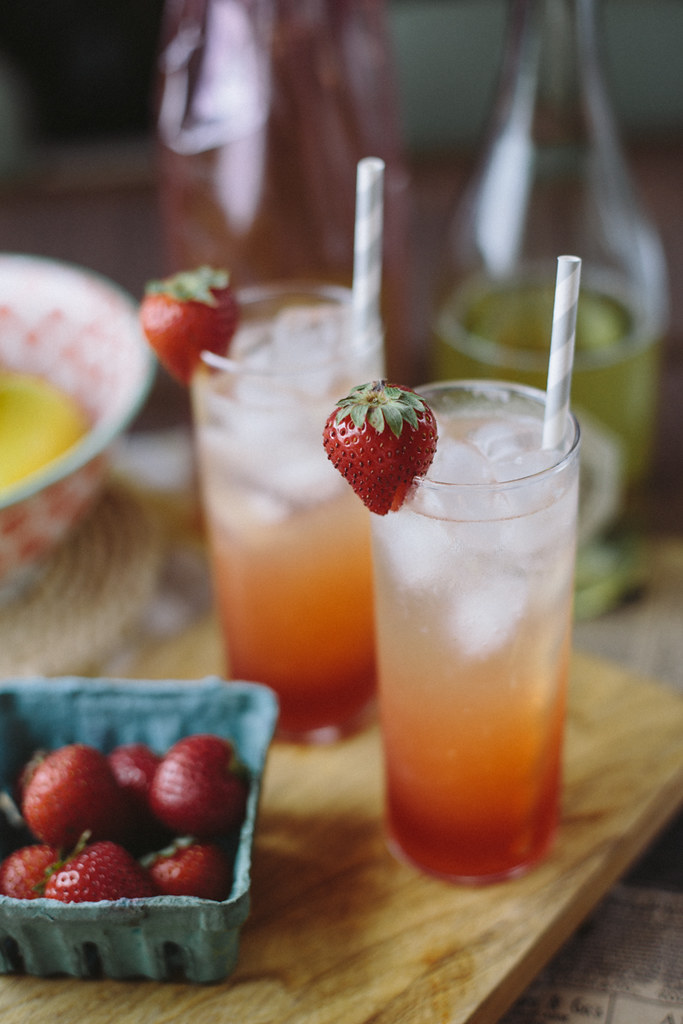
The summer menu at Metronome has a strawberry basil lemonade sparkler, and so far I've tried ordering it twice. The first time they'd run out of champagne. The second time, lemonade. So I decided to try my hand at making one for myself at home. Summer is winding down, but it can still get hot outside and this is a refreshing late summer drink. I think this drink is so delicious and man does it go down easy. They're not too stiff, since there's no liquor in them, so you can have a few before getting too silly.
I love a drink that has a cool gradient. I think this might originate from when I used to see my parents drinking Mai Tai's in Hawai'i when I was a kid. I always thought the gradient of the brown on top and the orange on bottom was so cool. So much so that one time I wanted to be cool like the grown ups, so I made a drink that looked like a Mai Tai by using orange juice and coke. Needless to say, it tasted kind of gross, but I'm pretty sure I drank the whole thing just because.
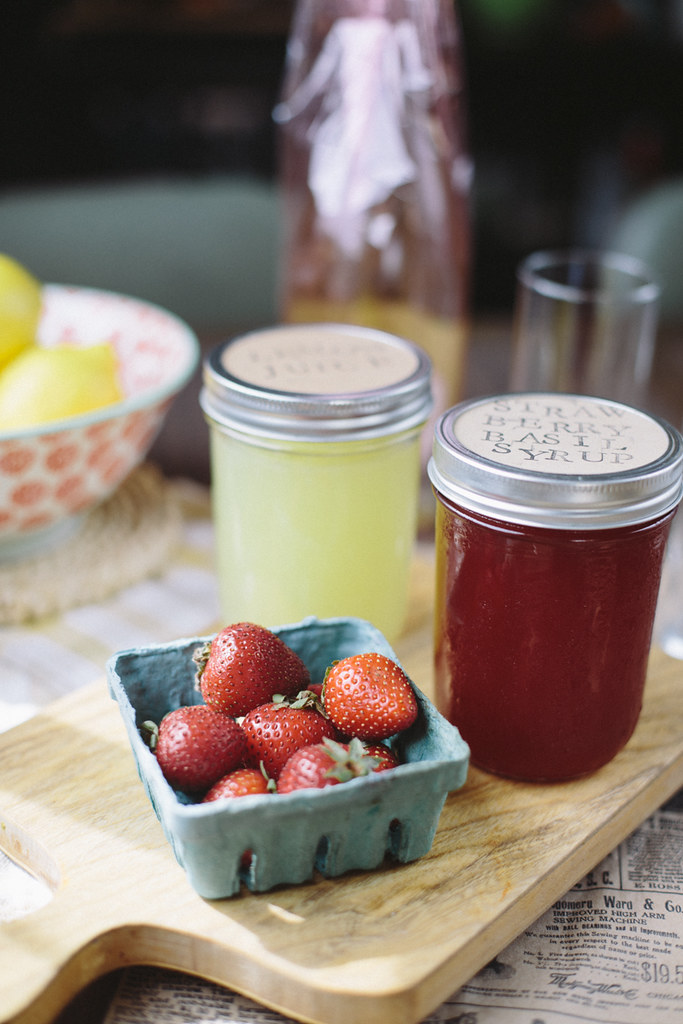

For the strawberry-basil syrup:
1 1/2 cups granulated sugar
1 cup water
1 pound strawberries, washed, hulled, and sliced 1/2 inch thick
3/4 cup tightly packed basil leaves
1. Place the sugar and water in a medium saucepan over high heat and stir until the sugar dissolves and the mixture comes to a boil.
2. Add the strawberries, reduce the heat to medium low, and simmer until the strawberries have softened, about 10 minutes.
3. Remove from the heat, add the basil leaves, and stir to incorporate. Cool to room temperature, about 45 minutes. Strain through a fine-mesh strainer set over a medium bowl; discard the solids. Cover the syrup and refrigerate until ready to use.
For the sparkler:
2 oz syrup
1.5 oz lemon juice
4-5 oz champagne/sparkling wine
Fill a collins glass with ice cubes, add the syrup, then the lemon juice, and then slowly add the sparkling wine so it doesn't bubble over. You can also make this drink in a wine glass sans ice, if you prefer! I like to serve the drink with the gradient intact, just because it looks cool, but it tastes best mixed up. Garnish with a strawberry, or a lemon wedge, or a basil leaf... or go crazy and garnish with all of them. It's your party, you can garnish if you want to.