diy rolling island


he kitchen is probably my favorite room in the house.  No matter how nice the living room is, it always seems like people congregate in the kitchen. Compared to our last house we’ve got a palatial kitchen, but we still find that we’d like a bit more counter space for cooking and entertaining. I figured a rolling island would be the perfect solution and decided that instead of going out and buying one, I’d like to make one myself!  I had made our living-room coffee table using pipe and wood, so I wanted to match that aesthetic, plus I was familiar with the process of building that way. I absolutely love the way it turned out, and it’s the perfect space for storing our coffee and tea accoutrements.  Whenever we need to use it for extra counter space, we just roll it to where we’re working and it’s ready to go. I got caster wheels with locks so we can keep the island from rolling away when we’re chopping veggies and doing other work.

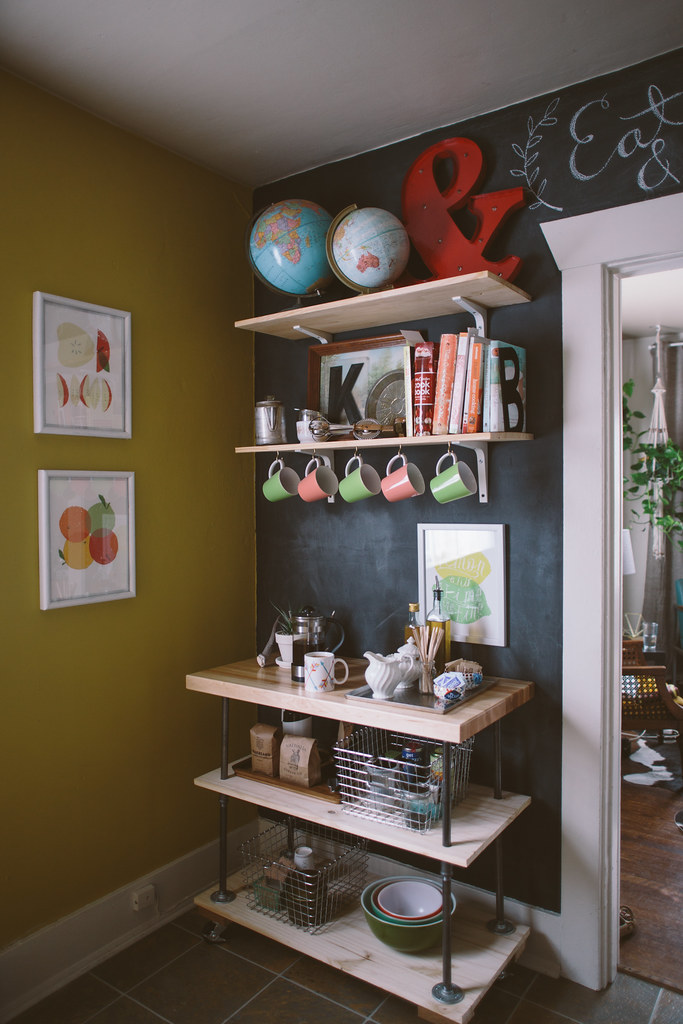
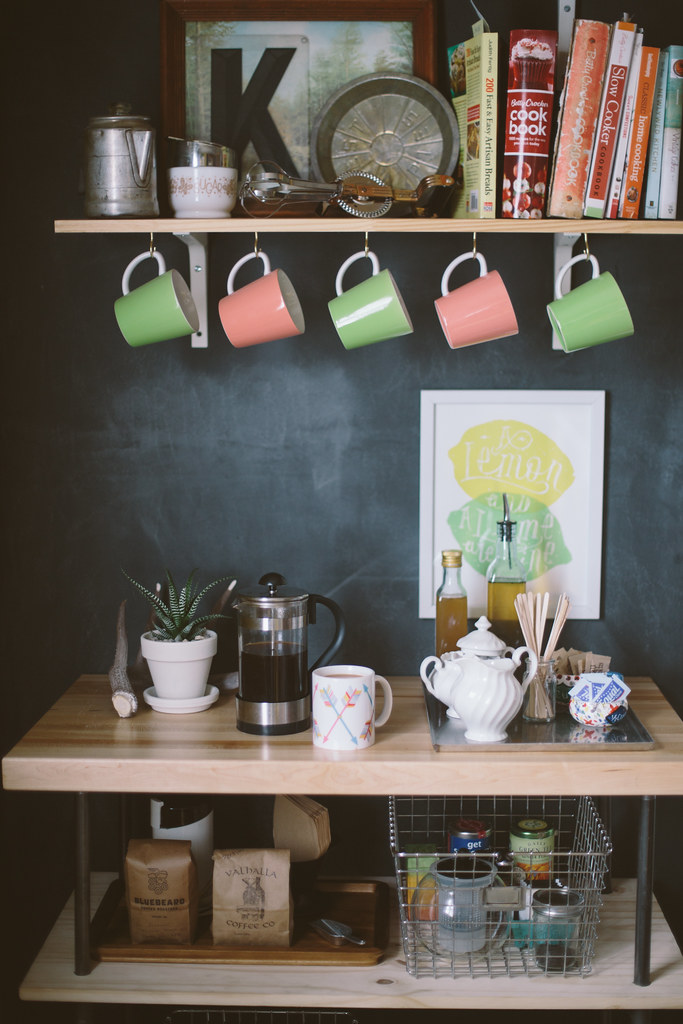
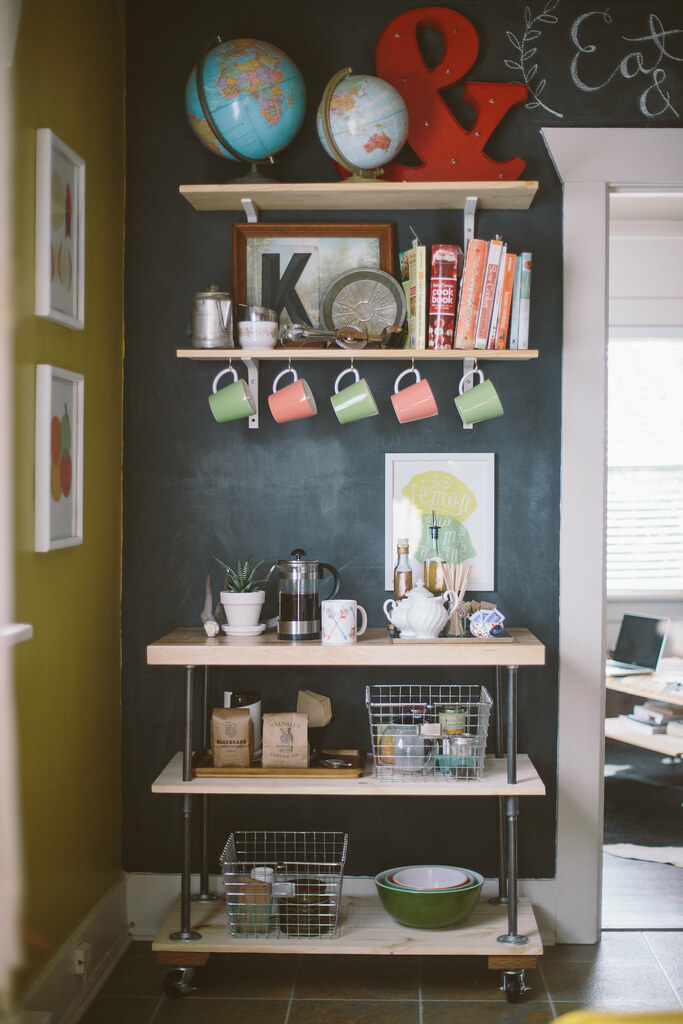
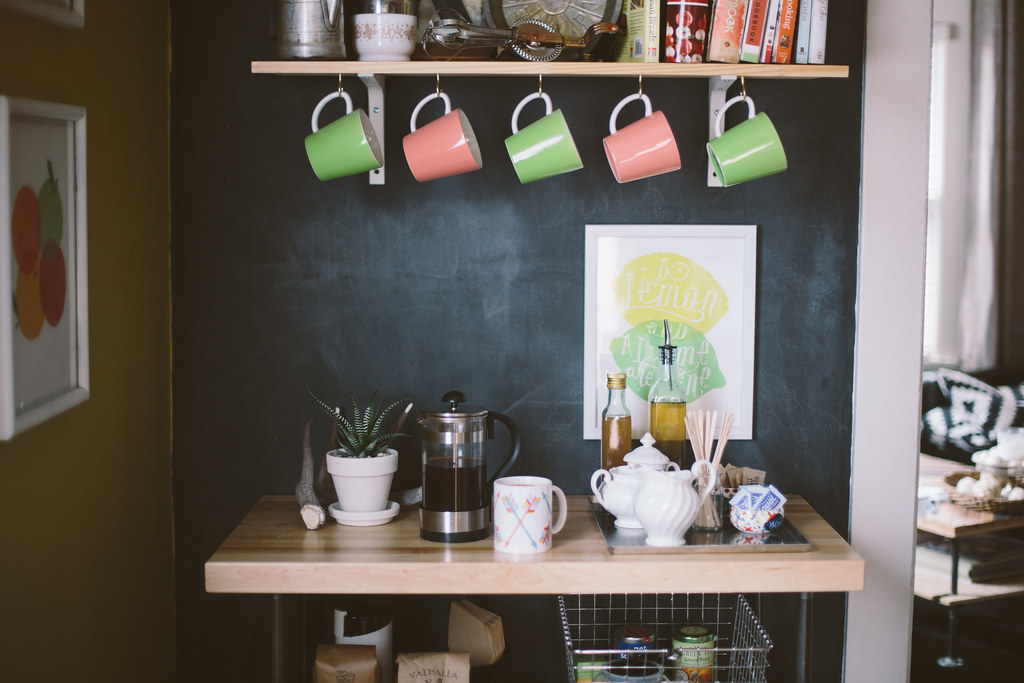
All of our coffee-making things — grinder, French press, pour over and filters — are included on the first shelf to keep the top shelf from getting too cluttered. There aren’t enough of us in my household to justify a drip coffee maker, but there’s plenty of room to store a coffee maker as well. We’ve also started getting into drinking tea, so I made a basket of our tea bags, loose leaf and tea pots as well.

This DIY came to around $350, but I was on a time crunch and Ikea was all sold out of their butcher block so I had to spend about $100 more on the butcher block top by buying it elsewhere, but Ikea's Numerar Beech countertop is much cheaper.  I ended up getting the countertop I wanted for this DIY later on when I was redoing the Winne's kitchen and Ikea is definitely one of the most inexpensive places to get a butcher block countertop.  They're about $130, and I like it because it's wood and therefore really easy to cut to size, depending on your size needs.  I was also thinking of getting the Ikea Sanfrid stainless steel table top and using that as the top, and it's even cheaper, at $99.  It also has an industrial look, so it'd go well with this DIY too.

What you’ll need:

8 12-inch-long, ½-inch diameter black pipe nipples
8 1/2 inch floor flanges
4 1/2 inch Ts
32 1 1/4 inch #12 flathead screws
16 2 inch #10 roundhead screws
16 #10 flat washers
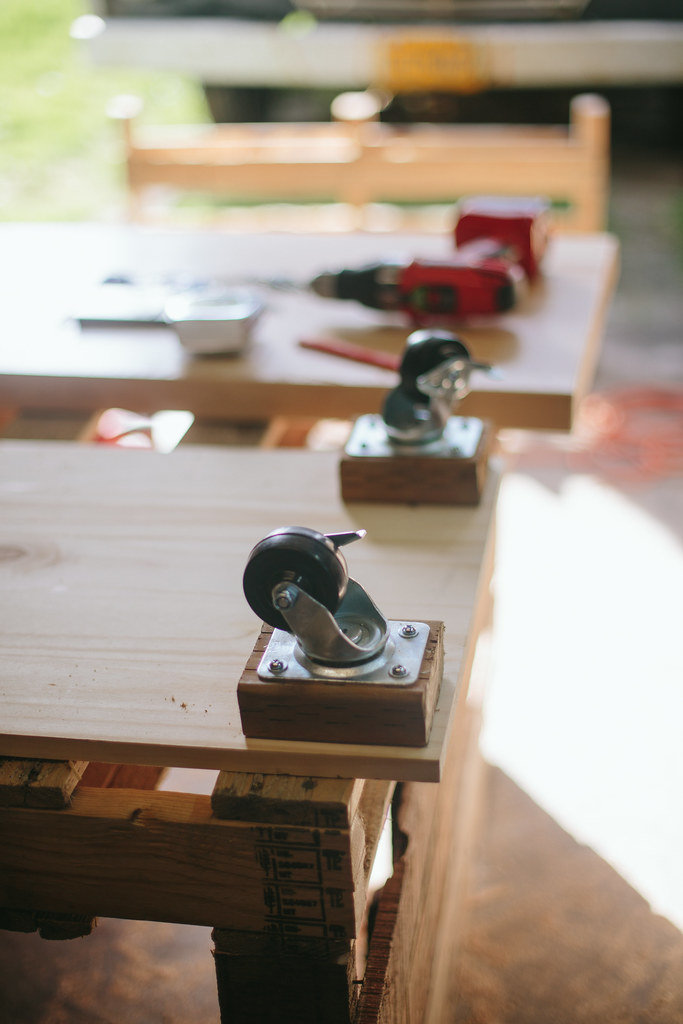
4 caster wheels (if you want to keep your cart from rolling, get ones with wheel locks)
4 2×4 blocks (4 inches long)
1 73-inch x 18 inch pine board (cut in half to create two 36-inch long pieces)
1 36-inch x 19 inch butcher block (mine is 1 1/2 inches thick; you can
find inexpensive butcher block countertop IKEA)

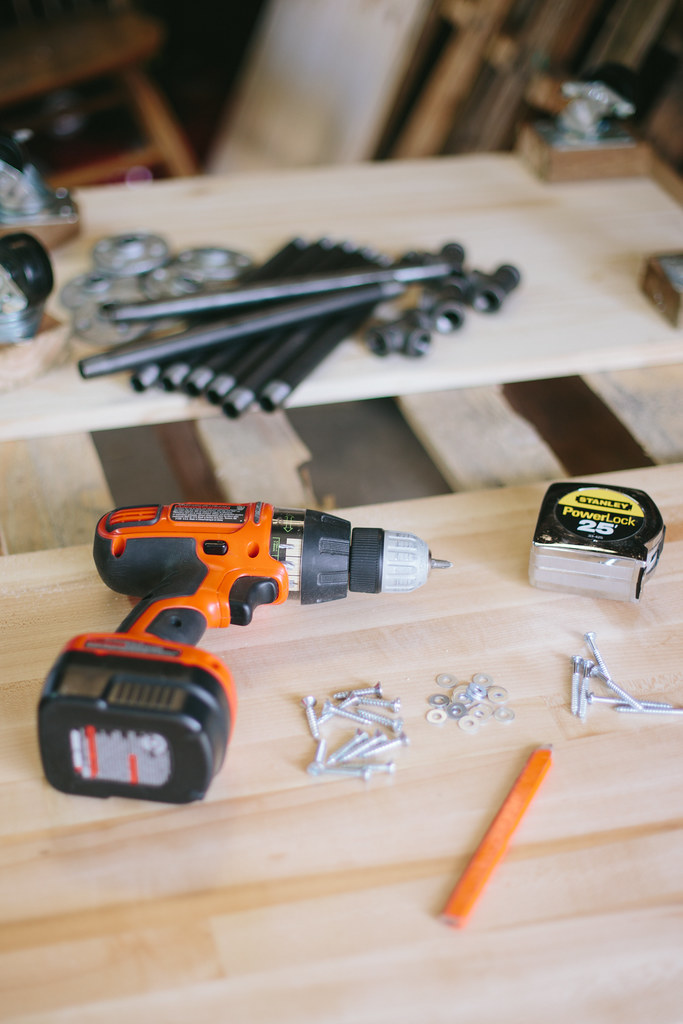
1. First put the caster wheels on the bottom of the bottom shelf. Pre-drill holes in the 4 inch 2×4 blocks. Make sure the holes for the screws are 1 1/4 inches from the edges of the pine board, so place the blocks on your bottom shelf to measure from the edges. The screws will be long enough to attach the 2x4s to the bottom shelf. Once all your holes are drilled, position the 2×4 blocks on the pine board bottom shelf and place the caster wheels lined up with your pre-drilled holes. Put the #10 washers on and screw the wheels on using the #10 roundhead screws.

 
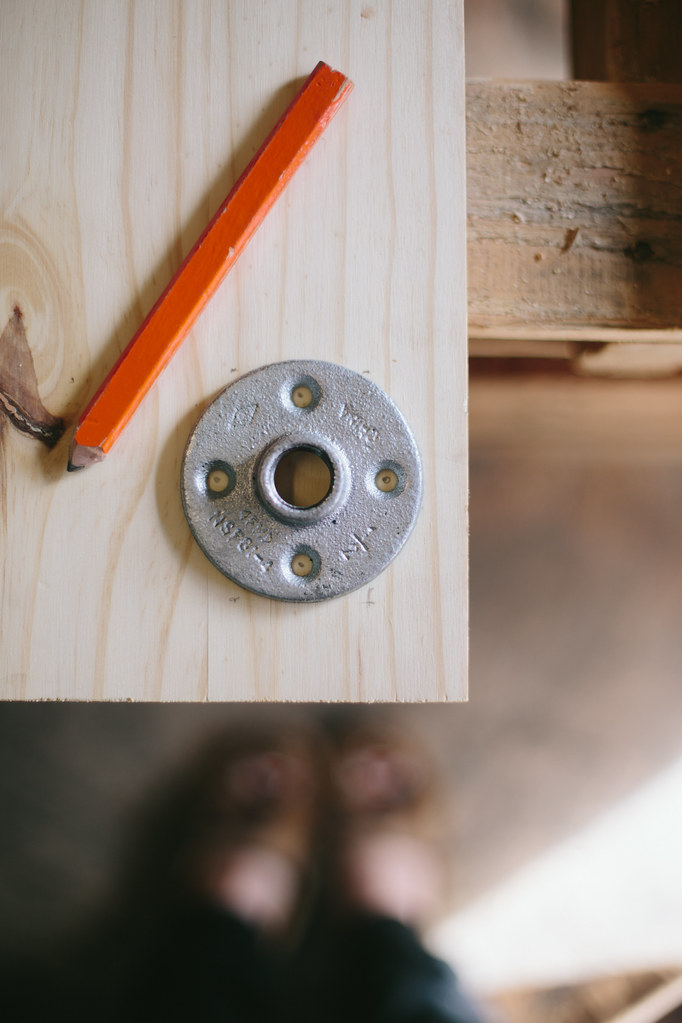
2. Now, flip the bottom shelf so the wheels are facing down. Place your four floor flanges on the bottom shelf directly over the 2×4 blocks and rotate the flange so its 4 holes aren’t directly over the screws you just put in for the wheels. Mark where the holes are with a pencil and drill holes for the screws. These screws will also go through the board and into the 2×4 to further secure the 2×4. Screw the flanges on with the #12 flathead screws.

3. Take your first four 12 inch nipples and screw them into the floor flanges. Screw the Ts on to the top of the nipples and then put the last four 12-inch nipples on top of the Ts.


4. Grab the second pine board shelf and place it on top the 12-inch nipples. Position it so it’s directly over the bottom shelf (if you want to measure where the center of the pipe hits on the bottom shelf to get the top shelf exactly matched, you can do that, or you can eyeball it). Draw a circle around the edge of the pipe on the bottom of the board, so you know where to drill the hole so it can slide down to rest on the T. Once you have your circles drawn, take a 7/8ths spade drill bit and drill the holes you just drew. Now you can slide the second shelf onto the 12-inch nipples and they’ll slide down to rest on the Ts.

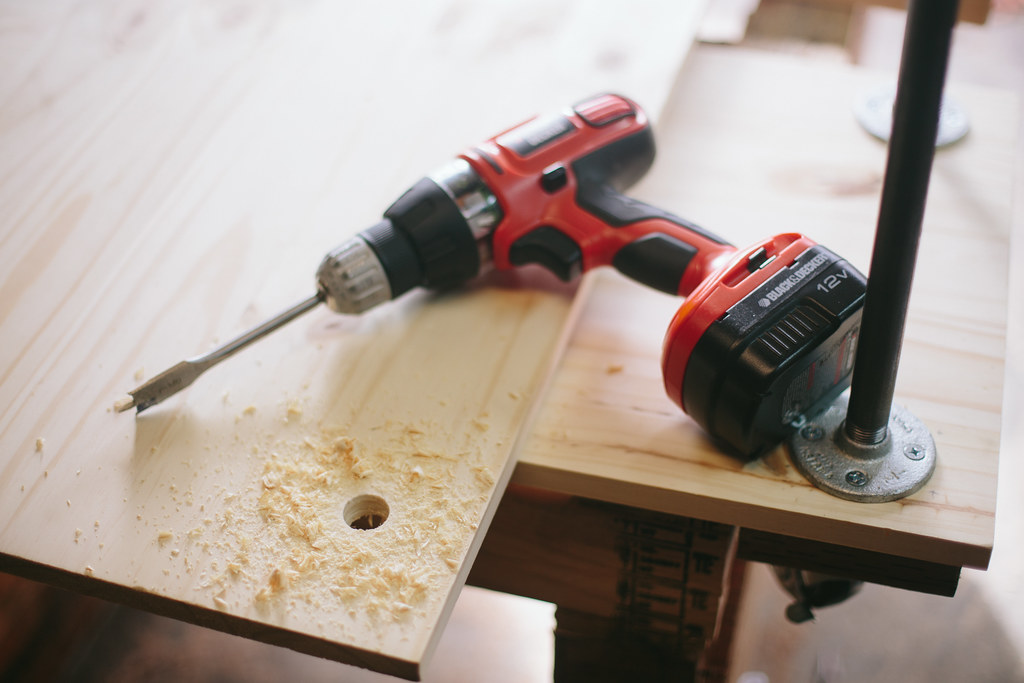
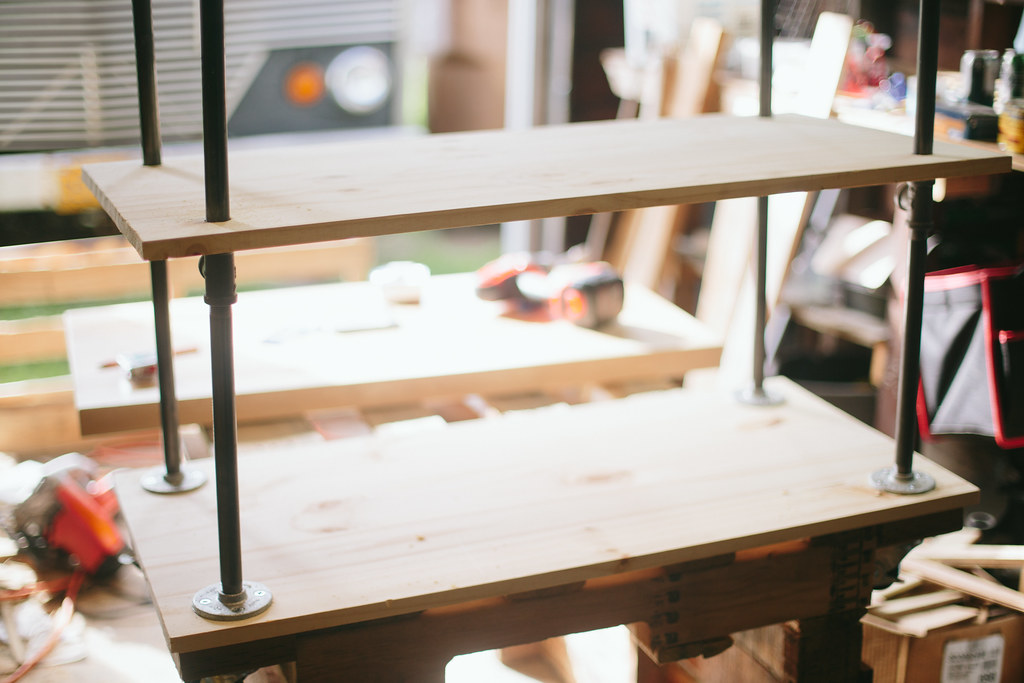
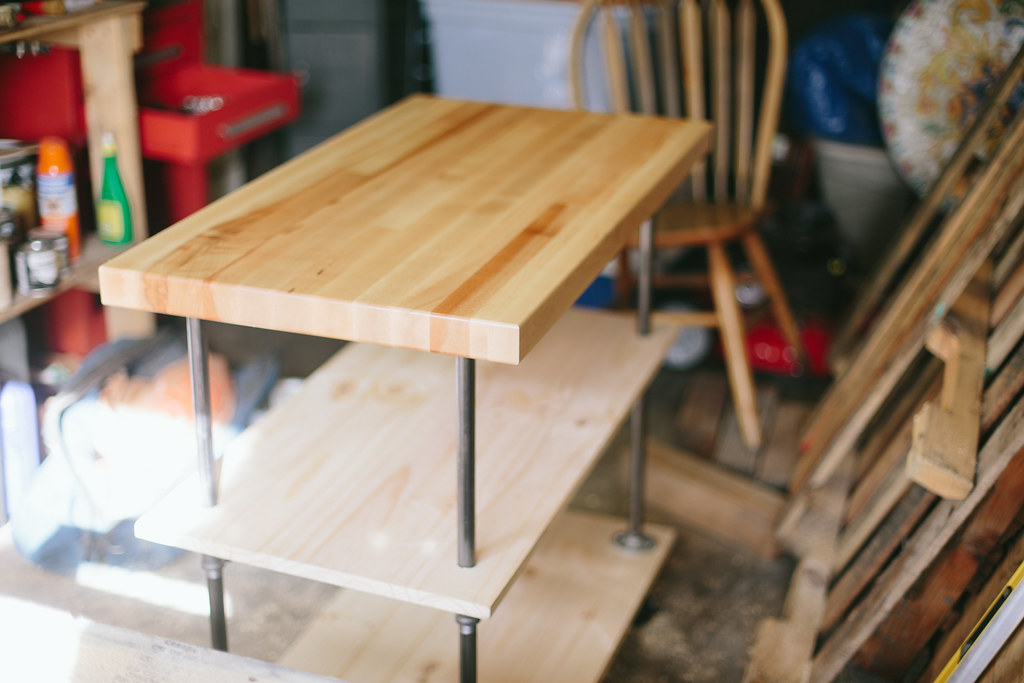
5. Put the last four floor flanges onto the top of the nipples; make sure they’re tight. Put your butcher block on top of them, and again you can measure everything to make sure it’s centered, or you can eyeball it. Mark with a pencil where the floor flange holes are, pre-drill holes and then screw the top on with the #12 flat head screws. You’re done!


Pin It!

easy macrame pot holders


his is actually a DIY I did last summer, but never ended up posting!  I wanted to liven up my front porch, so I made these super easy hanging pot holders and planted some little marigolds.  All you need is some rope and pots!

During Christmas I put faux Poinsettias in the pots, but I noticed that the red dye in the faux flowers bled all over the pots and rope.  Luckily the dye washed away in the rain after a couple months, but if you live in a place that's rainy and want to put faux flowers in your pots outside, take note.  Real Poinsettias are too large for these pots so I'll have to figure something else out next winter.
This is a really quick project, depending on how many you're making.  I have six hanging from my front porch and it took me a couple afternoons, mostly because I ran out of rope and had to go buy more.  I'd say each one only took 10-15 minutes.


You'll need six lengths of rope (or yarn, I made some hanging candles in mason jars using this same tutorial using yarn.).  I'd recommend cutting the rope longer than you think you might need it, it's better to have extra than not enough.   I used white rope and a simple terra cotta pot which I panted white with exterior paint (since my pots would be outside in the rainy northwest weather).  The amount of rope you need will depend on how long you want your macrame holders to be.  Mine hang about 3 feet down and I believe I made the ropes about 5 feet each.
Tie the ropes in a knot leaving a bit of extra (you can always cut it off later).  Separate the three pairs of rope so they're easy to see.  Tie the adjacent pairs together with a square knot.  This will be the base of your pot holder, so where you tie them will depend on how big the base of your pot is.  Try to aim for tying this first knot at the length of the radius of the base, or a bit longer.  Go around and tie all three pairs.

  
Now that all three are tied together, separate the free ends.  Tie these new adjacent strings together for your "level 2" knots.  Make sure all your knots are the same distances, so each level is at the same point, otherwise it'll get lopsided. If you're not sure if your knots are in the right place to create the right size space for your pot, have your pot on hand and you can slip it in there while you're making it to see if your knots are going to fit the pot.  Knot each adjacent pair.
You can keep knotting as high as you like, but I found that three levels of knots works good for a small pot.  Slip your pot in there to see how it fits and if it looks good, you're done!  Knot the top of the strings so the pot hangs where you want and then screw a hook to the ceiling, or wherever you're hanging your pot from and hang it!


I was lazy with my pot holder and just let the ends fray, but if you wanted to make the ends cute you could leave them super long and put a wood bead on the end and knot it for a bit of embellishment.  Or you could singe the ends of the rope/string so that they didn't fray.


Pin It!

diy globe hanging light


have a pretty big globe collection in my house and the one the started it all had broken off its brackets last year and looked a bit sad.  I thought it could use some new life so I turned it into a pendant lamp!  I get all my globes from thrift stores and pretty much every time I see one I get it.  Almost every room in our house has a little collection of globes now.  

My studio space is one of the few rooms in the house that I haven't really started working on.  It's sort of the catch-all because nobody ever sees it.  You have to go though our bedroom, upstairs, through our closet and then to the studio, so it's mainly just a place where I throw stuff to "organize later" (read: never).   What you don't see in these photos is the giant pile of mess just out of frame, but I promise it's there and it's scary.  I need to rip the ugly brown carpet out of the entire upstairs, so part of me doesn't want to bother cleaning it up because I'll have to take everything out of there to remove the carpet and put in new flooring anyway.  You can kind of see the carpet around the edges of the zig-zag rug.  It's bad.  I actually realized that I ripped the exact same carpet out of the Brave when I re-did her floors in May. The Brave looks so much fancier without that old brown carpet (it wasn't even the original green carpet, bleh), so I can't wait to get new floors in this attic space.  

When we looked at this house before buying it, I was entranced by this upstairs space.  I immediately claimed it as my studio.  I recently looked at a few homes for sale with my parents and in every single one I was enamored with the very top floor with slanted ceilings.  Maybe it reminds me of a treehouse or something, being on the very top floor, but I love me some attic spaces.  I'd love to put a dormer in to expand the space and bring in more light.  The room is pretty dark with just the one window on the end, especially in the winter, so it'd be nice to get a little more space and natural light.


What You'll Need:
dremel w/ cutting bit and/or x-acto knife
drill (or dremel w/ drill bit)
cardboard globe
hanging light cord (I used an Ikea Sekond cord, but Ikea also has the Hemma cord or here's one on Amazon.)
light bulb
safety glasses

First, remove the globe from its stand.  Depending on the kind of globe you have it might be a bit difficult, mine was kind of a pain.

Since your globe has latitude lines on it, you can use that as a line to follow when cutting your hole in the bottom.  I used 45ยบ S for mine, but you can pick any, depending on how large you want the opening to be.

Using your dremel with a cutting wheel bit, or just using an x-acto knife, cut along the line to make the hole in the bottom of your light.  Make sure you use goggles if you're using a dremel because it'll fling particles up at your face.  I did most of mine with a dremel and then used an x-acto to cut any pieces that were left holding the bottom on.  


Take your lamp cord and put it at the north pole where it'll hang from and trace the circumference.  Cut your hole along this line.

If you'd like light to show through little holes on in the side of the globe, use a drill or your Dremel with a drill bit and drill little holes!  I drilled holes along the edges of the continents for mine.  A fun version of this lamp could be painting the globe black and then drilling star constellations in the sides!

Once your holes are all drilled, unscrew the piece from the light cord that secures the shade and then push the threaded end of the cord through the hole you made at the top of the globe.  Screw that piece back on the threads from the inside of the globe to secure the globe shade to the cord.


Plug her in and find a place to hang it!  The Ikea Sekond hanging lamp cord comes with little hooks and cord holders to help hang it, but if you get another kind of cord, you'll need some hooks to hang it up.  I love this light hanging above my studio desk, it gets to hang out with the other globes that have parked themselves on the desk.  

As you can see, I have another half-finished DIY in my studio space, my hand-painted desk chair.  Yeah, that project was started about a year ago and I fell off the wagon and never finished it.  Someday!  That's another Ikea hack, too, so once I finish it I'll share that DIY.


Pin It!