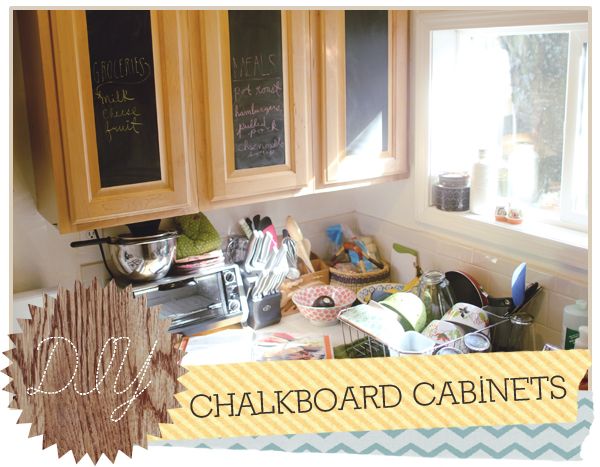
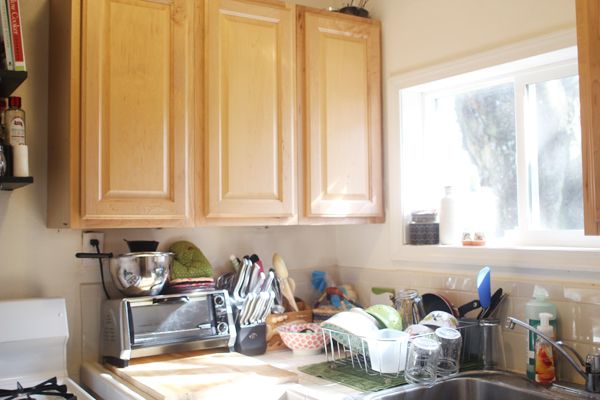
For a long time I've wanted to change our kitchen up a bit, but since the space is teeny and we're renting, there's not too much we can do. In my old kitchen I freshened things up by putting woodgrain contact paper on my fridge, but since the cabinets were already wood, I didn't really want to put a clashing woodgrain on our fridge. When I discovered that chalkboard contact paper existed, I knew exactly what I wanted to do! I'm of the firm belief that contact paper is a renter's best friend. It's such a great way to update and make a space your own, without having to paint or do anything too permanent. Moorea actually just posted a tour of her apartment in Seattle where her and her roommate put up removable woodgrain wallpaper! So awesome!
What you'll need:
Chalkboard Contact Paper
Scissors
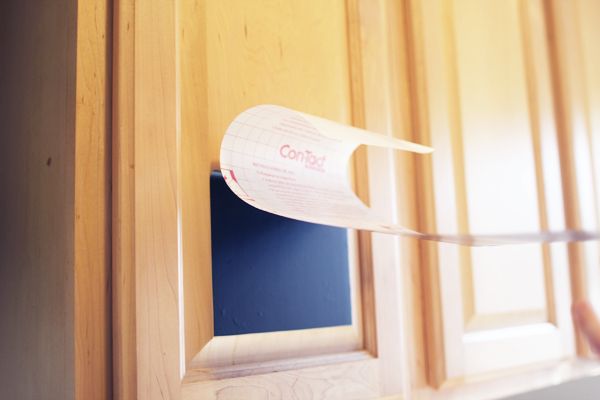
All you have to do is: measure how wide and tall the area is that you want to cover, cut the contact paper to size, peel & stick! An easy way to measure your contact paper is to flip it so the back is showing and then just hold it up against the area you want to cover, and then mark with a pen or pencil how wide & long you need it to be. Contact paper is nice in that the back is covered in a grid so it's easy to cut straight lines. Once you get one piece cut, you can use that piece as a template for the rest of the cabinets you're covering, as long as all the cabinets are the same size.
To stick it on, just peel a bit off from one end and line it up, then start working your way up slowly, wiping with your hand as you go to get any bubbles out. If you start getting bubbles or it turns out you've stuck it on crooked, you can just peel it back off and start over.
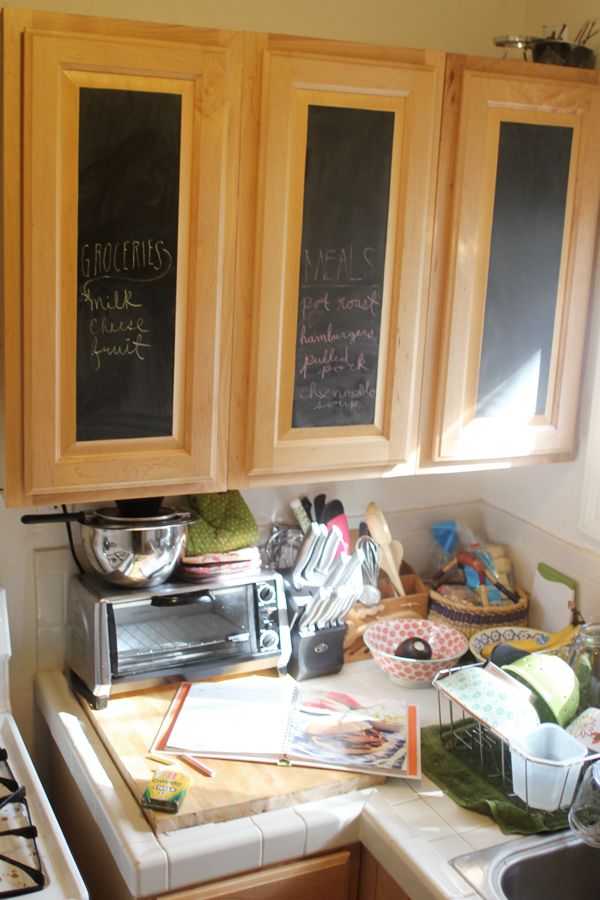
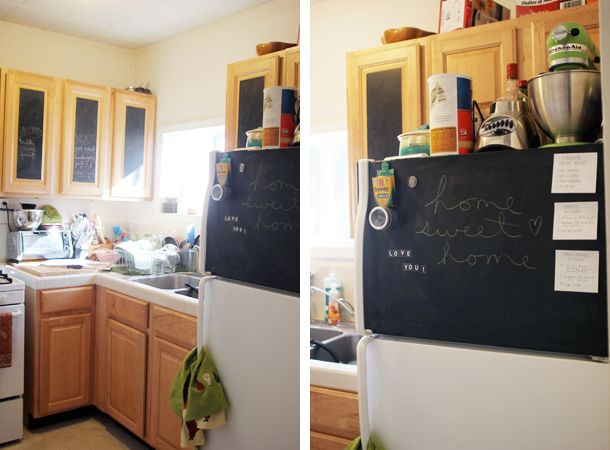
I had a bit left over, so I covered the freezer door on our fridge too. I can't believe how much more I love our kitchen now that I've added these little chalkboard panels. Plus, it's actually useful for writing stuff down, like groceries we've run out of and ideas for meals. That, and pretty doodles & sneaky love notes...