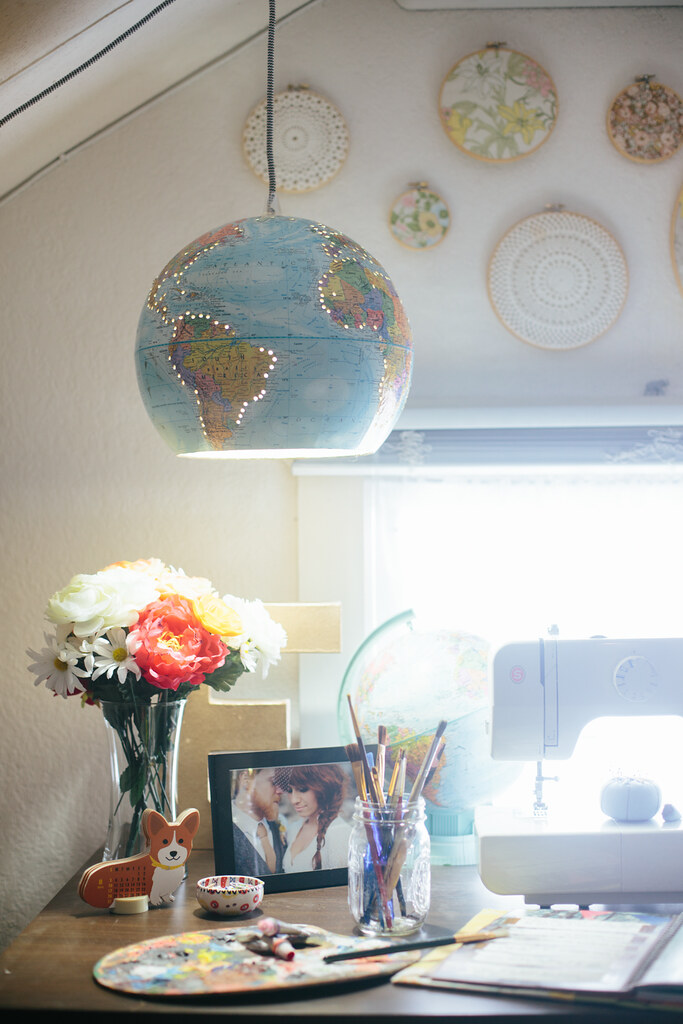
have a pretty big globe collection in my house and the one the started it all had broken off its brackets last year and looked a bit sad. I thought it could use some new life so I turned it into a pendant lamp! I get all my globes from thrift stores and pretty much every time I see one I get it. Almost every room in our house has a little collection of globes now.
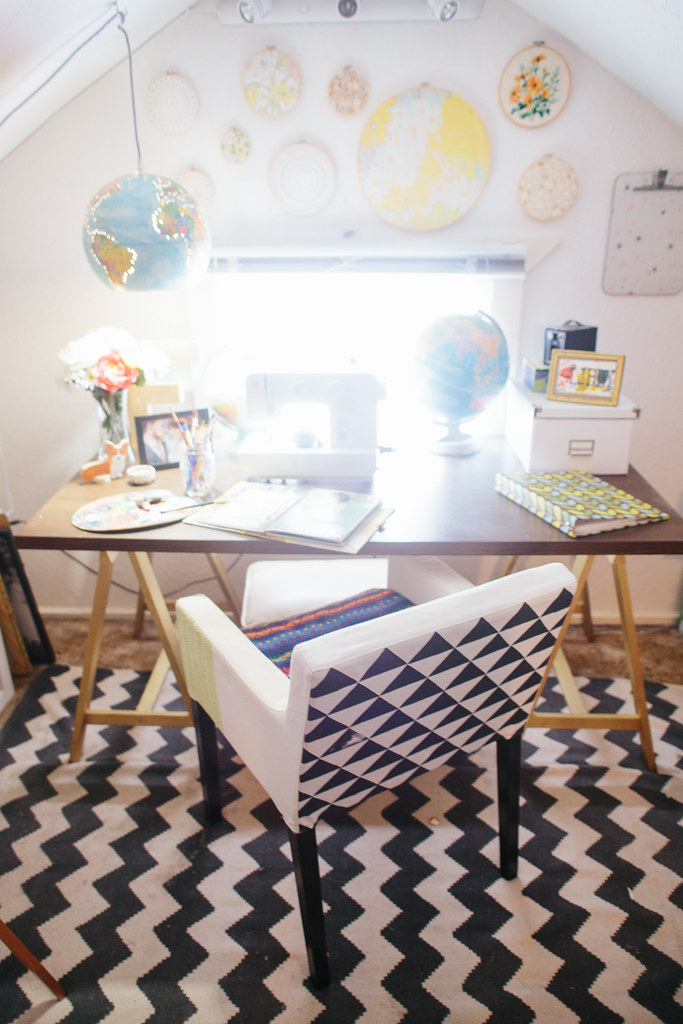
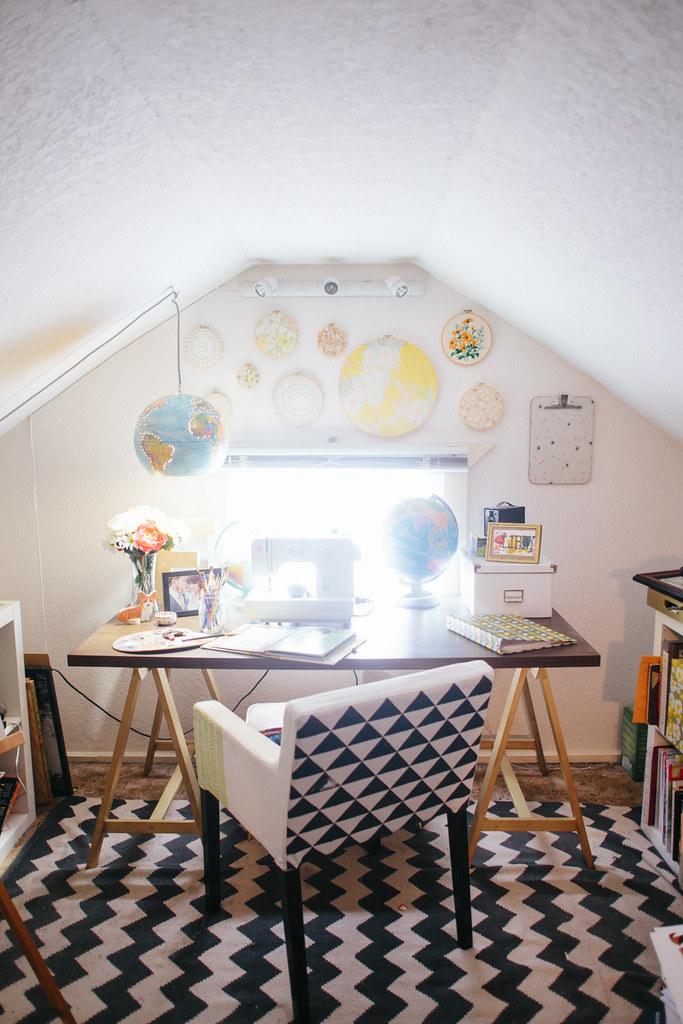
My studio space is one of the few rooms in the house that I haven't really started working on. It's sort of the catch-all because nobody ever sees it. You have to go though our bedroom, upstairs, through our closet and then to the studio, so it's mainly just a place where I throw stuff to "organize later" (read: never). What you don't see in these photos is the giant pile of mess just out of frame, but I promise it's there and it's scary. I need to rip the ugly brown carpet out of the entire upstairs, so part of me doesn't want to bother cleaning it up because I'll have to take everything out of there to remove the carpet and put in new flooring anyway. You can kind of see the carpet around the edges of the zig-zag rug. It's bad. I actually realized that I ripped the exact same carpet out of the Brave when I re-did her floors in May. The Brave looks so much fancier without that old brown carpet (it wasn't even the original green carpet, bleh), so I can't wait to get new floors in this attic space.
When we looked at this house before buying it, I was entranced by this upstairs space. I immediately claimed it as my studio. I recently looked at a few homes for sale with my parents and in every single one I was enamored with the very top floor with slanted ceilings. Maybe it reminds me of a treehouse or something, being on the very top floor, but I love me some attic spaces. I'd love to put a dormer in to expand the space and bring in more light. The room is pretty dark with just the one window on the end, especially in the winter, so it'd be nice to get a little more space and natural light.

What You'll Need:
dremel w/ cutting bit and/or x-acto knife
drill (or dremel w/ drill bit)
cardboard globe
light bulb
safety glasses
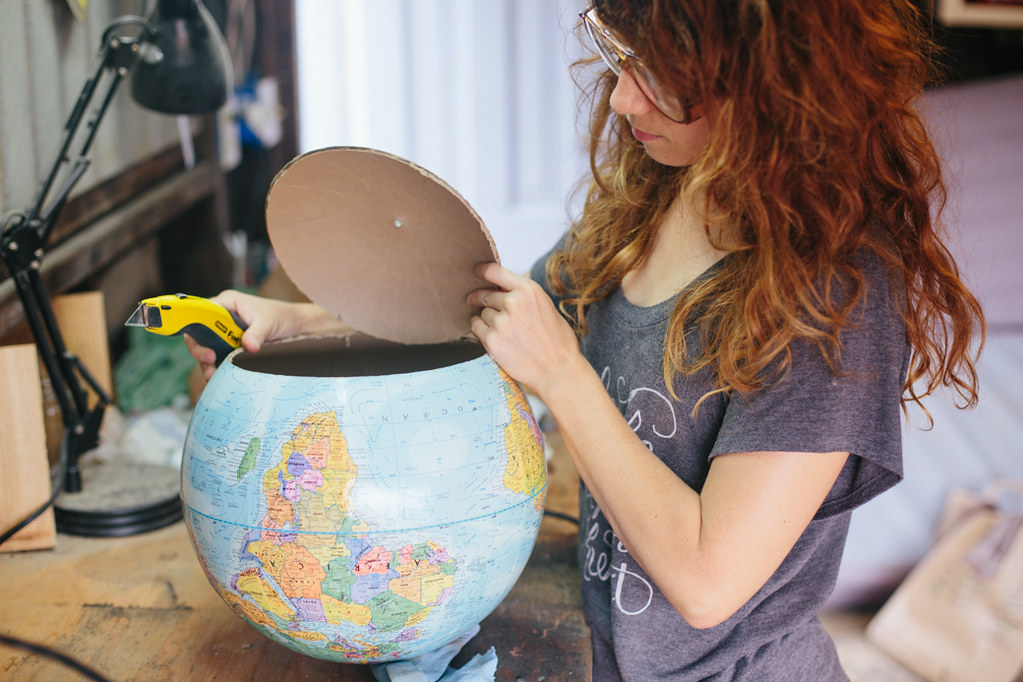
First, remove the globe from its stand. Depending on the kind of globe you have it might be a bit difficult, mine was kind of a pain.
Since your globe has latitude lines on it, you can use that as a line to follow when cutting your hole in the bottom. I used 45º S for mine, but you can pick any, depending on how large you want the opening to be.
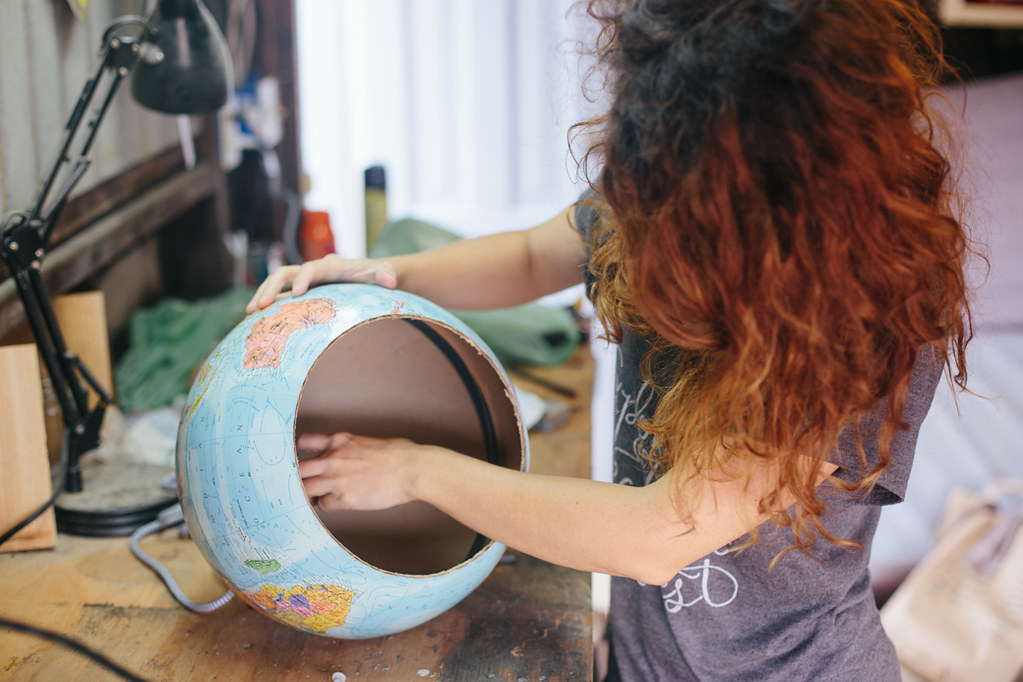
Using your dremel with a cutting wheel bit, or just using an x-acto knife, cut along the line to make the hole in the bottom of your light. Make sure you use goggles if you're using a dremel because it'll fling particles up at your face. I did most of mine with a dremel and then used an x-acto to cut any pieces that were left holding the bottom on.


Take your lamp cord and put it at the north pole where it'll hang from and trace the circumference. Cut your hole along this line.
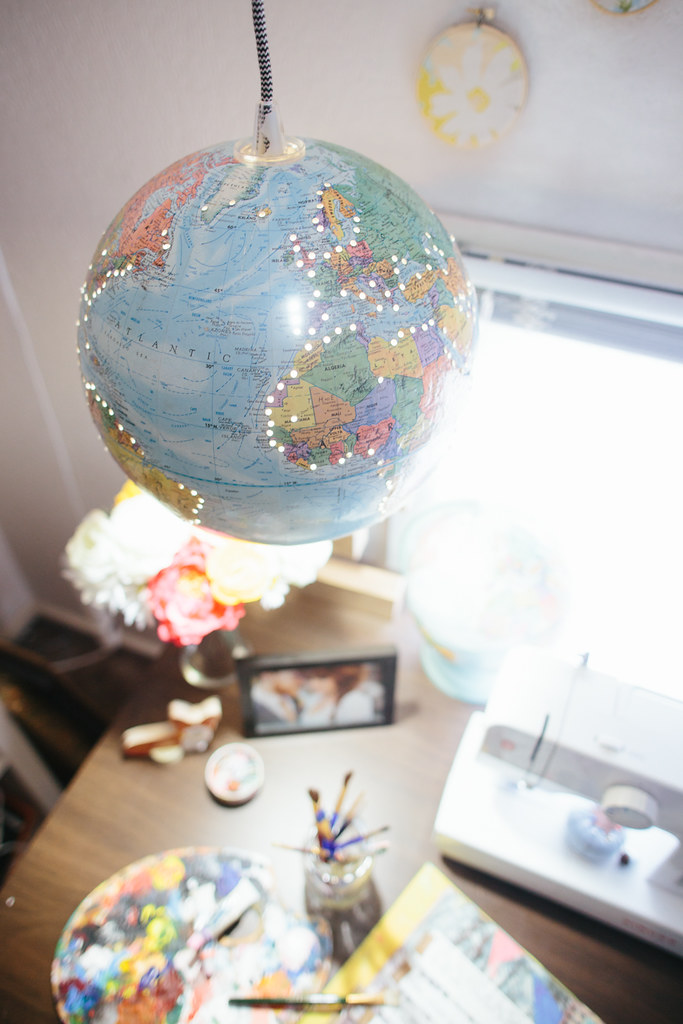
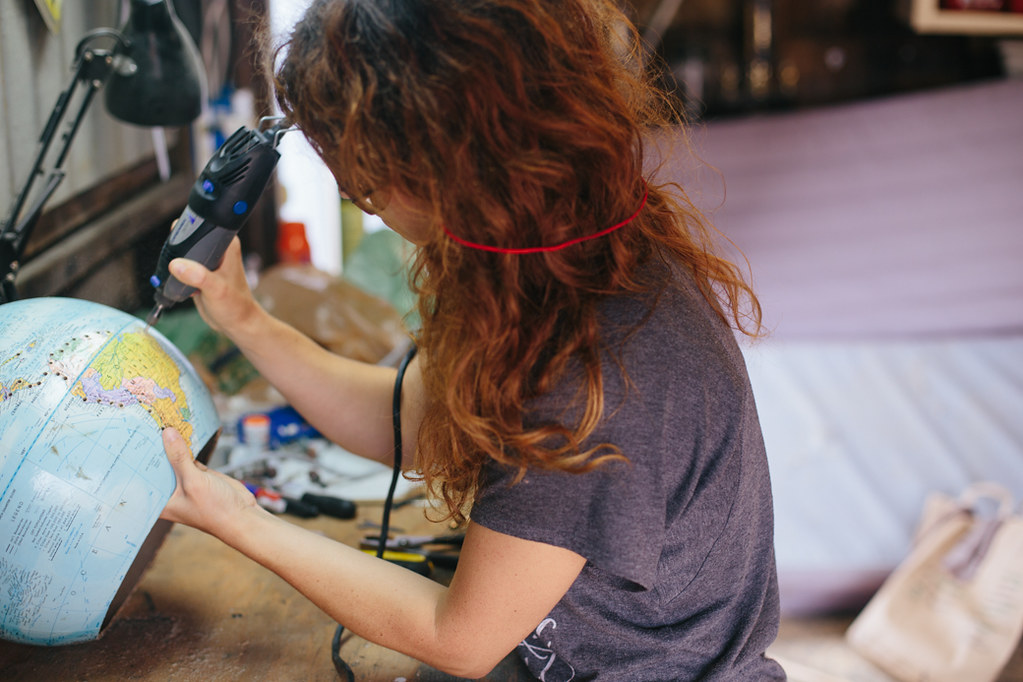
If you'd like light to show through little holes on in the side of the globe, use a drill or your Dremel with a drill bit and drill little holes! I drilled holes along the edges of the continents for mine. A fun version of this lamp could be painting the globe black and then drilling star constellations in the sides!
Once your holes are all drilled, unscrew the piece from the light cord that secures the shade and then push the threaded end of the cord through the hole you made at the top of the globe. Screw that piece back on the threads from the inside of the globe to secure the globe shade to the cord.


Plug her in and find a place to hang it! The Ikea Sekond hanging lamp cord comes with little hooks and cord holders to help hang it, but if you get another kind of cord, you'll need some hooks to hang it up. I love this light hanging above my studio desk, it gets to hang out with the other globes that have parked themselves on the desk.
As you can see, I have another half-finished DIY in my studio space, my hand-painted desk chair. Yeah, that project was started about a year ago and I fell off the wagon and never finished it. Someday! That's another Ikea hack, too, so once I finish it I'll share that DIY.