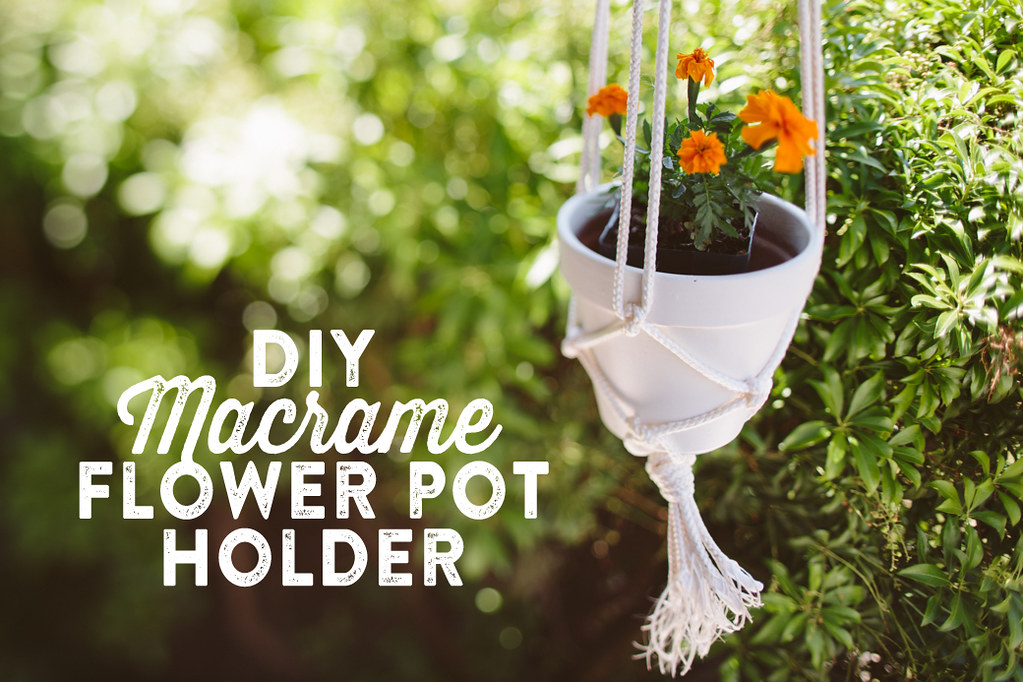
easy macrame pot holders
his is actually a DIY I did last summer, but never ended up posting! I wanted to liven up my front porch, so I made these super easy hanging pot holders and planted some little marigolds. All you need is some rope and pots!
During Christmas I put faux Poinsettias in the pots, but I noticed that the red dye in the faux flowers bled all over the pots and rope. Luckily the dye washed away in the rain after a couple months, but if you live in a place that's rainy and want to put faux flowers in your pots outside, take note. Real Poinsettias are too large for these pots so I'll have to figure something else out next winter.This is a really quick project, depending on how many you're making. I have six hanging from my front porch and it took me a couple afternoons, mostly because I ran out of rope and had to go buy more. I'd say each one only took 10-15 minutes.
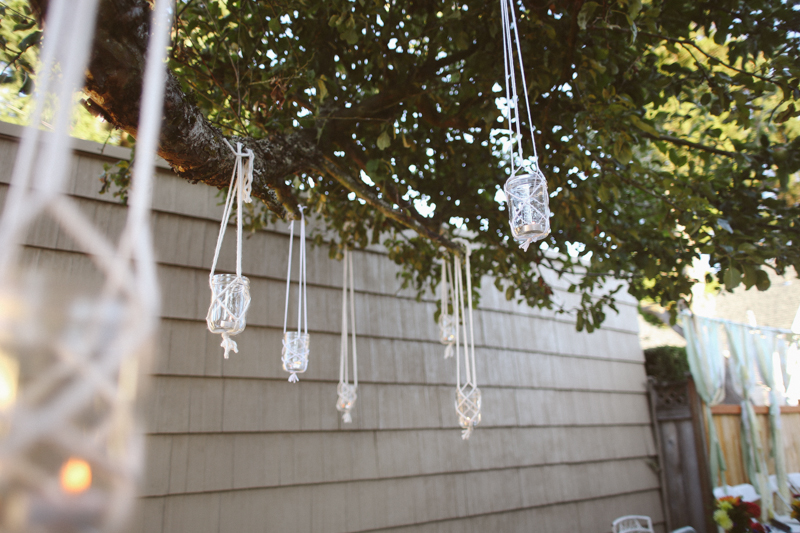
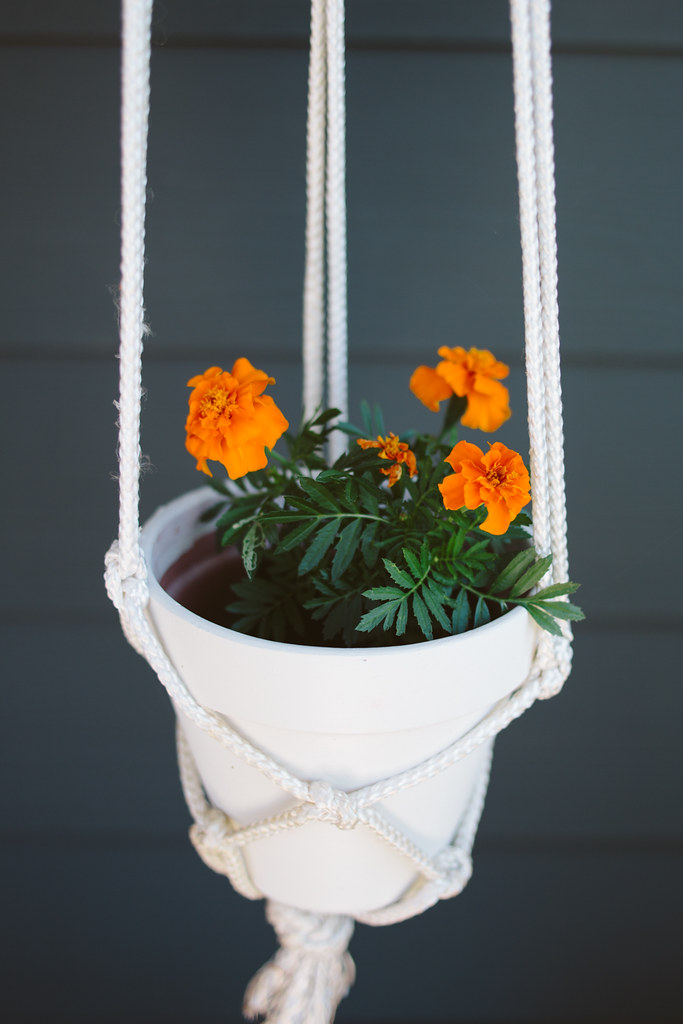
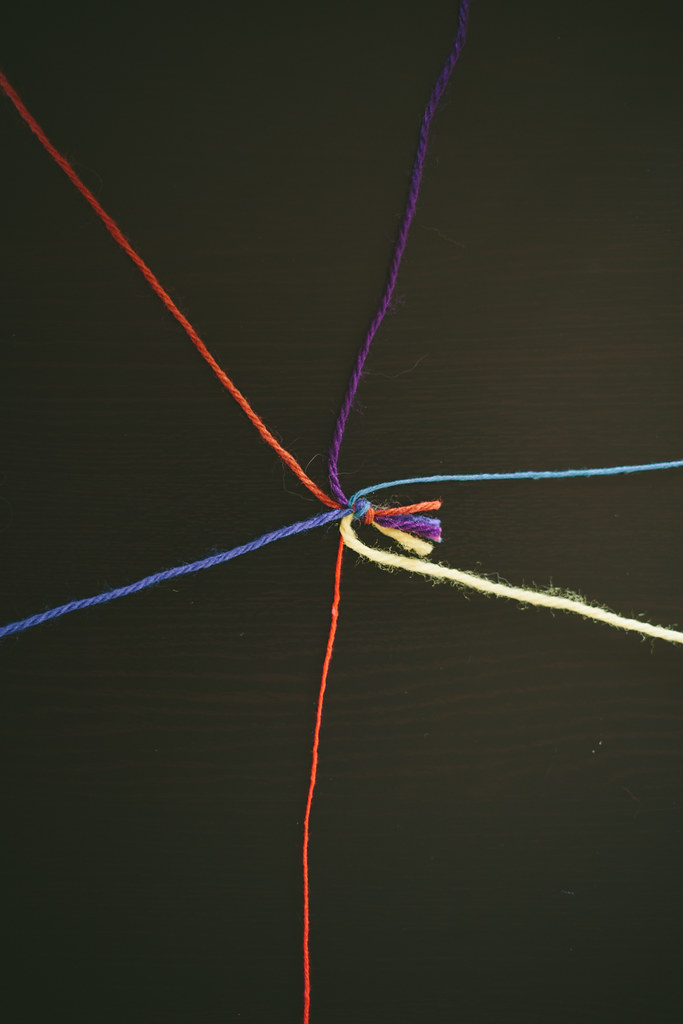
You'll need six lengths of rope (or yarn, I made some hanging candles in mason jars using this same tutorial using yarn.). I'd recommend cutting the rope longer than you think you might need it, it's better to have extra than not enough. I used white rope and a simple terra cotta pot which I panted white with exterior paint (since my pots would be outside in the rainy northwest weather). The amount of rope you need will depend on how long you want your macrame holders to be. Mine hang about 3 feet down and I believe I made the ropes about 5 feet each.Tie the ropes in a knot leaving a bit of extra (you can always cut it off later). Separate the three pairs of rope so they're easy to see. Tie the adjacent pairs together with a square knot. This will be the base of your pot holder, so where you tie them will depend on how big the base of your pot is. Try to aim for tying this first knot at the length of the radius of the base, or a bit longer. Go around and tie all three pairs.

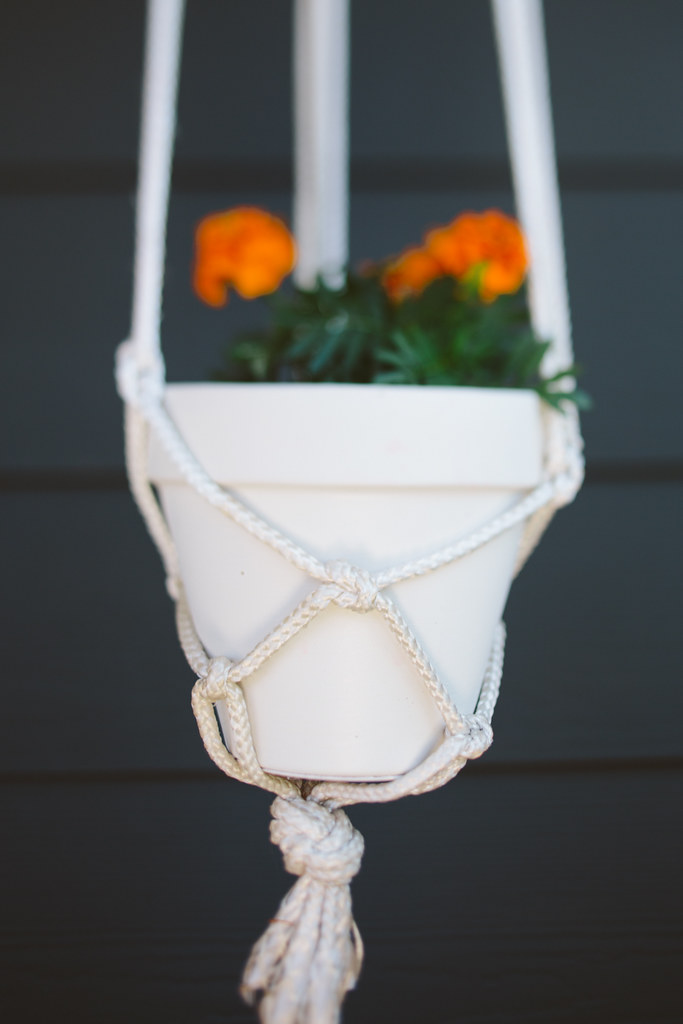
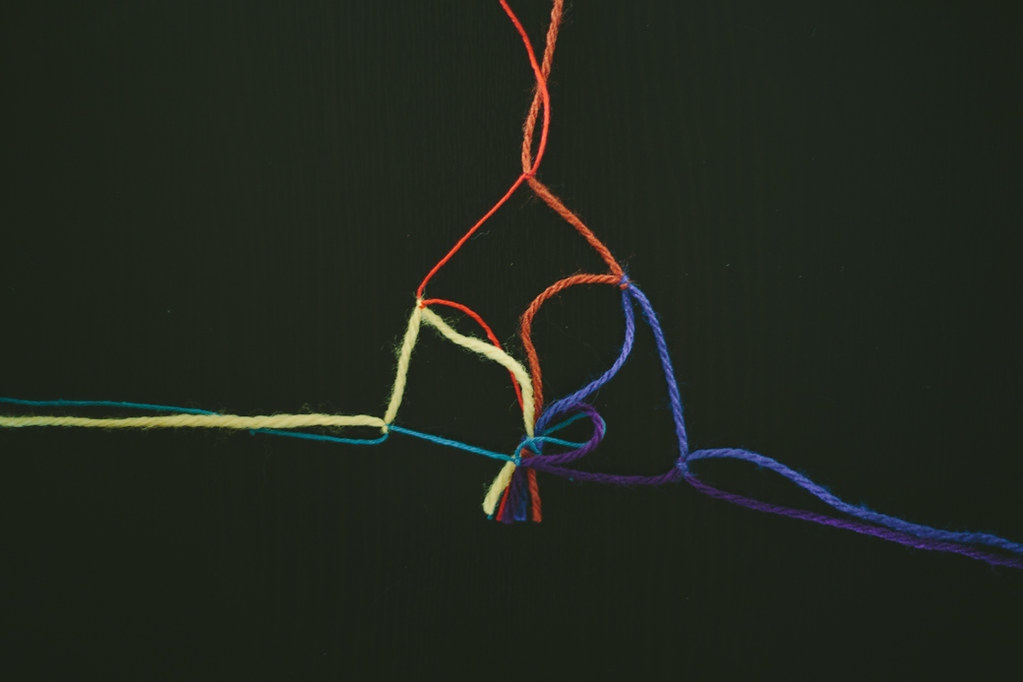
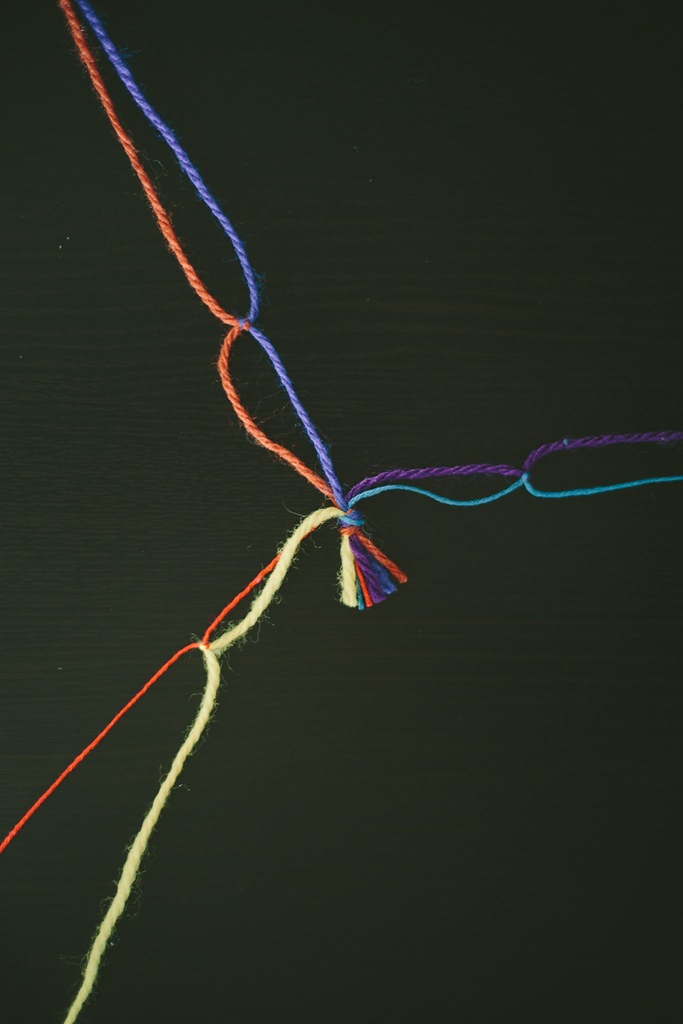 Now that all three are tied together, separate the free ends. Tie these new adjacent strings together for your "level 2" knots. Make sure all your knots are the same distances, so each level is at the same point, otherwise it'll get lopsided. If you're not sure if your knots are in the right place to create the right size space for your pot, have your pot on hand and you can slip it in there while you're making it to see if your knots are going to fit the pot. Knot each adjacent pair.You can keep knotting as high as you like, but I found that three levels of knots works good for a small pot. Slip your pot in there to see how it fits and if it looks good, you're done! Knot the top of the strings so the pot hangs where you want and then screw a hook to the ceiling, or wherever you're hanging your pot from and hang it!

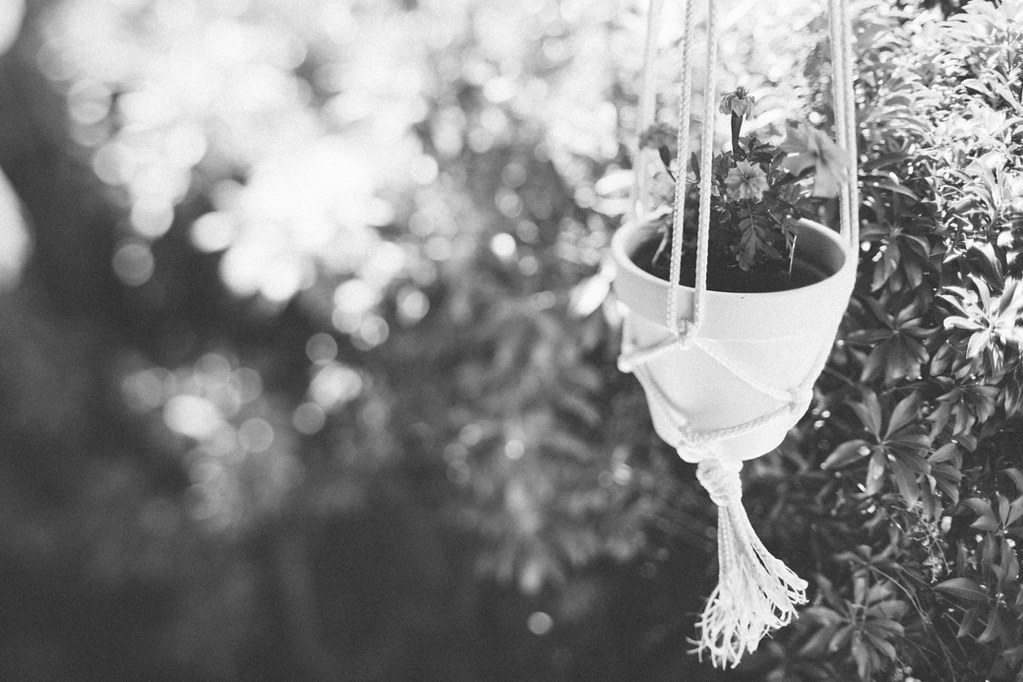 I was lazy with my pot holder and just let the ends fray, but if you wanted to make the ends cute you could leave them super long and put a wood bead on the end and knot it for a bit of embellishment. Or you could singe the ends of the rope/string so that they didn't fray.